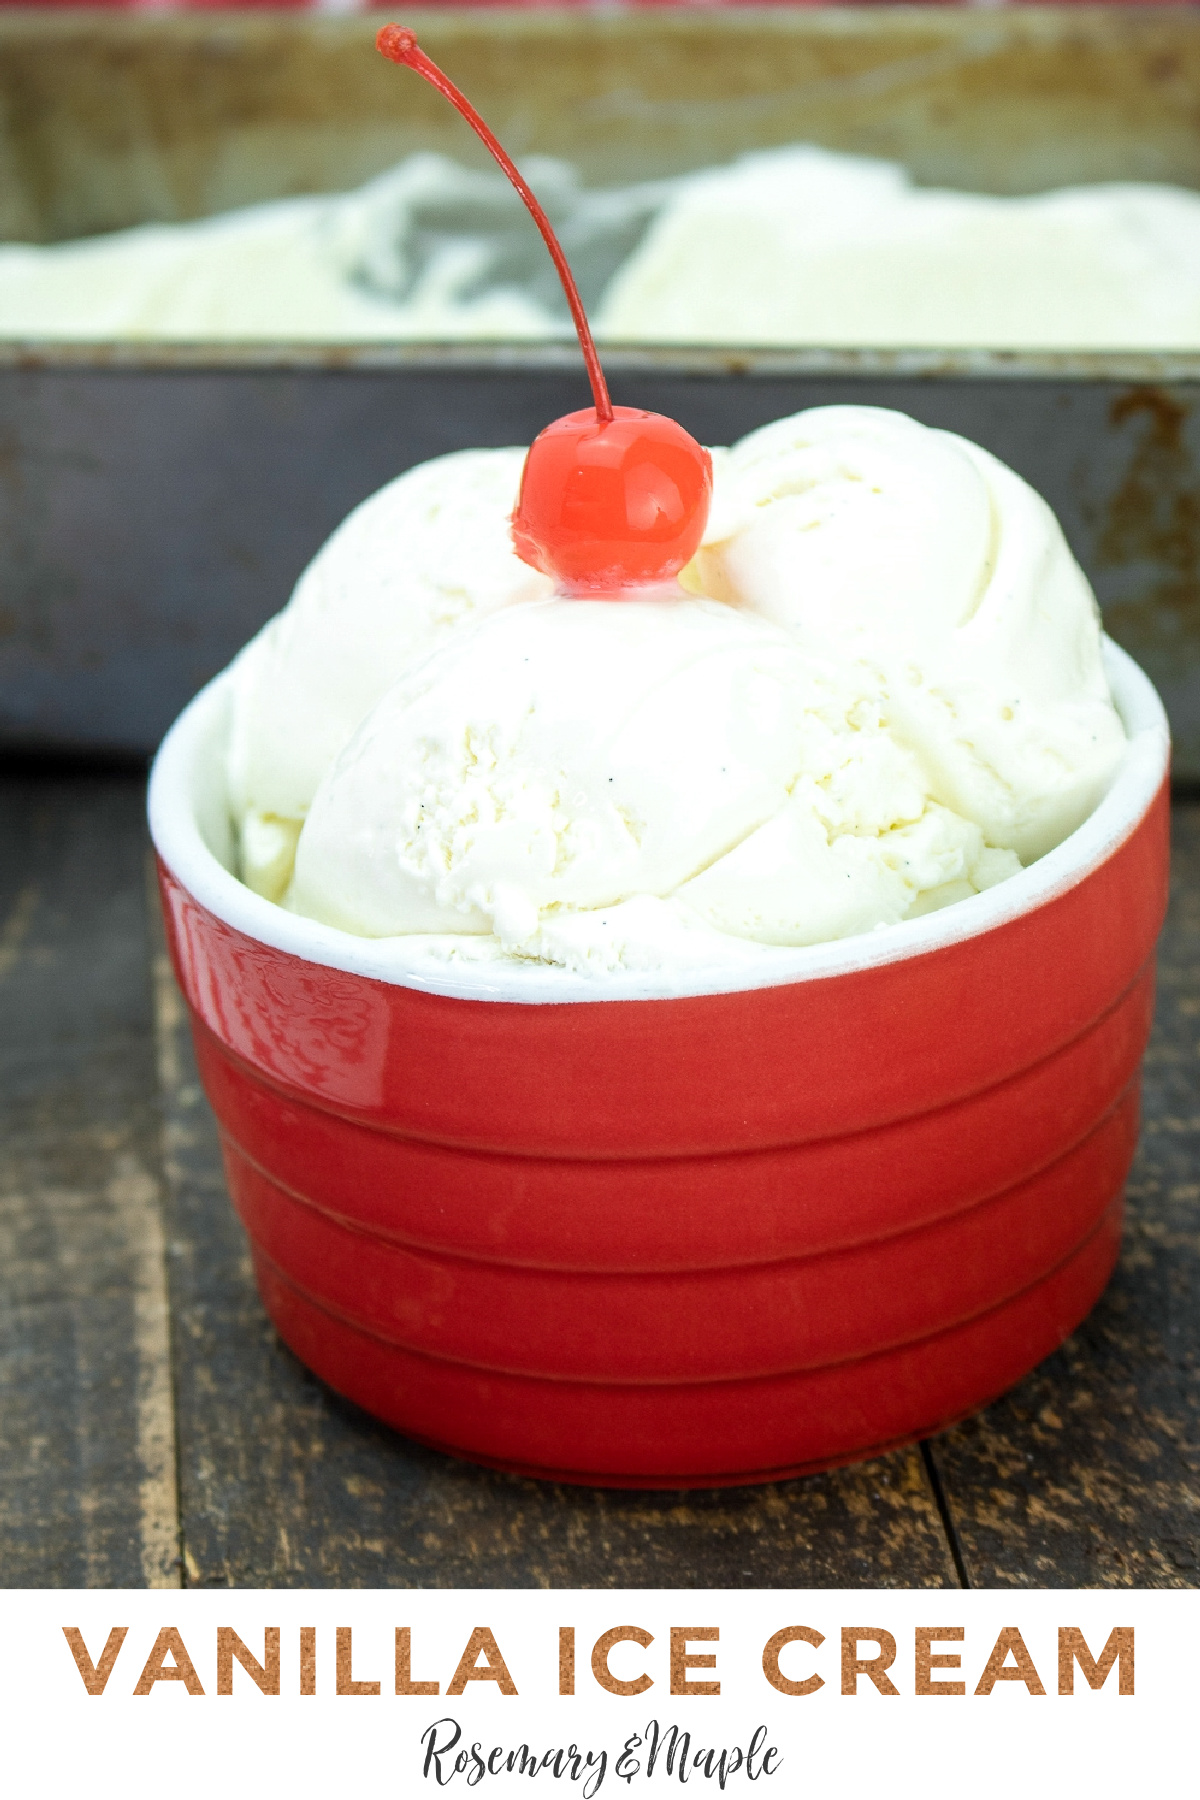
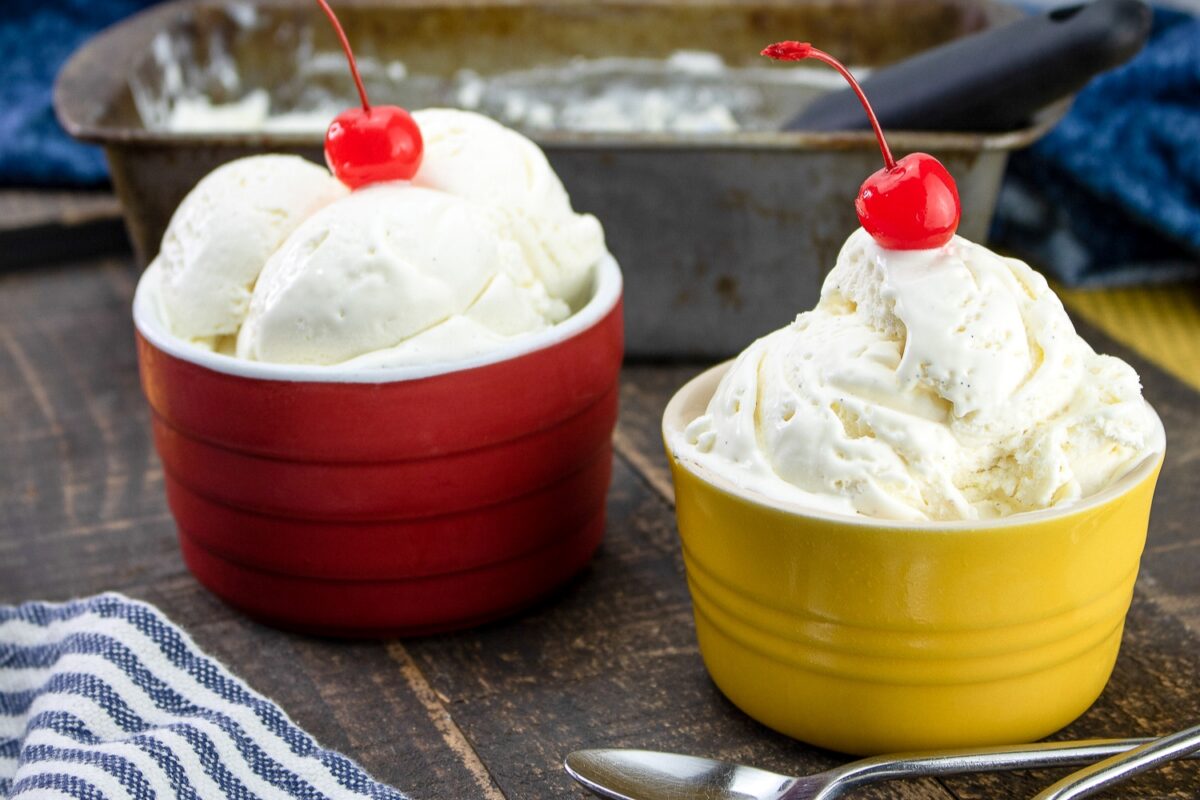
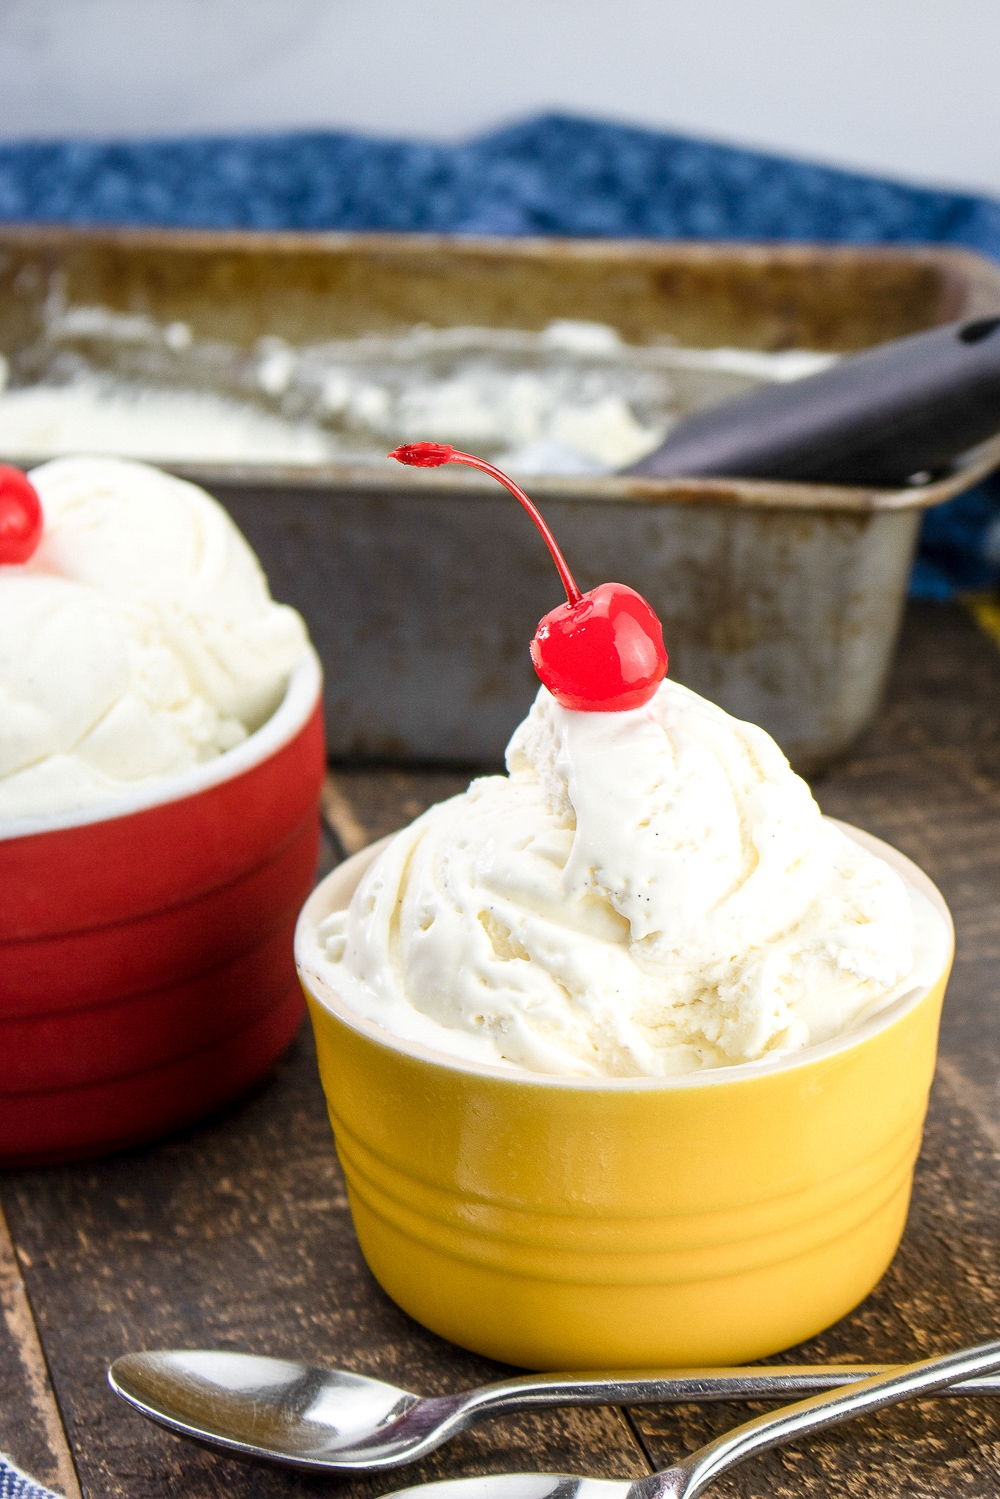
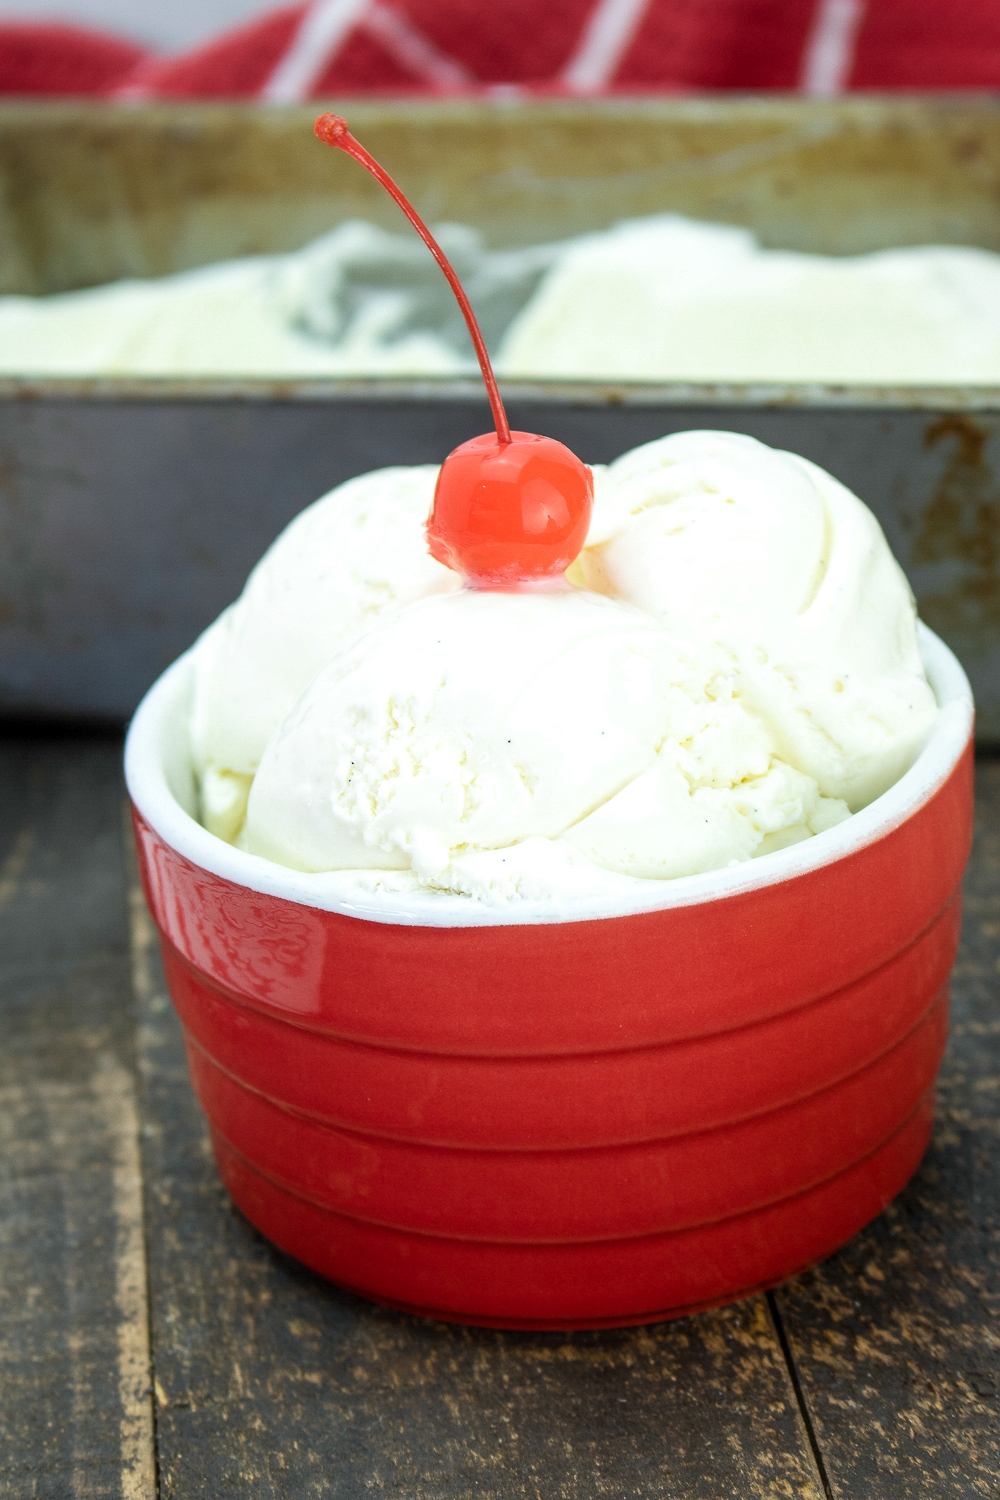
This easy No-Churn Vanilla Ice Cream Recipe is perfect for a summer treat! It’s simple to make and doesn’t require an ice cream maker.
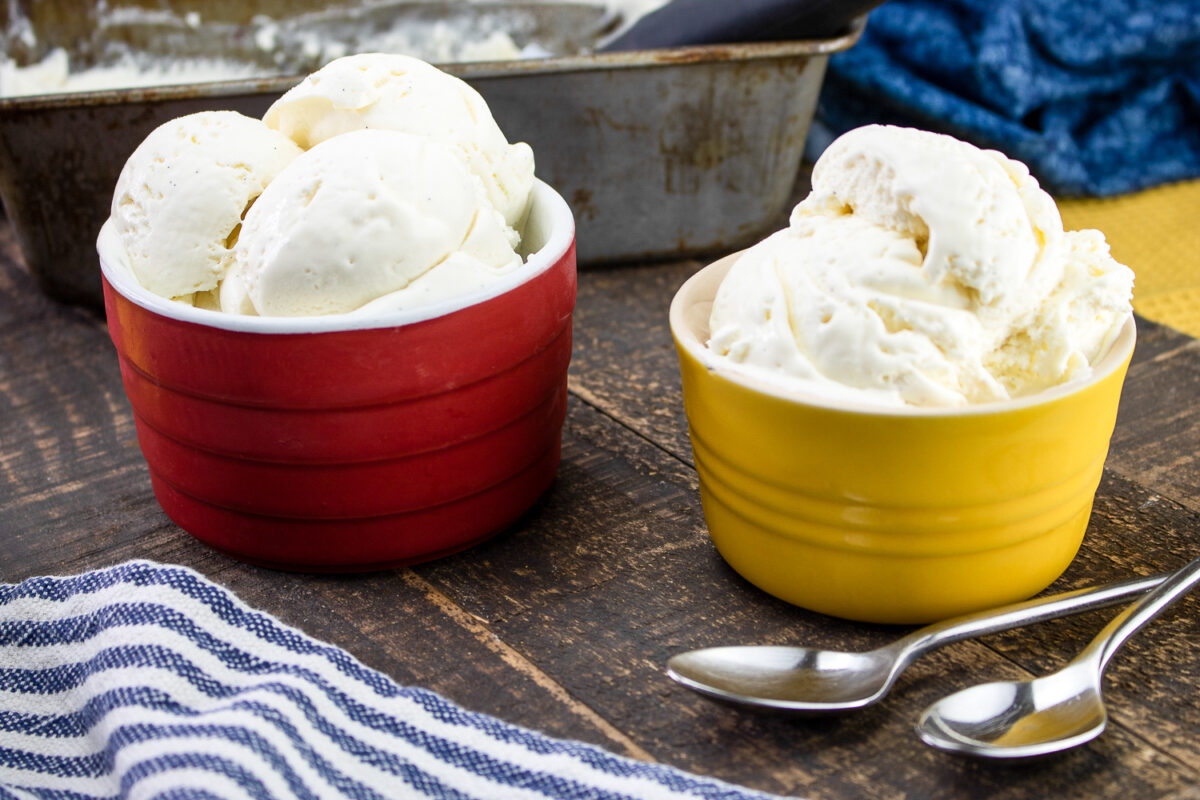
Summer is the time for picnics, barbecues, and of course, ice cream! This easy no-churn vanilla ice cream recipe is perfect for satisfying your sweet tooth.
Do you love ice cream but don’t have an ice cream maker? No problem! This easy no-churn vanilla ice cream recipe is for you. It only takes a few ingredients and a little bit of time to make, so you can enjoy this creamy treat any time you want. Plus, it’s perfect for hot summer days when you need something cool and refreshing.
It only requires three ingredients, and it’s perfect for a summertime treat. There are endless variations you can add to make it your own. It also doesn’t require any special equipment – just a few simple ingredients and tools that you probably have in your kitchen already.
So get ready to grab your spoon and dig in!
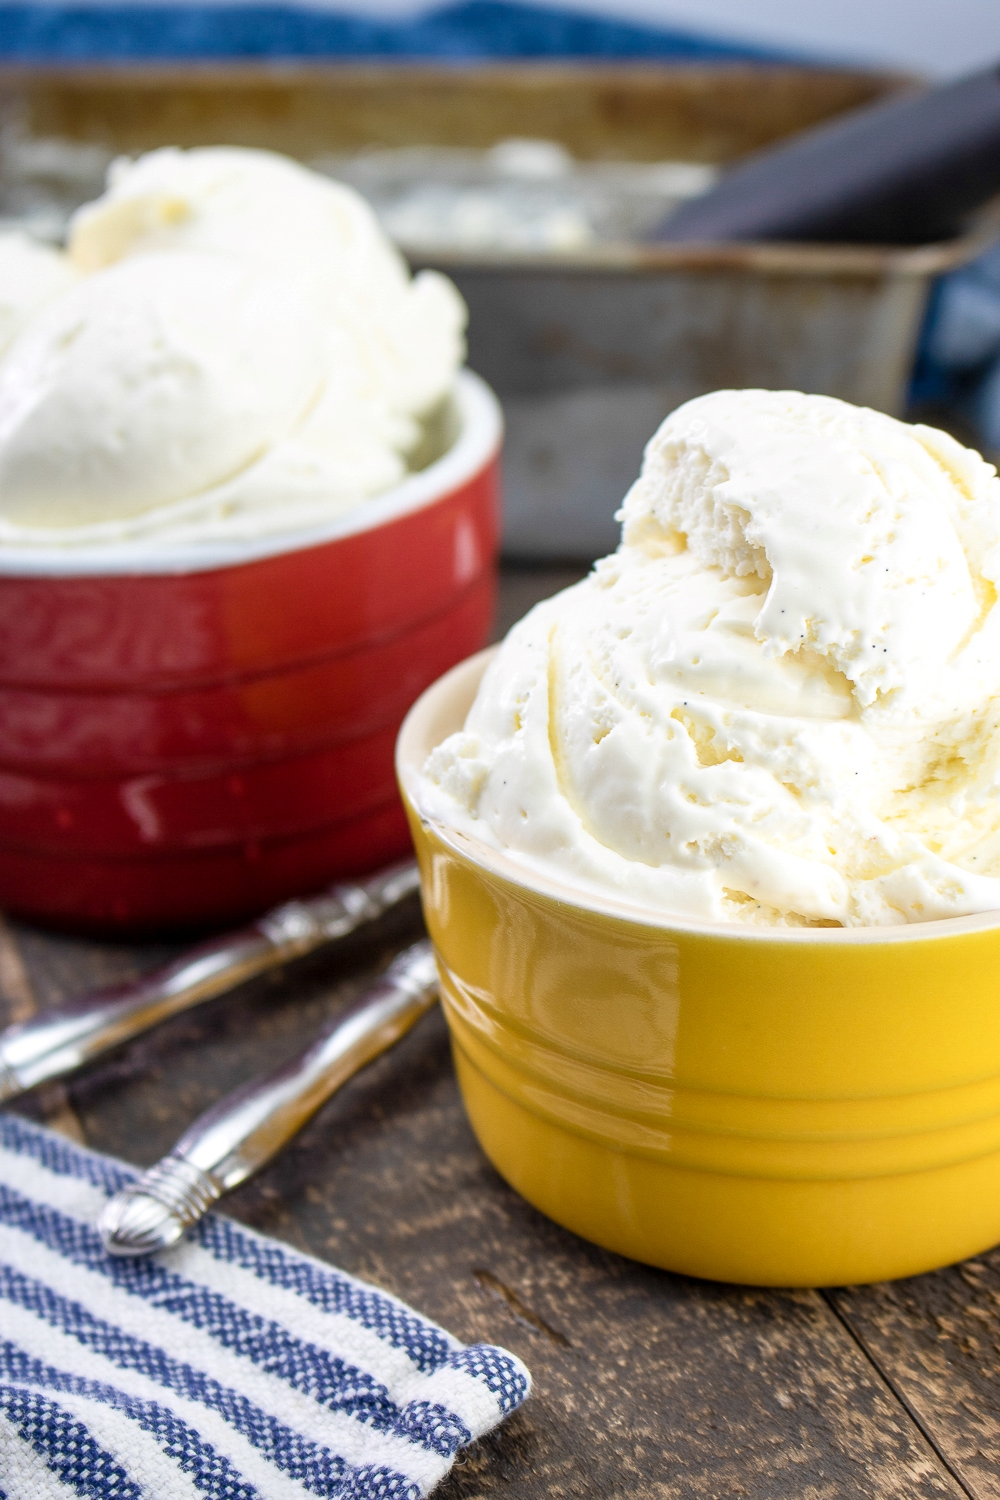
What Can I Add-In to Homemade Ice Cream?
With this basic vanilla ice cream recipe, you can easily add your own ingredients to create new flavors. By folding in different ingredients, you can change the flavor of your ice cream and make it something you love.
With no-churn ice cream you want to fold your add-ins into the mix just prior to pouring into your freezer container. Try some these mix-ins:
- Chocolate Chips
- Chopped up candy bars
- Broken up cookie pieces
- Fresh fruit. Cherries, strawberries, blueberries, mango, and pineapple all freeze well.
- Nuts. Chop up your favourite toasted nuts.
- Layer in caramel or fudge. Don’t fold into the mix in this case. You want to layer the ice cream and your sauce.

About the Equipment Needed to Make No-Churn Ice Cream
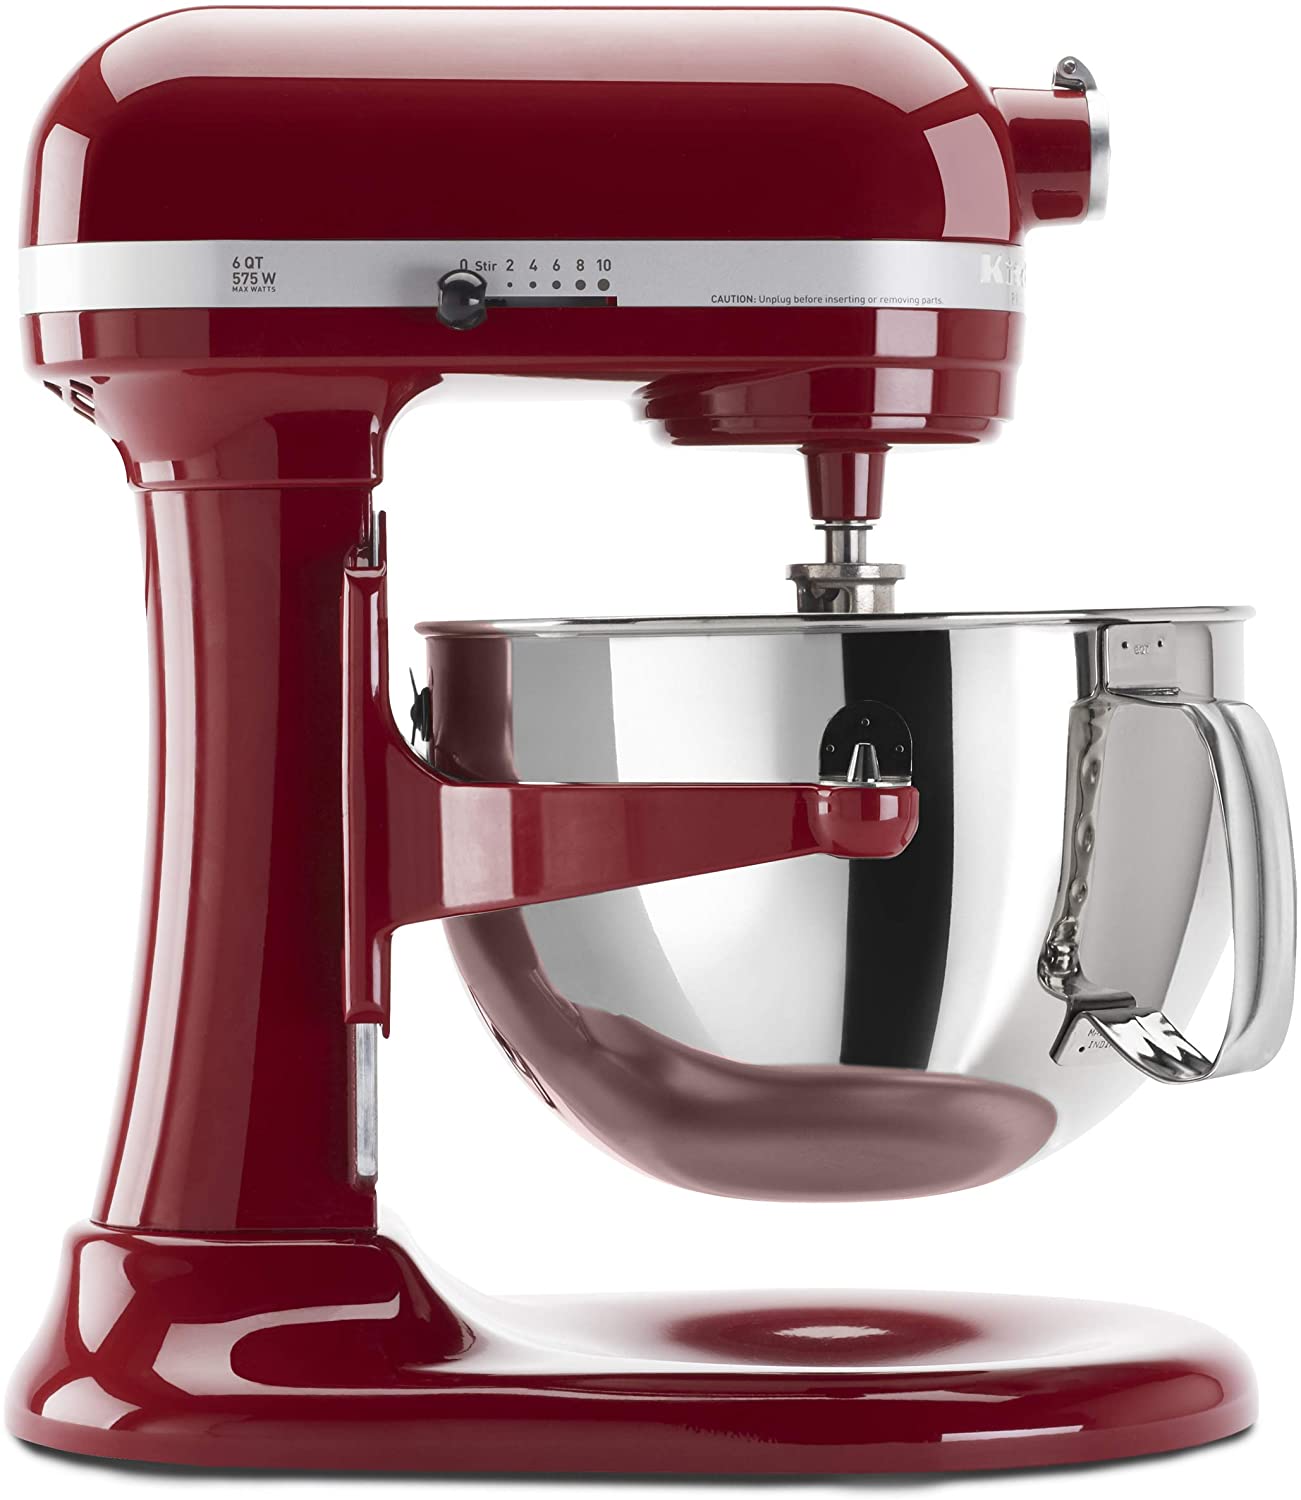
Electric mixer – An electric mixer makes it a lot easier to whip the cream. Use either a stand mixer or hand mixer. You can also whip the cream by hand, it doesn’t actually take a long time or a lot of effort.
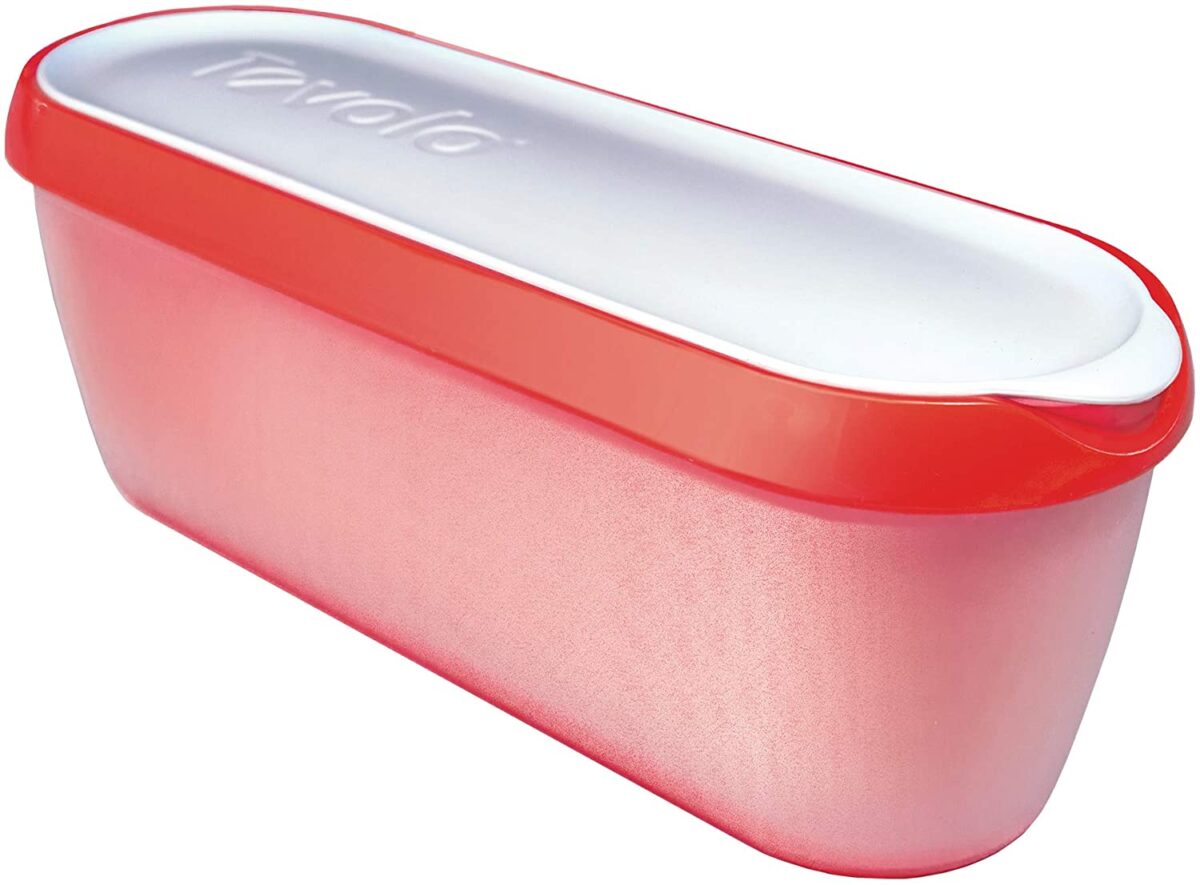
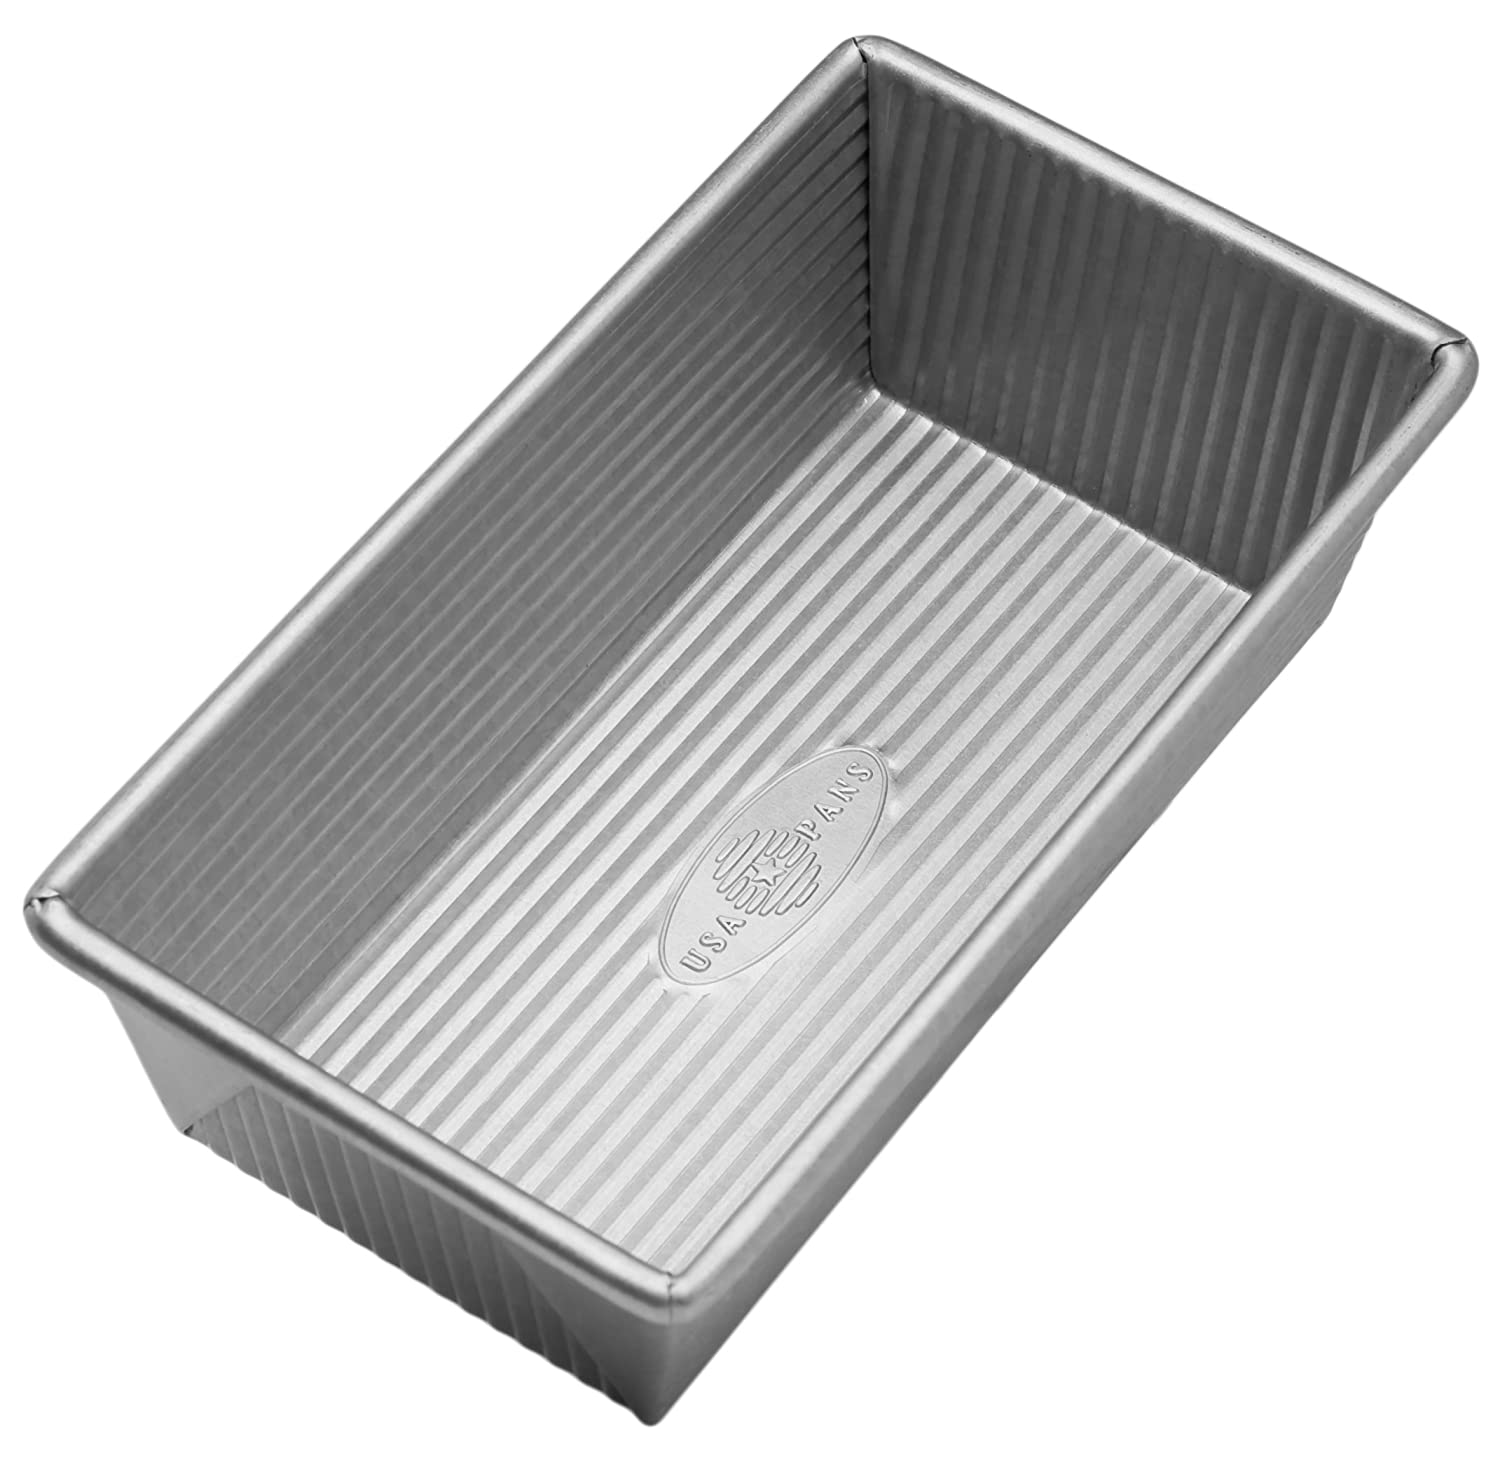
Container – Use a standard loaf pan or a reusable ice cream tub to store and freeze your ice cream in.
About the Ingredients for No-Churn Vanilla Ice Cream
Vanilla – Using a whole vanilla bean will give you absolutely the best vanilla flavour. You can swap with pure vanilla extract if necessary.
Cream – You need to use heavy whipping cream only. Lighter creams will not work. You can also actually swap in a can of coconut milk that has been whipped up.
Condensed Milk – Use a good quality sweetened condensed milk for the best flavour. No substitutions.
Looking for More Easy Dessert Recipes?
Check out more of my favourite easy dessert ideas!
These Classic Chocolate Walnut Brownies are perfectly rich & dense. They are quick and easy to make and taste so much better than boxed mix!
This is a traditional strawberry shortcake recipe made from scratch with fluffy shortcake, fresh macerated strawberries & real whipped cream.
This easy lemon poppy seed bundt cake is the perfect dessert to make for a crowd. It’s sweet and tangy and sure to be a hit!
How to Make Homemade Ice Cream with Condensed Milk
Yields: 4 cups | Prep time: 10 minutes | Chill time: 4 hours
Ingredients:
- 1 vanilla bean
- 2 c. heavy cream
- 14 oz. sweetened condensed milk
Directions:
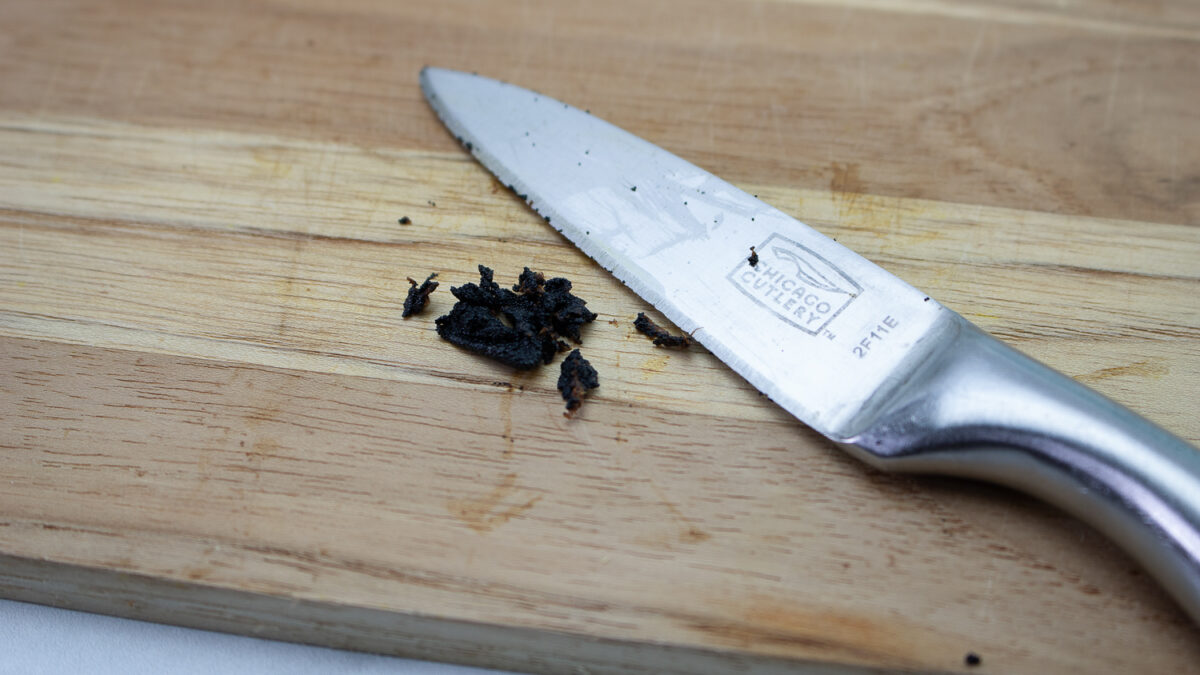
Cut the vanilla bean in half lengthwise and carefully scrape out the seeds with a sharp knife. Set aside.
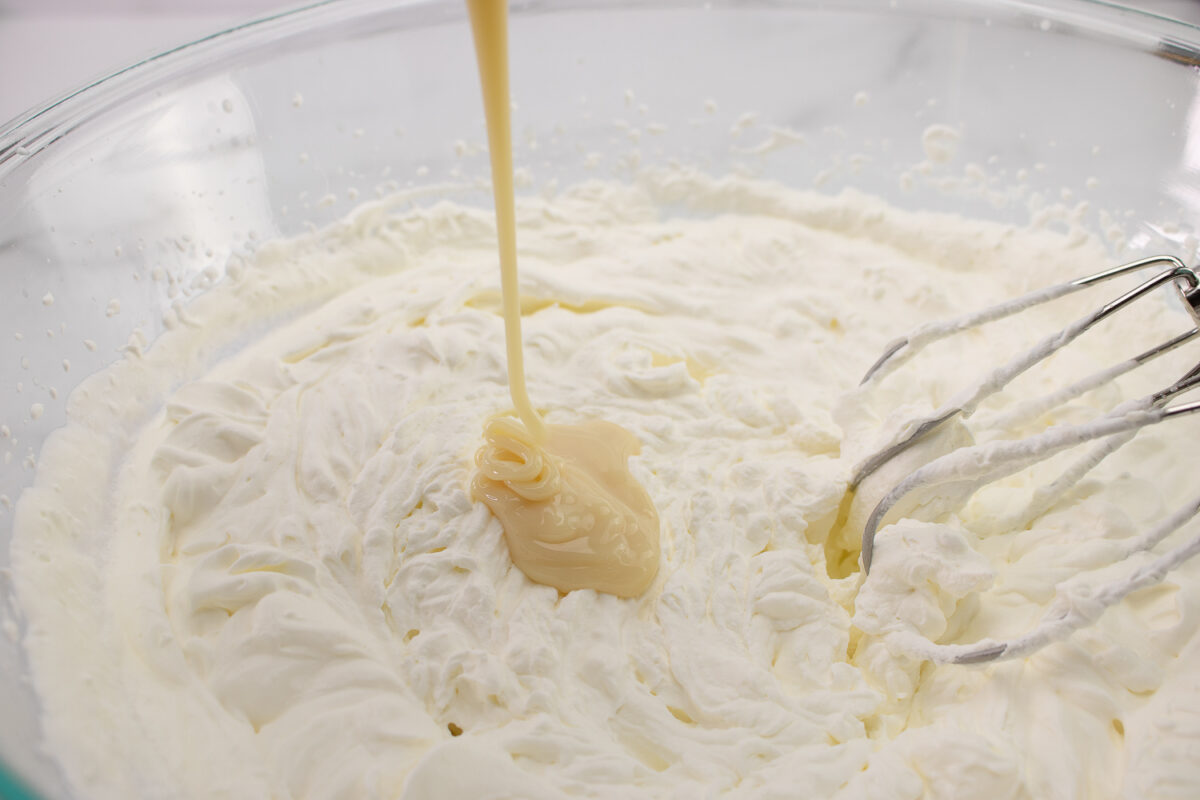
In a large mixing bowl, beat the heavy cream at high speed until stiff peaks form. Add the sweetened condensed milk and vanilla bean seeds and stir to combine.
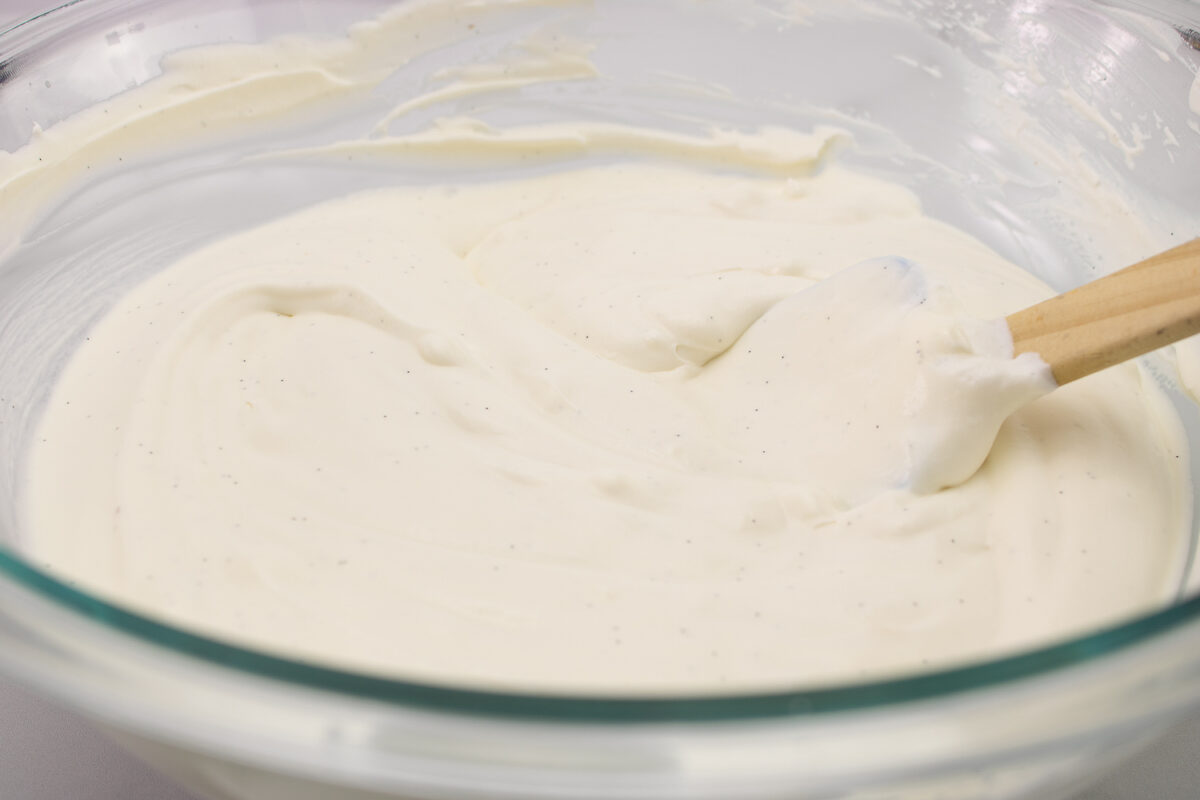
Pour mixture into a bread pan or freezer-safe container. Cover and freeze for 4 hours or overnight.
To serve, remove from freezer and let soften for a few minutes before transferring to individual serving bowls. Enjoy!
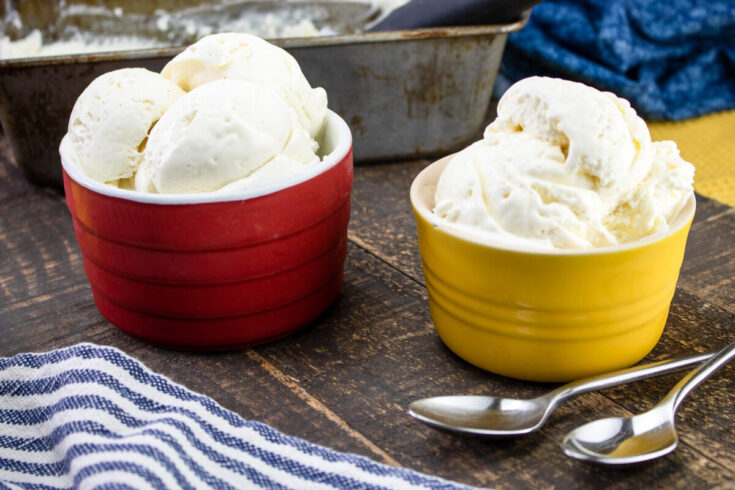
No-Churn Vanilla Ice Cream
This easy No-Churn Vanilla Ice Cream Recipe is perfect for a summer treat! It’s simple to make and doesn’t require an ice cream maker.
Ingredients
- 1 vanilla bean
- 2 c. heavy cream
- 14 oz. sweetened condensed milk
Instructions
- Cut the vanilla bean in half lengthwise and carefully scrape out the seeds with a sharp knife. Set aside.
- In a large mixing bowl, beat the heavy cream at high speed until stiff peaks form. Add the sweetened condensed milk and vanilla bean seeds and stir to combine.
- Pour mixture into a bread pan or freezer-safe container. Cover and freeze for 4 hours or overnight.
- To serve, remove from freezer and let soften for a few minutes before transferring to individual serving bowls. Enjoy!
Recommended Products
As an Amazon Associate and member of other affiliate programs, I earn from qualifying purchases.
Nutrition Information:
Yield:
8Serving Size:
1/2 CupAmount Per Serving: Calories: 418Total Fat: 27gSaturated Fat: 17gTrans Fat: 1gUnsaturated Fat: 8gCholesterol: 90mgSodium: 101mgCarbohydrates: 38gFiber: 0gSugar: 38gProtein: 7g
This information is provided as a courtesy and for entertainment purposes only. This information comes from online calculators. Although rosemaryandmaple.com attempts to provide accurate nutritional information, these figures are only estimates.

Liz Lampman is a coffee-fuelled Mom of 2 girls and lives in Hamilton, Ontario. She enjoys cooking and baking, food photography, and reading.

