
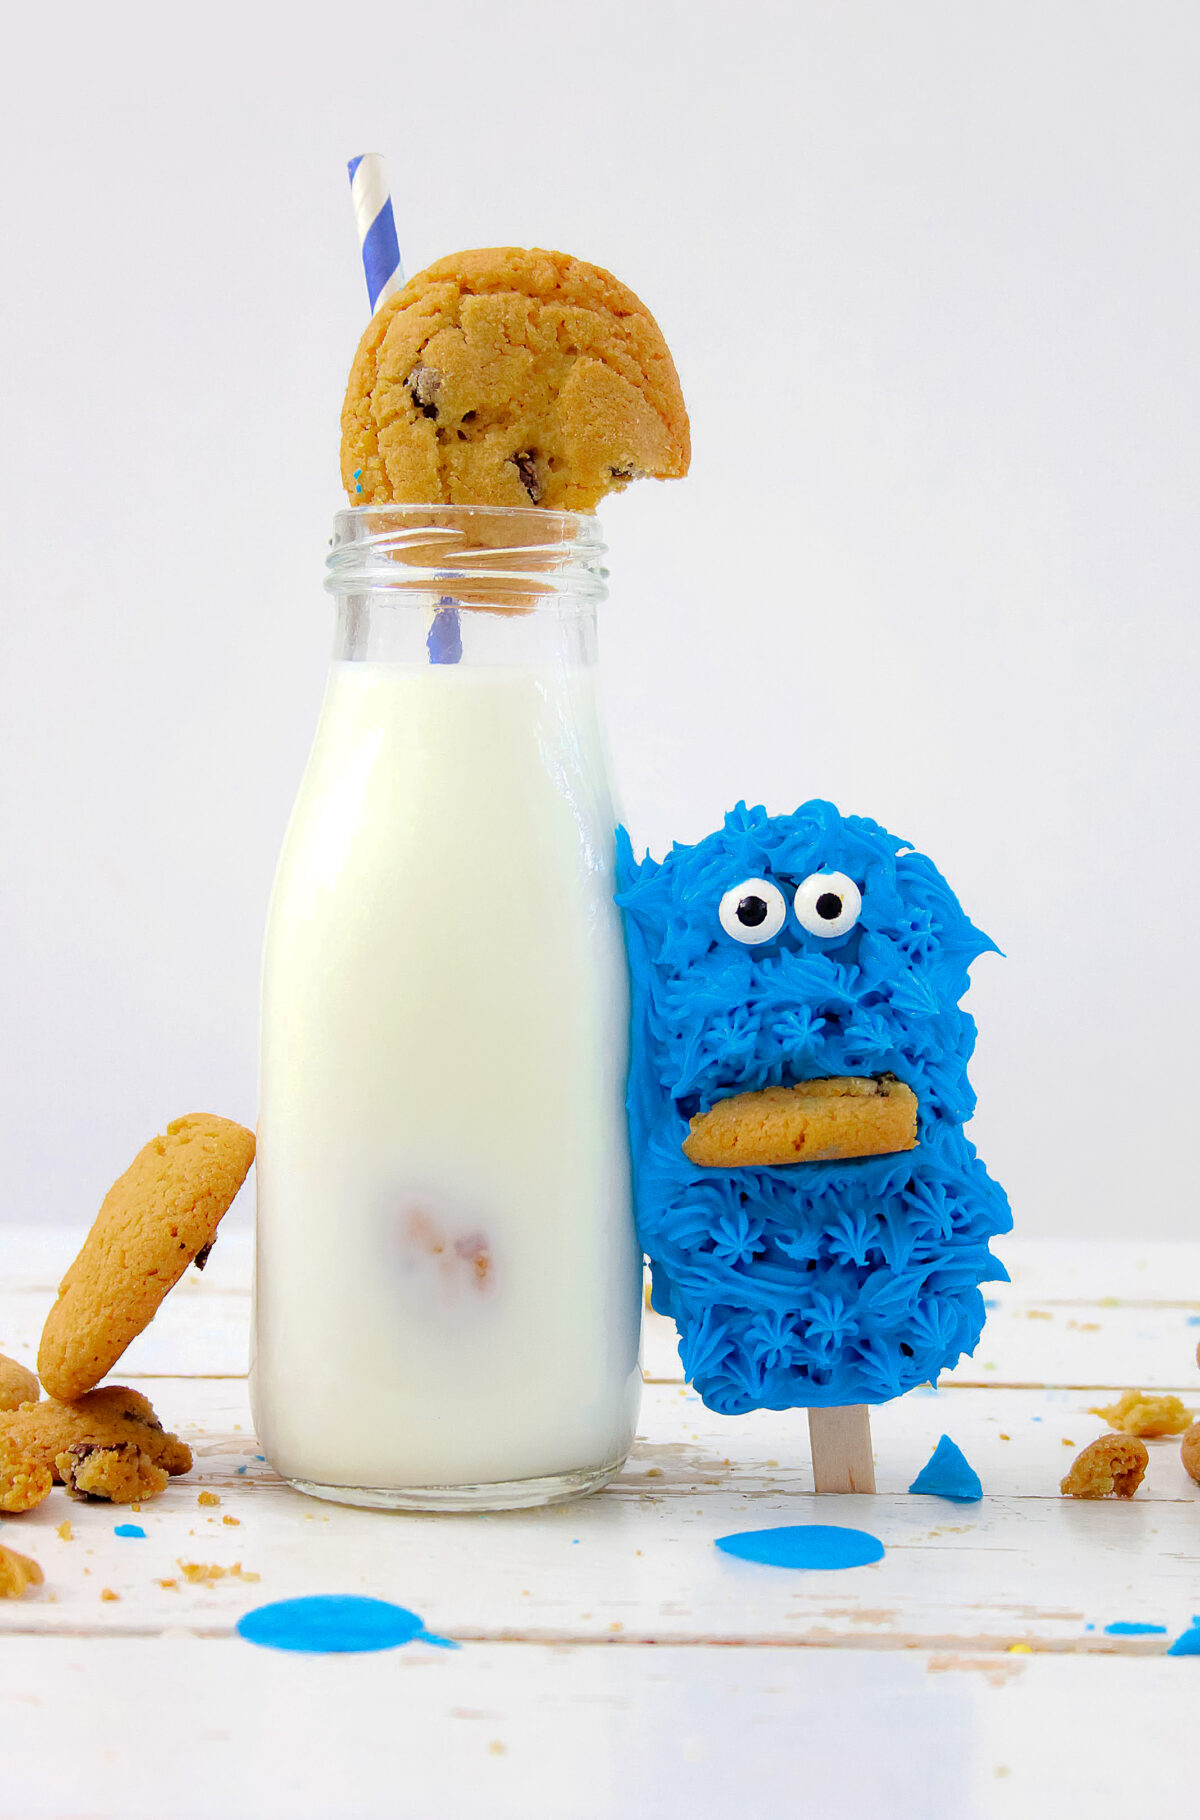
Cookie Monster Cakesicles
Discover how to make delightful Cookie Monster Cakesicles with our easy-to-follow recipe. Perfect for sesame street themed parties!
Whether you’re planning a Sesame Street themed party for a little one or simply want to bring a bit of nostalgia into your kitchen, these Cookie Monster Cakesicles are the perfect addition.
Inspired by the beloved character from our favourite childhood show, these treats will not only capture the hearts of children but also bring a smile to the faces of adults.
Equipment to Make Cakesicles
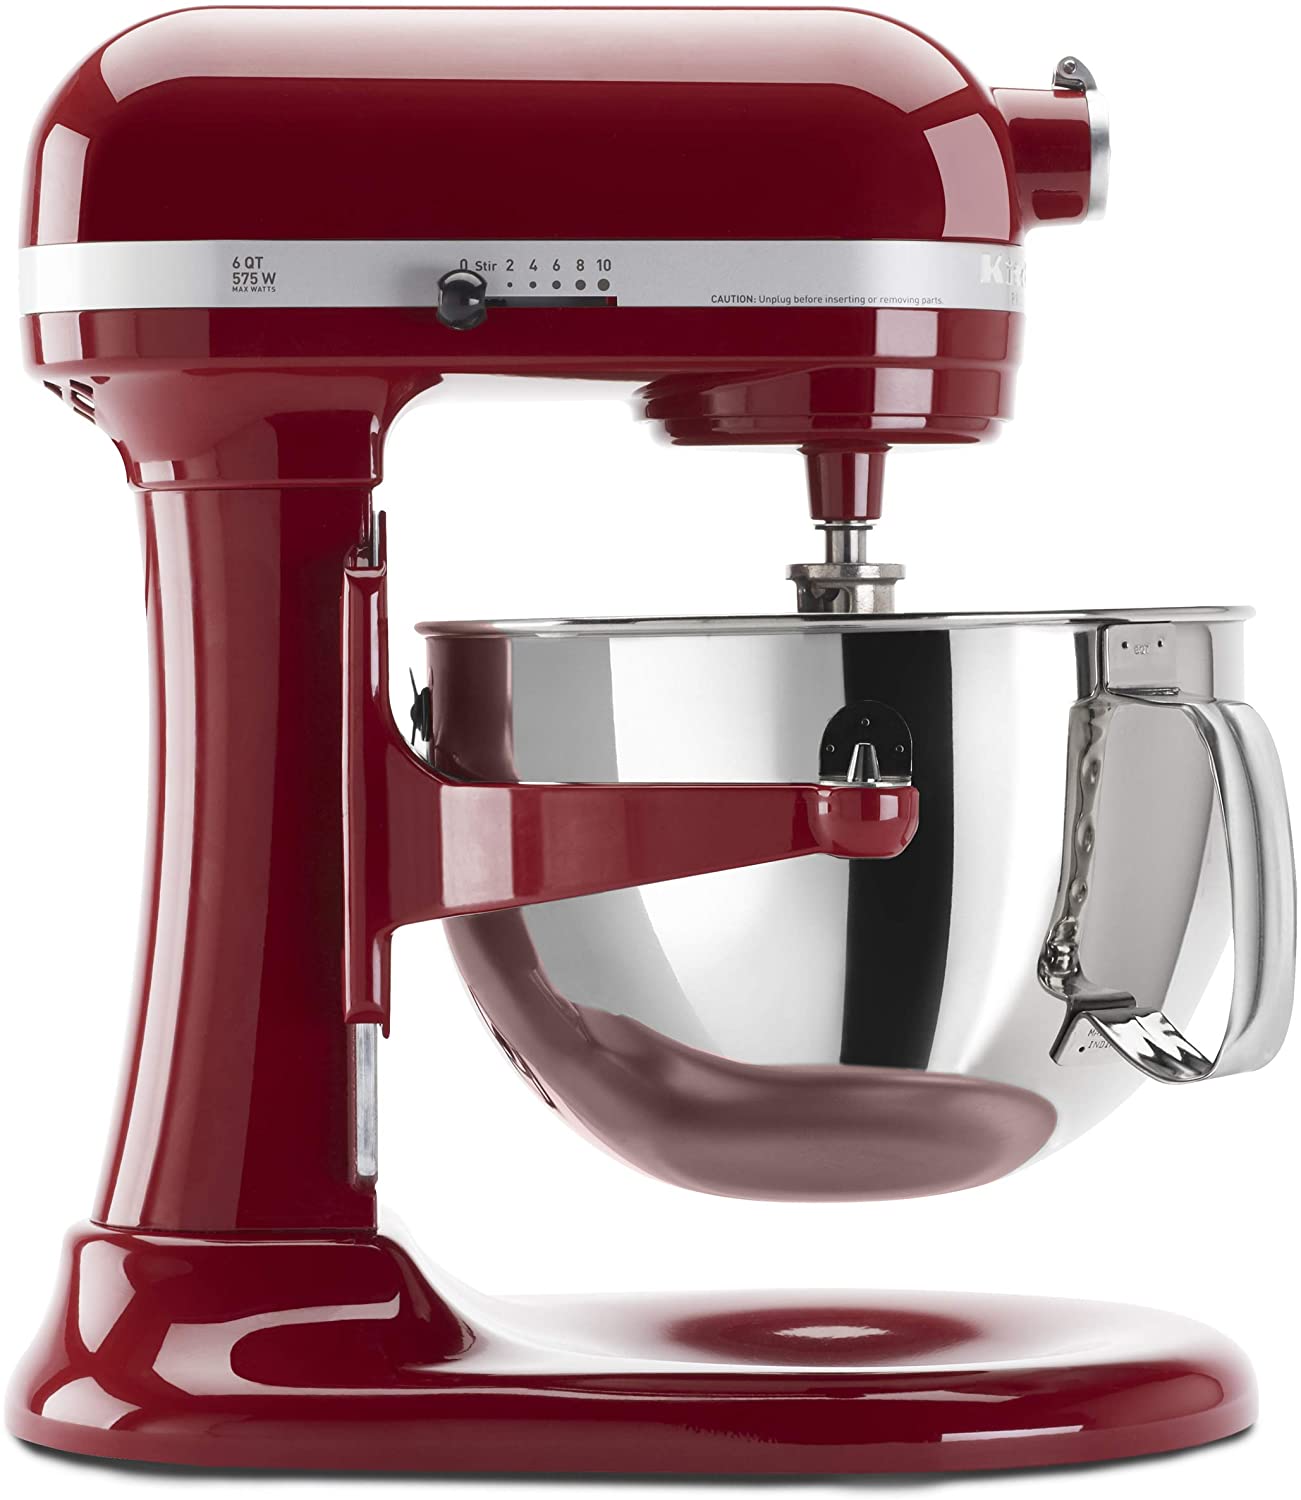
- Electric mixer
- Cakesicle moulds
- Pastry bag
- Frosting tip
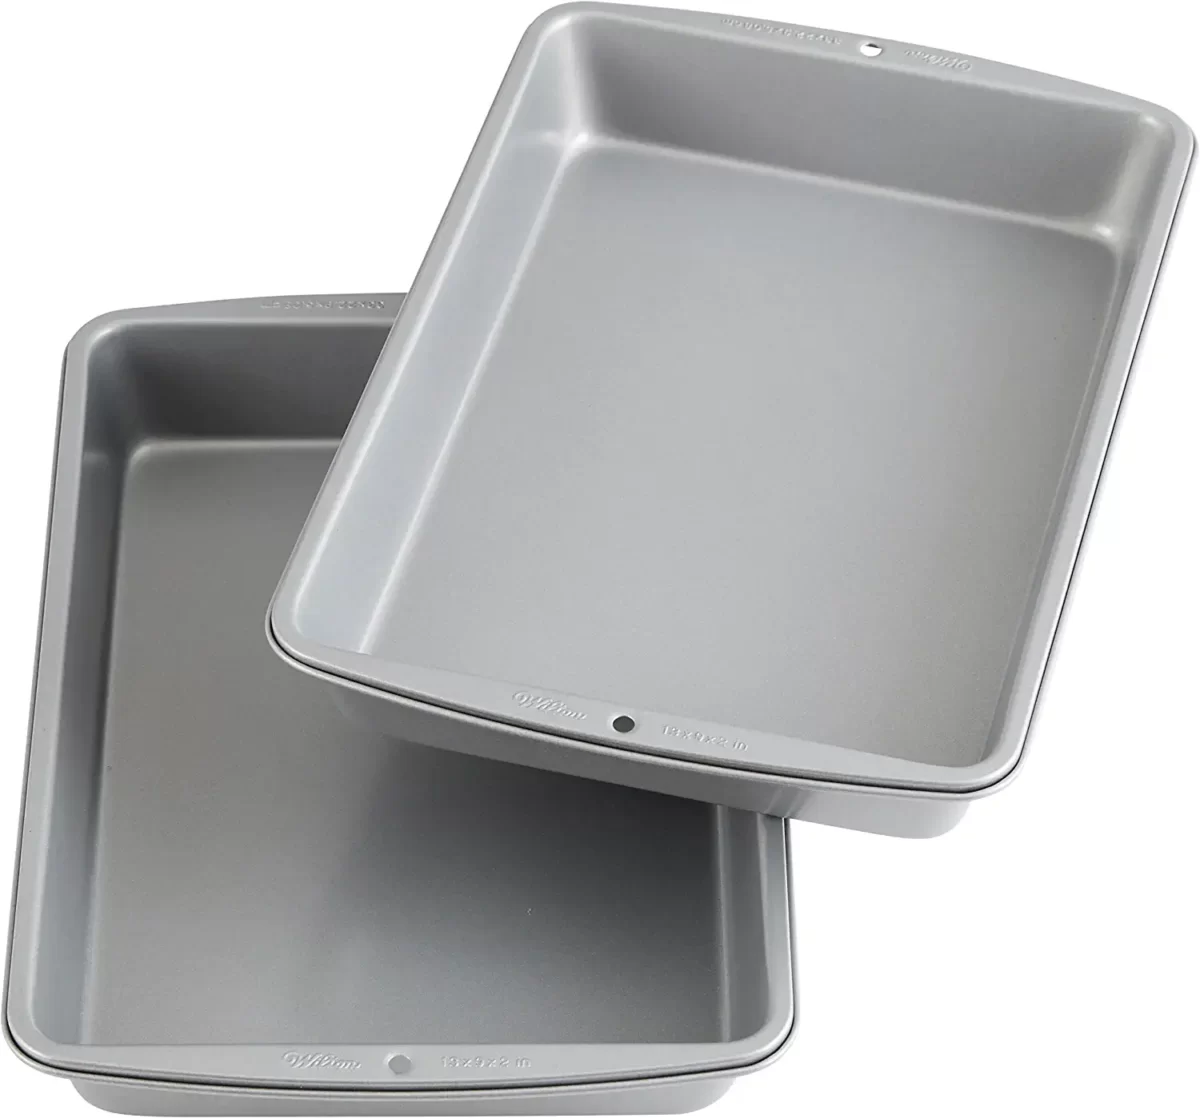
- 9 x 13 baking dish
- Parchment paper
- Cookie sheet
- Candy eyes
How to Make Cookie Monster Cakesicles
Yields: 12 Cakesicles | Prep time: 1 Hour | Chill time: 5 Hours
Ingredients:
- 1 package Vanilla cake mix
- 1 package Betty Crocker Chocolate chip cookie mix
- 1 cup mini chocolate chips
- 1 package White chocolate Almond Bark
- 1 tube of aqua blue food coloring gel
For the Frosting:
- 1 cup Vegetable shortening
- 1 cup Butter
- 7 1/2 cups (2 lbs) powdered sugar
- 4 Tablespoons milk
Directions:
Make the Cake
Follow the package directions for ingredients and mixing the cake. Place parchment paper in the bottom of a 9 x 13 baking dish, and pour the cake batter into the dish, then bake as directed. When the cake is done, cool completely.
Follow the directions on the package, and make the cookies small enough for the mouth decorations. Cool the cookies completely.
Prepare the Frosting
While the cake is cooling, mix the frosting; In the mixing bowl of a stand mixer, blend the vegetable shortening and butter until smooth and creamy. Add the powdered sugar a little at a time, alternating with the milk, and blending between additions, until the frosting is thick and creamy. Reserve half a cup of frosting, then mix in blue food colouring with the remaining frosting until desired colour of blue is achieved. Cover, and place blue frosting in the refrigerator.
Make the Cakesicles
When the cake is cool, break the cake up into crumbs, right in the dish you baked it in, and sprinkle mini chocolate chips over the cake. Add the reserved frosting to the cake and combine together. Set aside.
In a microwave safe bowl, melt 8 squares of the White Chocolate almond bark in the microwave on 10 second intervals until the chocolate is melted. Remove from microwave, and add the aqua gel food coloring until you have the desired color of aqua blue.
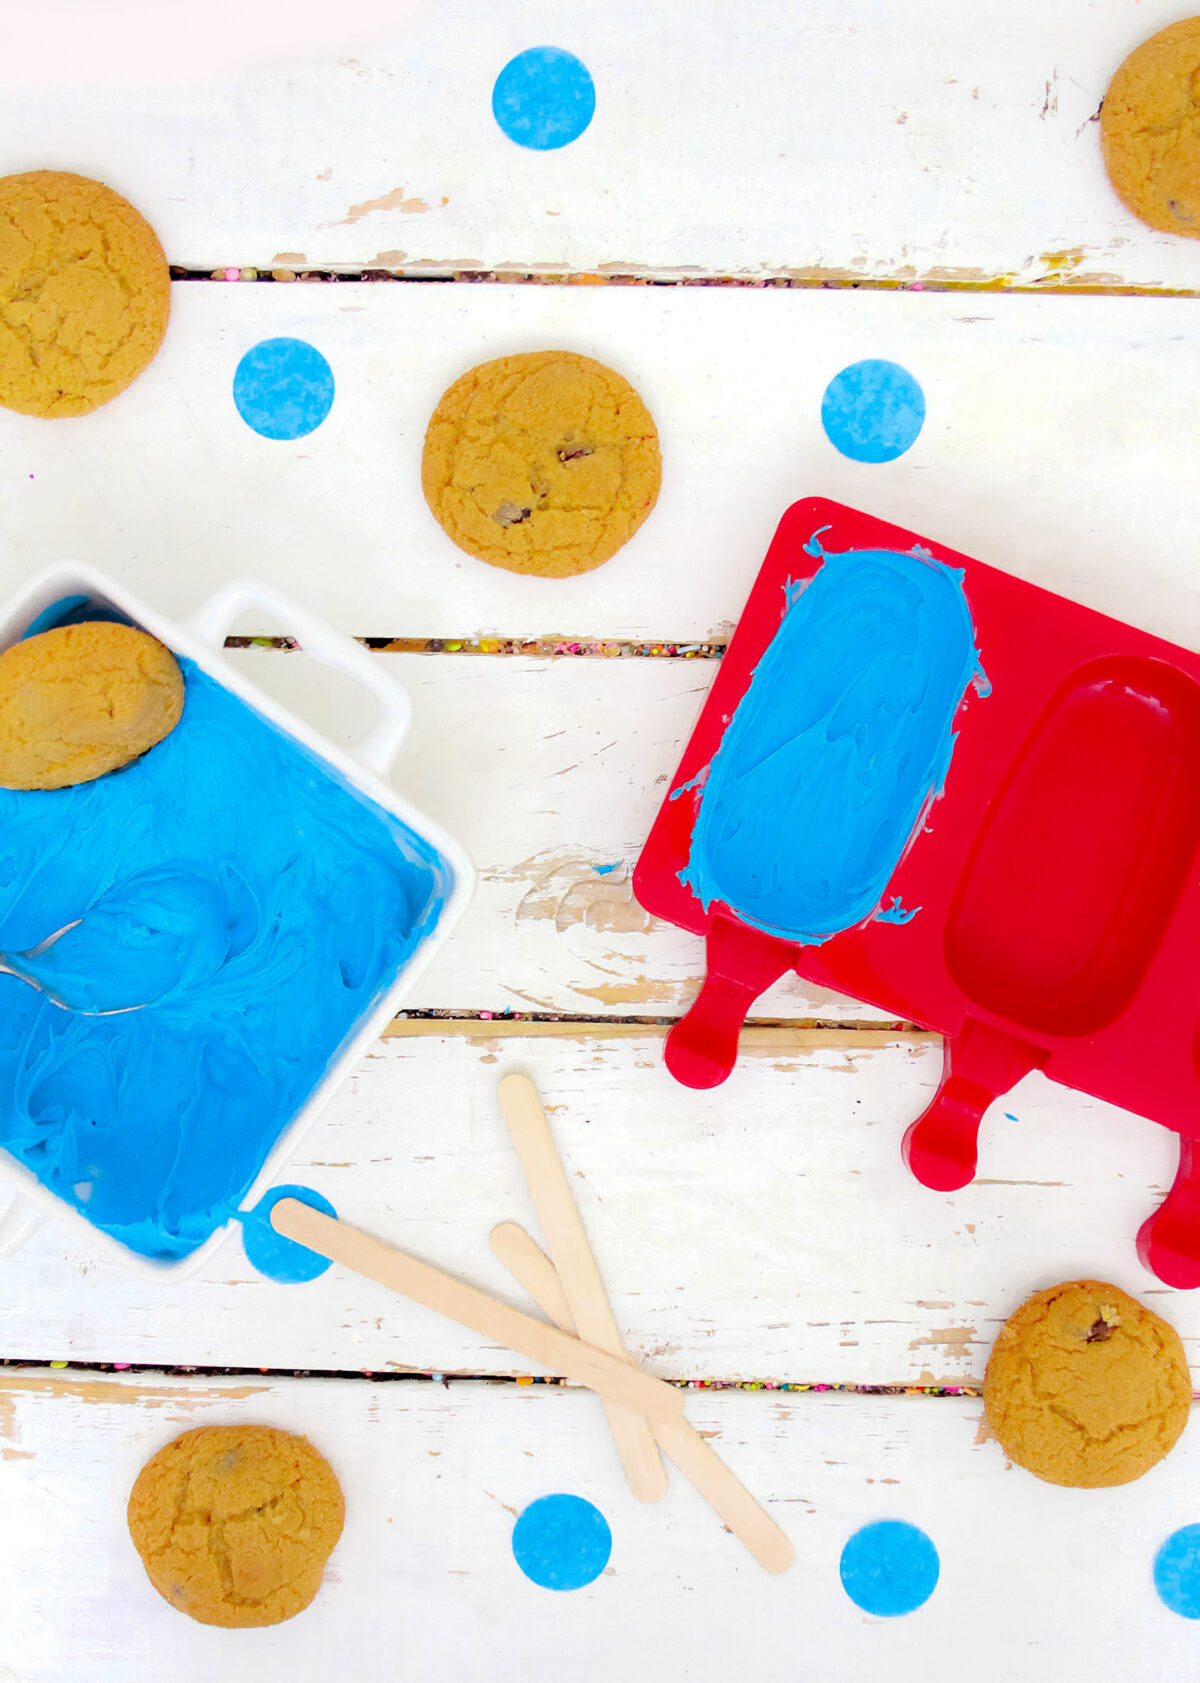
With a spoon, place a heaping Tablespoon of the blue chocolate into each of the cake-sicle molds, and turn the molds back and forth, coating the inside of the molds with the blue chocolate. Follow the guides at the bottom of the cakesicle mold, and insert the popsicle sticks into the mold, and onto the blue chocolate. Place the mold into the freezer, and allow the chocolate to set (about an hour).
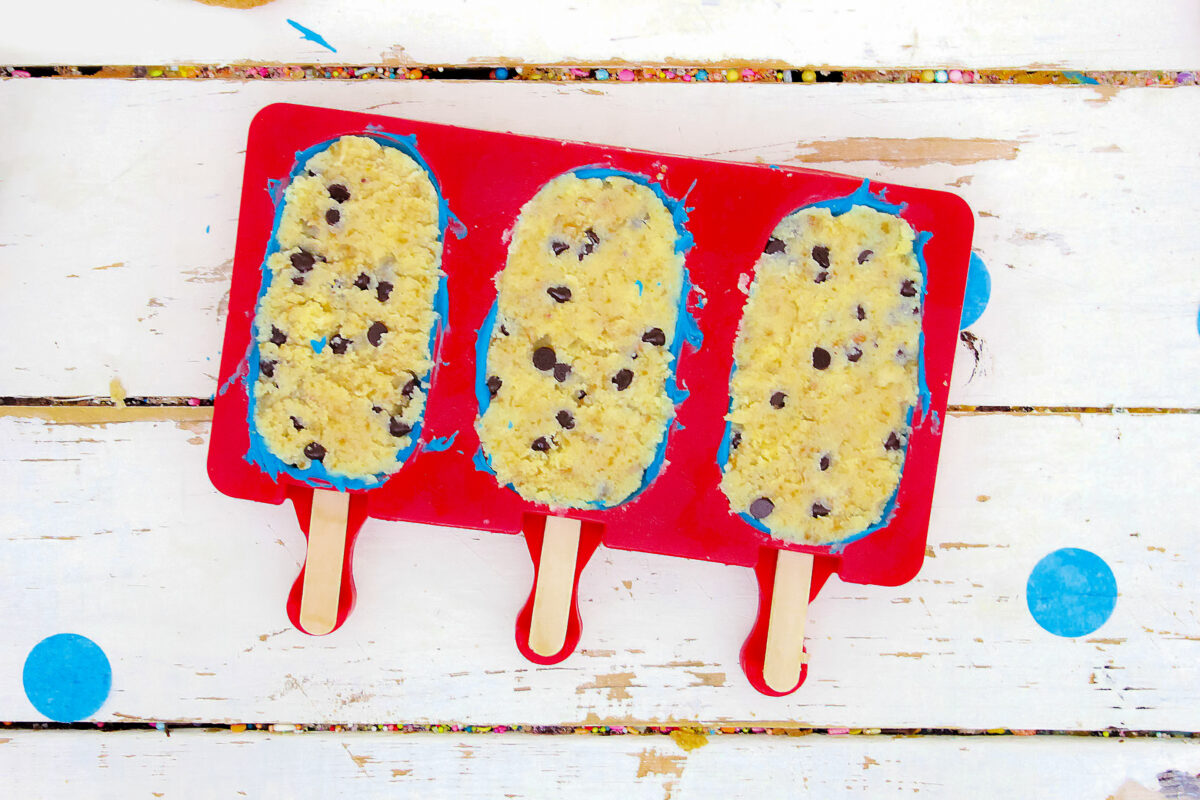
Press the cake mixture into the cake-sicle molds until the molds are full of cake, and level with the sides of the molds. Place a generous amount of the blue chocolate over the cake, sealing the cake-sicles in the molds. Place the molds back in the freezer and allow them to remain in the freezer for at least 4 hours, or overnight for best results.
Decorate the Cakesicles
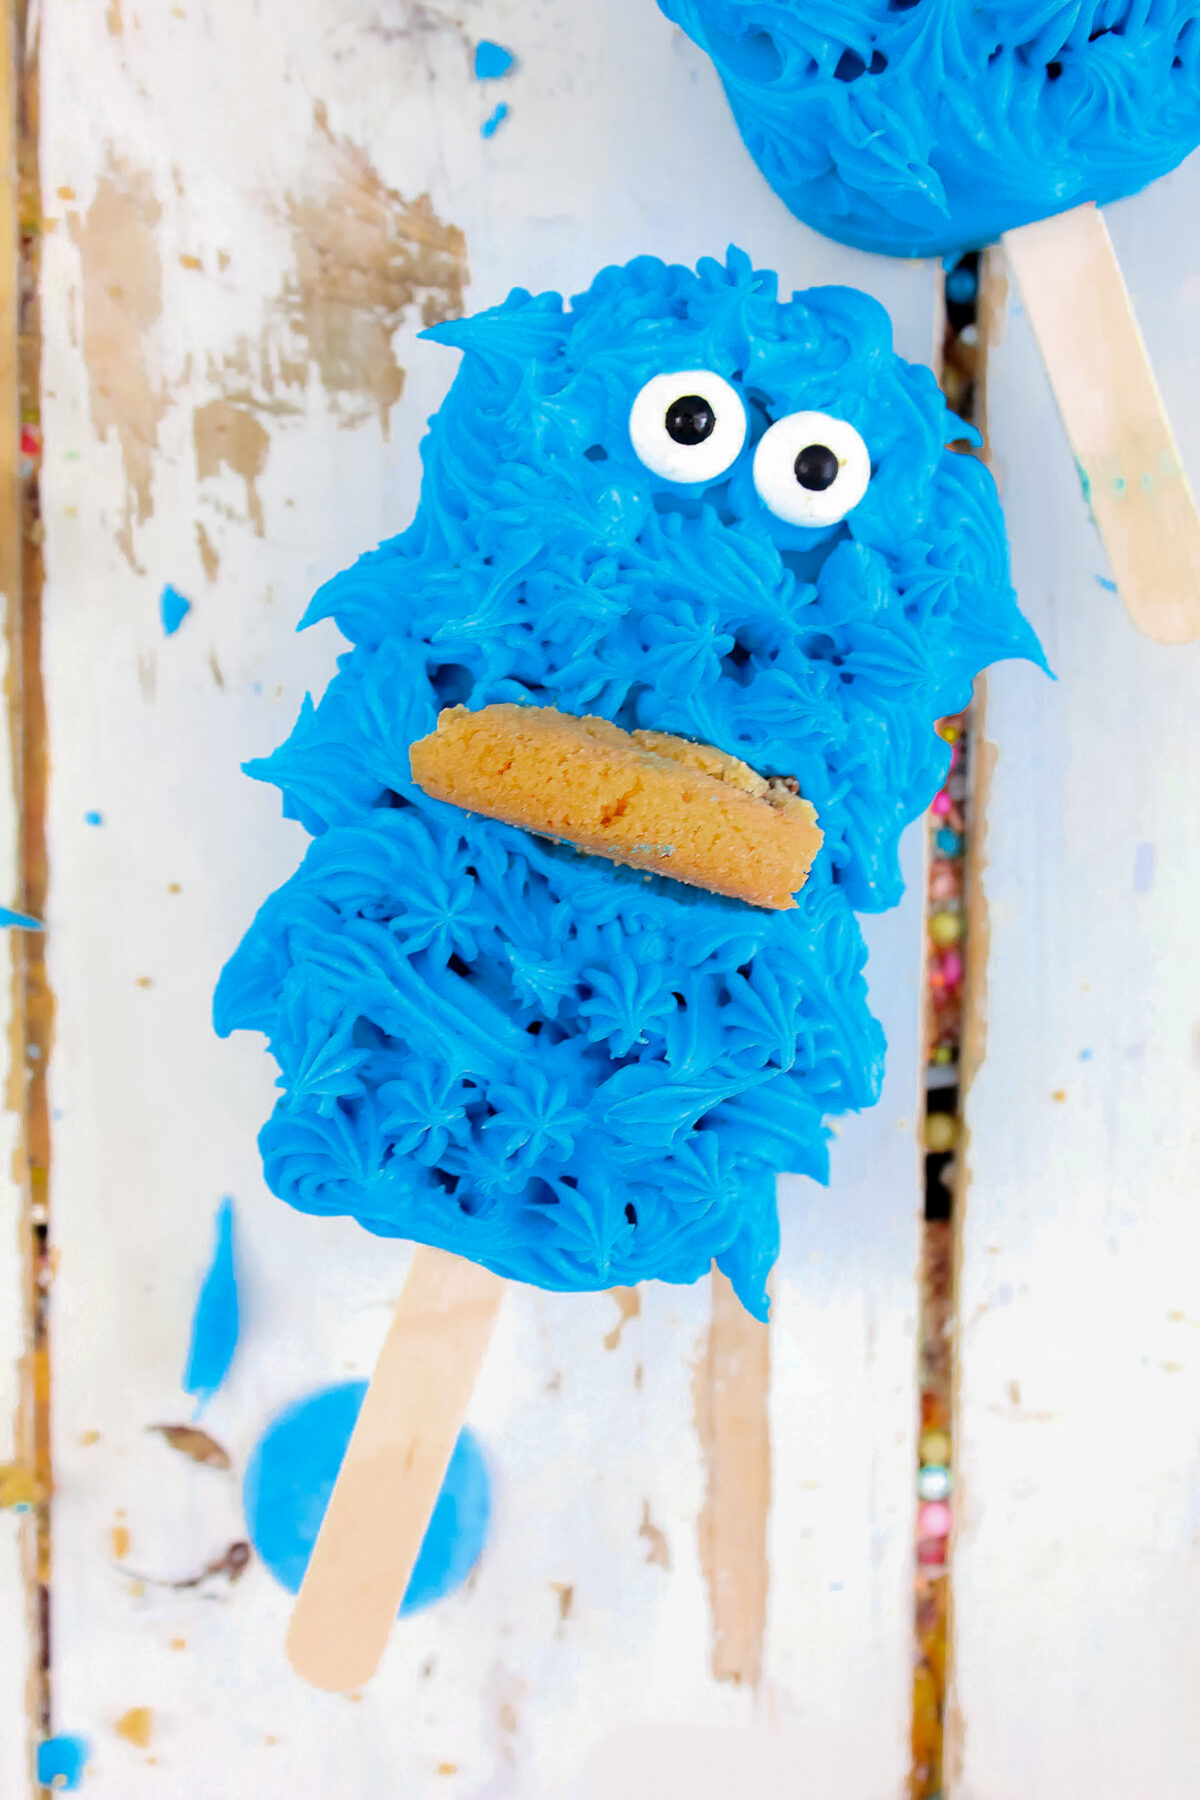
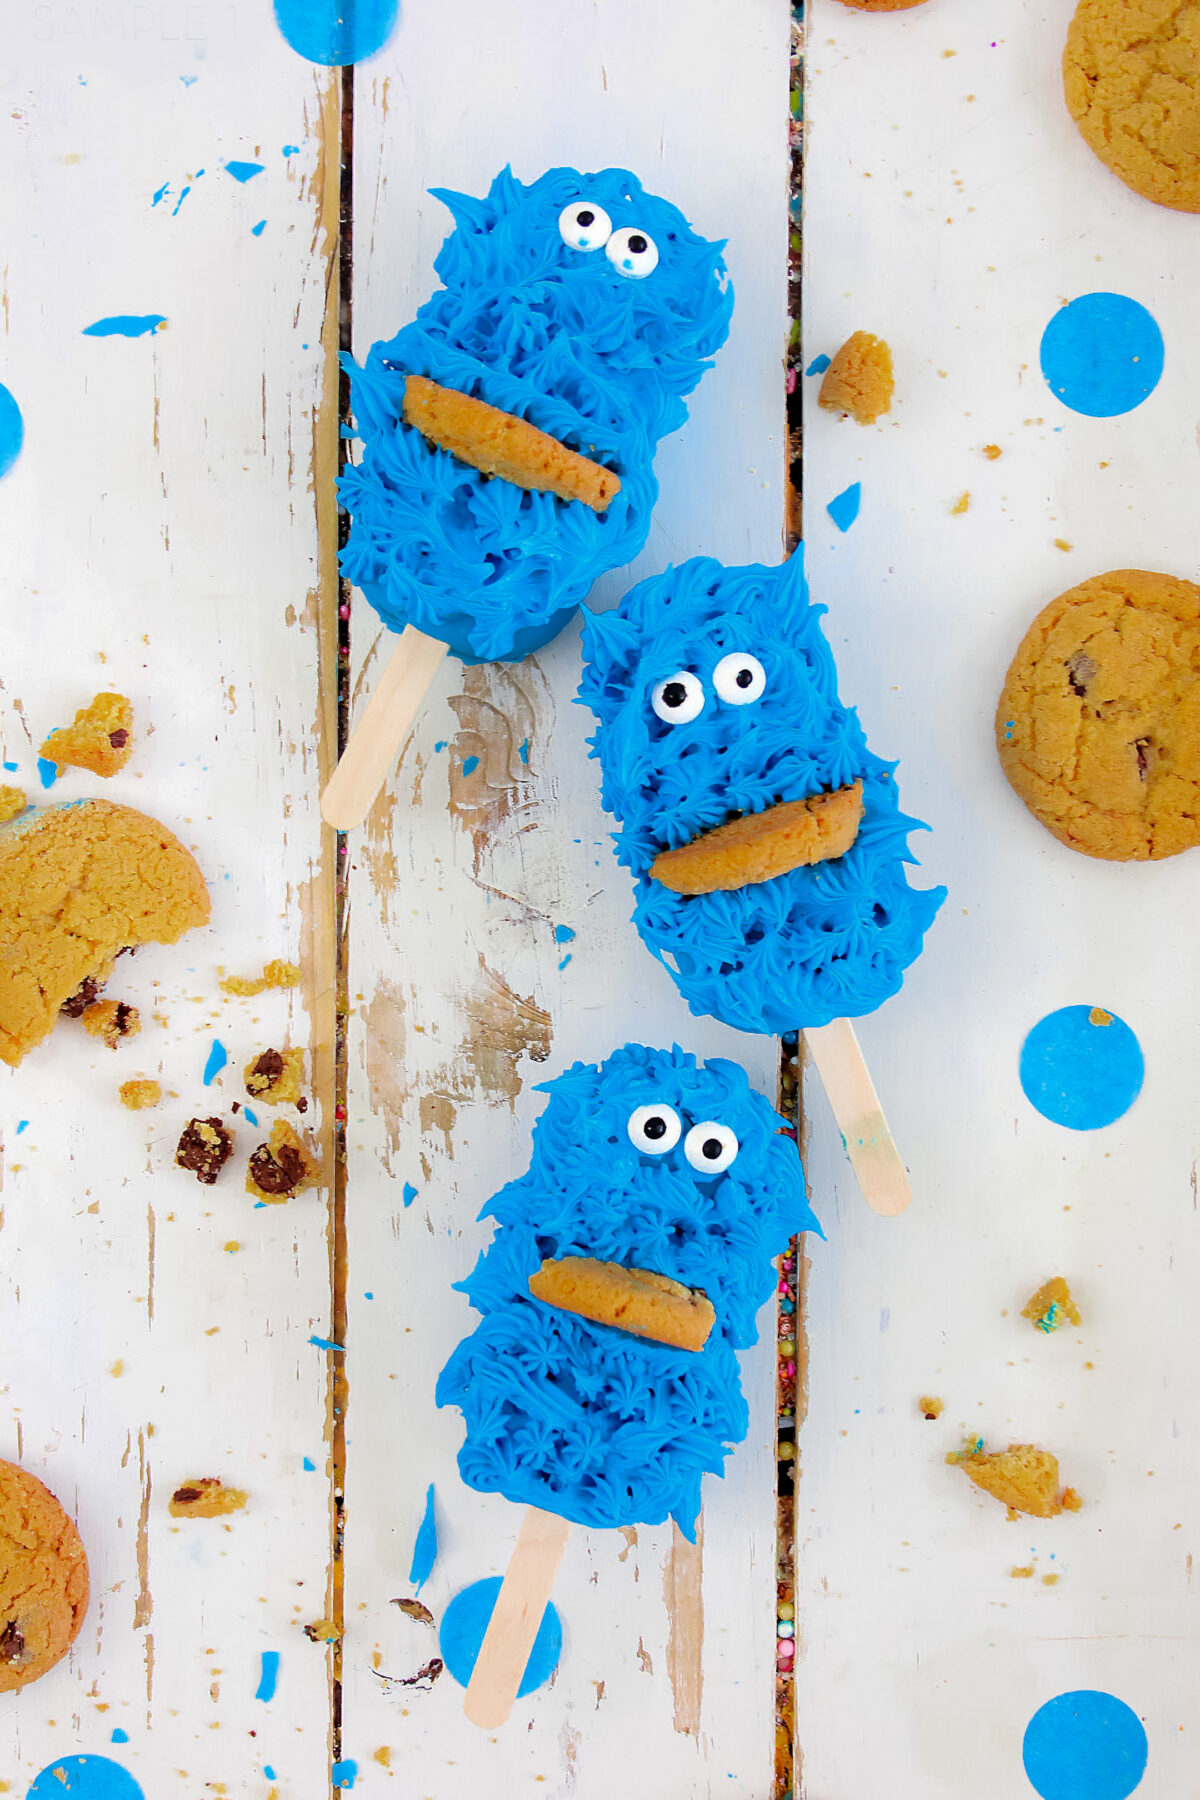
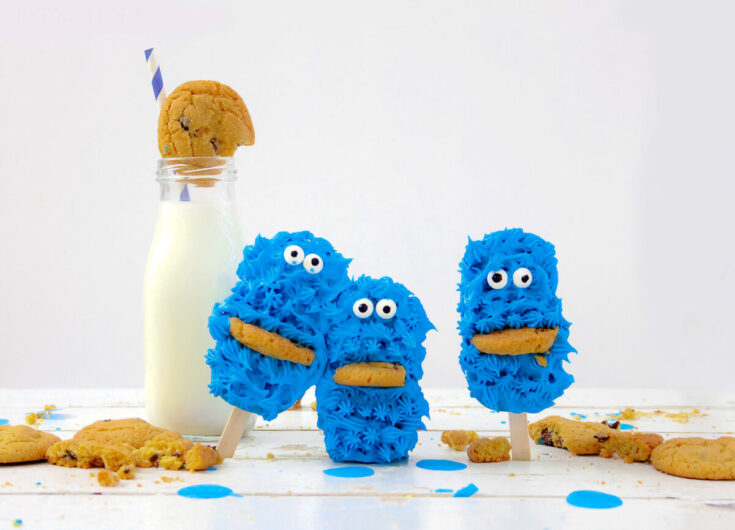
When you’re ready to decorate the cakesicles; remove the cakesicles from the molds, and set aside. Place the frosting tip in the pastry bag, and place the blue frosting in the bag. Squeeze the frosting onto the top of the cakesicles in quick short bursts, until the cakesicle is covered with the frosting.
Add eyes, and place half of a mini chocolate chip cookie for the mouth. Cakesicles can be served immediately.
If not serving until later, place the cakesicles in a single layer, and place in the refrigerator until time to serve.
Cookie Monster Cakesicles
Discover how to make delightful Cookie Monster Cakesicles with our easy-to-follow recipe. Perfect for sesame street themed parties!
Ingredients
- 1 package Vanilla cake mix
- 1 package Betty Crocker Chocolate chip cookie mix
- 1 cup mini chocolate chips
- 1 package White chocolate Almond Bark
- 1 tube of aqua blue food coloring gel
For the Frosting:
- 1 cup Vegetable shortening
- 1 cup Butter
- 7 1/2 cups (2 lbs) powdered sugar
- 4 Tablespoons milk
Instructions
Make the Cake
- Follow the package directions for ingredients and mixing the cake.
- Place parchment paper in the bottom of a 9 x 13 baking dish, and pour
the cake batter into the dish, then bake as directed. - When the cake is done, cool completely.
- Follow the directions on the package, and make the cookies small enough for the mouth decorations.
- Cool the cookies completely.
Prepare the Frosting
- While the cake is cooling, mix the frosting; In the mixing bowl of a stand mixer, blend the vegetable shortening and butter until smooth and creamy.
- Add the powdered sugar a little at a time, alternating with the milk, and blending between additions, until the frosting is thick and creamy.
- Reserve half a cup of frosting, then mix in blue food colouring with the remaining frosting until desired colour of blue is achieved. Cover, and place blue frosting in the refrigerator.
Make the Cakesicles
- When the cake is cool, break the cake up into crumbs, right in the dish you baked it in, and sprinkle mini chocolate chips over the cake. Add the reserved frosting to the cake and combine together. Set aside.
- In a microwave safe bowl, melt 8 squares of the White Chocolate almond bark in the microwave on 10 second intervals until the chocolate is melted. Remove from microwave, and add the aqua gel food coloring until you have the desired color of aqua blue.
- With a spoon, place a heaping Tablespoon of the blue chocolate into each of the cake-sicle molds, and turn the molds back and forth, coating the inside of the molds with the blue chocolate. Follow the guides at the bottom of the cakesicle mold, and insert the popsicle sticks into the mold, and onto the blue chocolate. Place the mold into the freezer, and allow the chocolate to set (about an hour).
- Press the cake mixture into the cake-sicle molds until the molds are full of cake, and level with the sides of the molds. Place a generous amount of the blue chocolate over the cake, sealing the cake-sicles in the molds. Place the molds back in the freezer and allow them to remain in the freezer for at least 4 hours, or overnight for best results.
Decorate the Cakesicles
- When you’re ready to decorate the cakesicles; remove the cakesicles from the molds, and set aside. Place the frosting tip in the pastry bag, and place the blue frosting in the bag. Squeeze the frosting onto the top of the cakesicles in quick short bursts, until the cakesicle is covered with the frosting.
- Add eyes, and place half of a mini chocolate chip cookie for the mouth. Cakesicles can be served immediately.
- If not serving until later, place the cakesicles in a single layer, and place in the refrigerator until time to serve.
Recommended Products
As an Amazon Associate and member of other affiliate programs, I earn from qualifying purchases.
Nutrition Information:
Yield:
12Serving Size:
1 cakesicleAmount Per Serving: Calories: 549Total Fat: 39gSaturated Fat: 20gTrans Fat: 1gUnsaturated Fat: 16gCholesterol: 51mgSodium: 451mgCarbohydrates: 50gFiber: 1gSugar: 31gProtein: 3g
This information is provided as a courtesy and for entertainment purposes only. This information comes from online calculators. Although rosemaryandmaple.com attempts to provide accurate nutritional information, these figures are only estimates.

Liz Lampman is a coffee-fuelled Mom of 2 girls and lives in Hamilton, Ontario. She enjoys cooking and baking, food photography, and reading.


