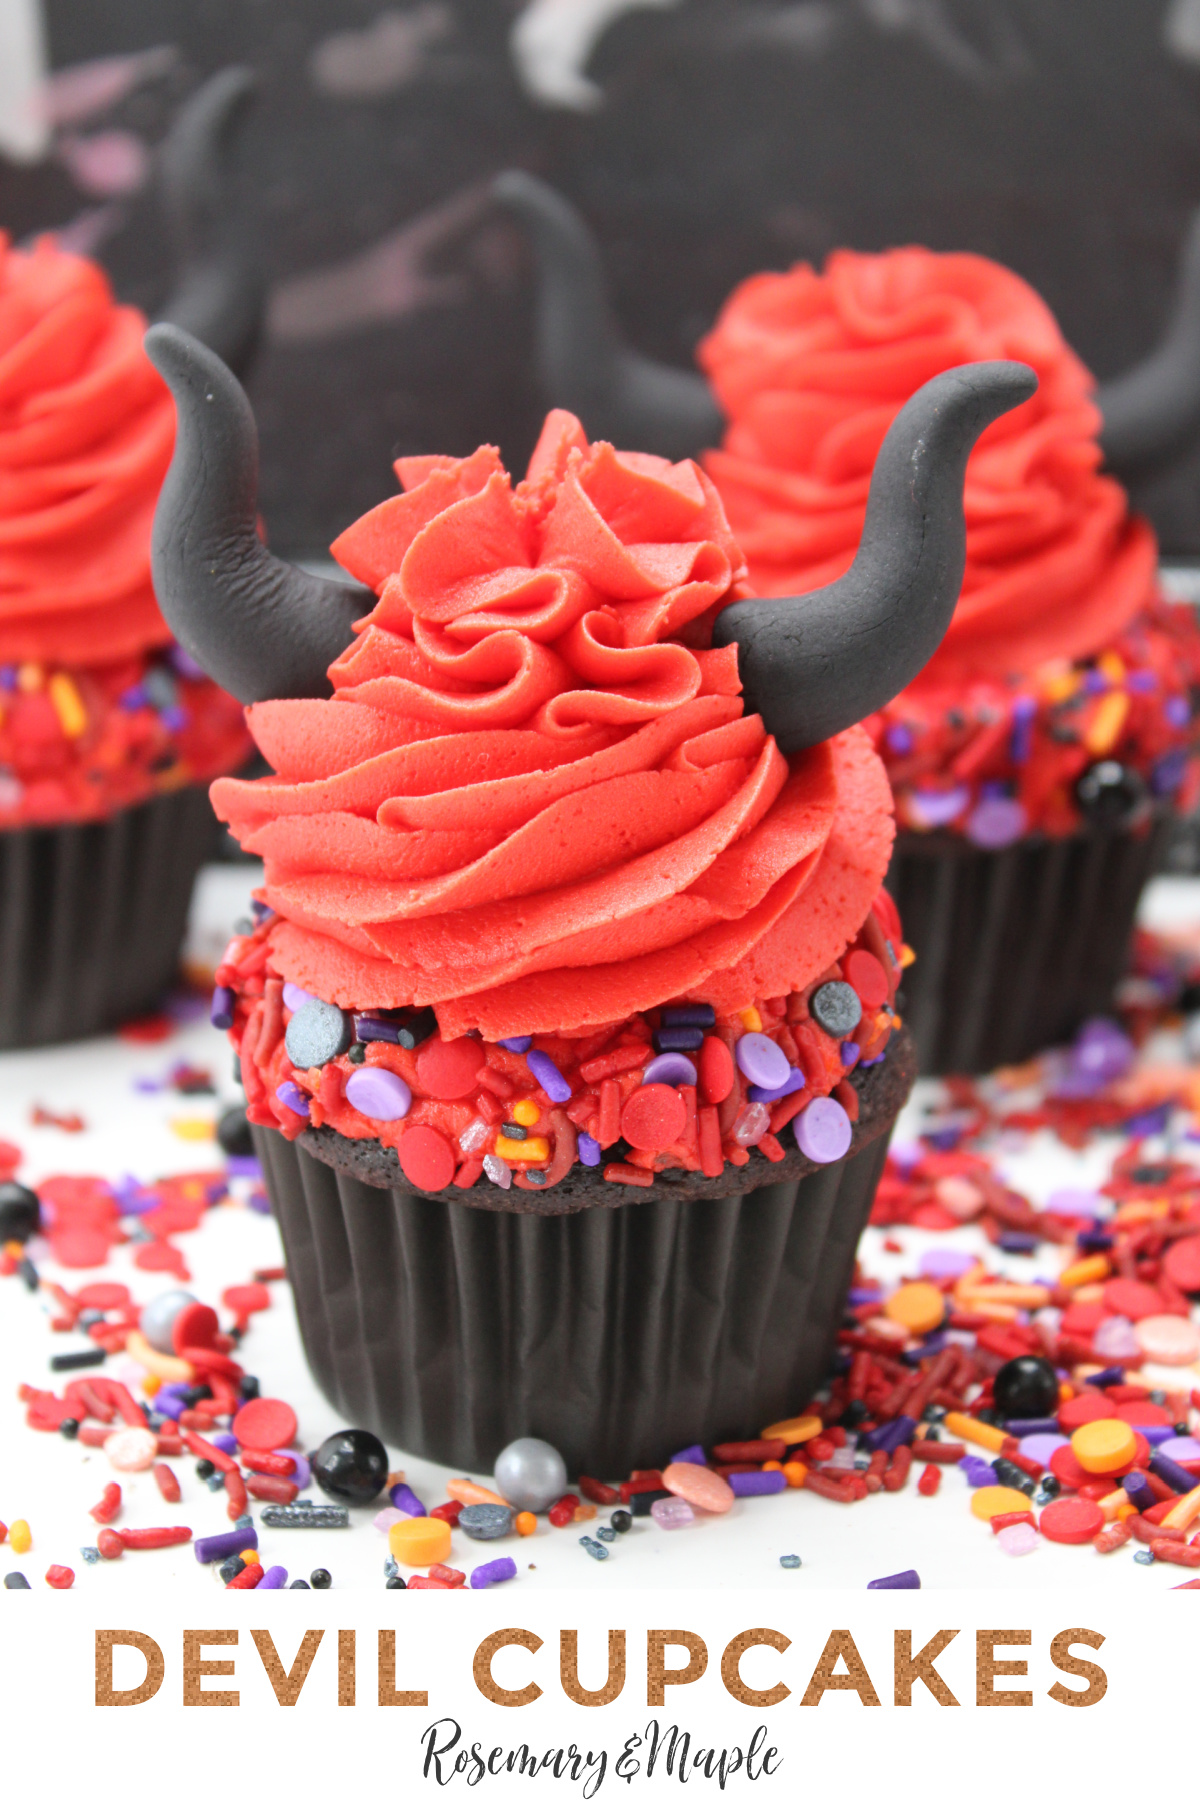
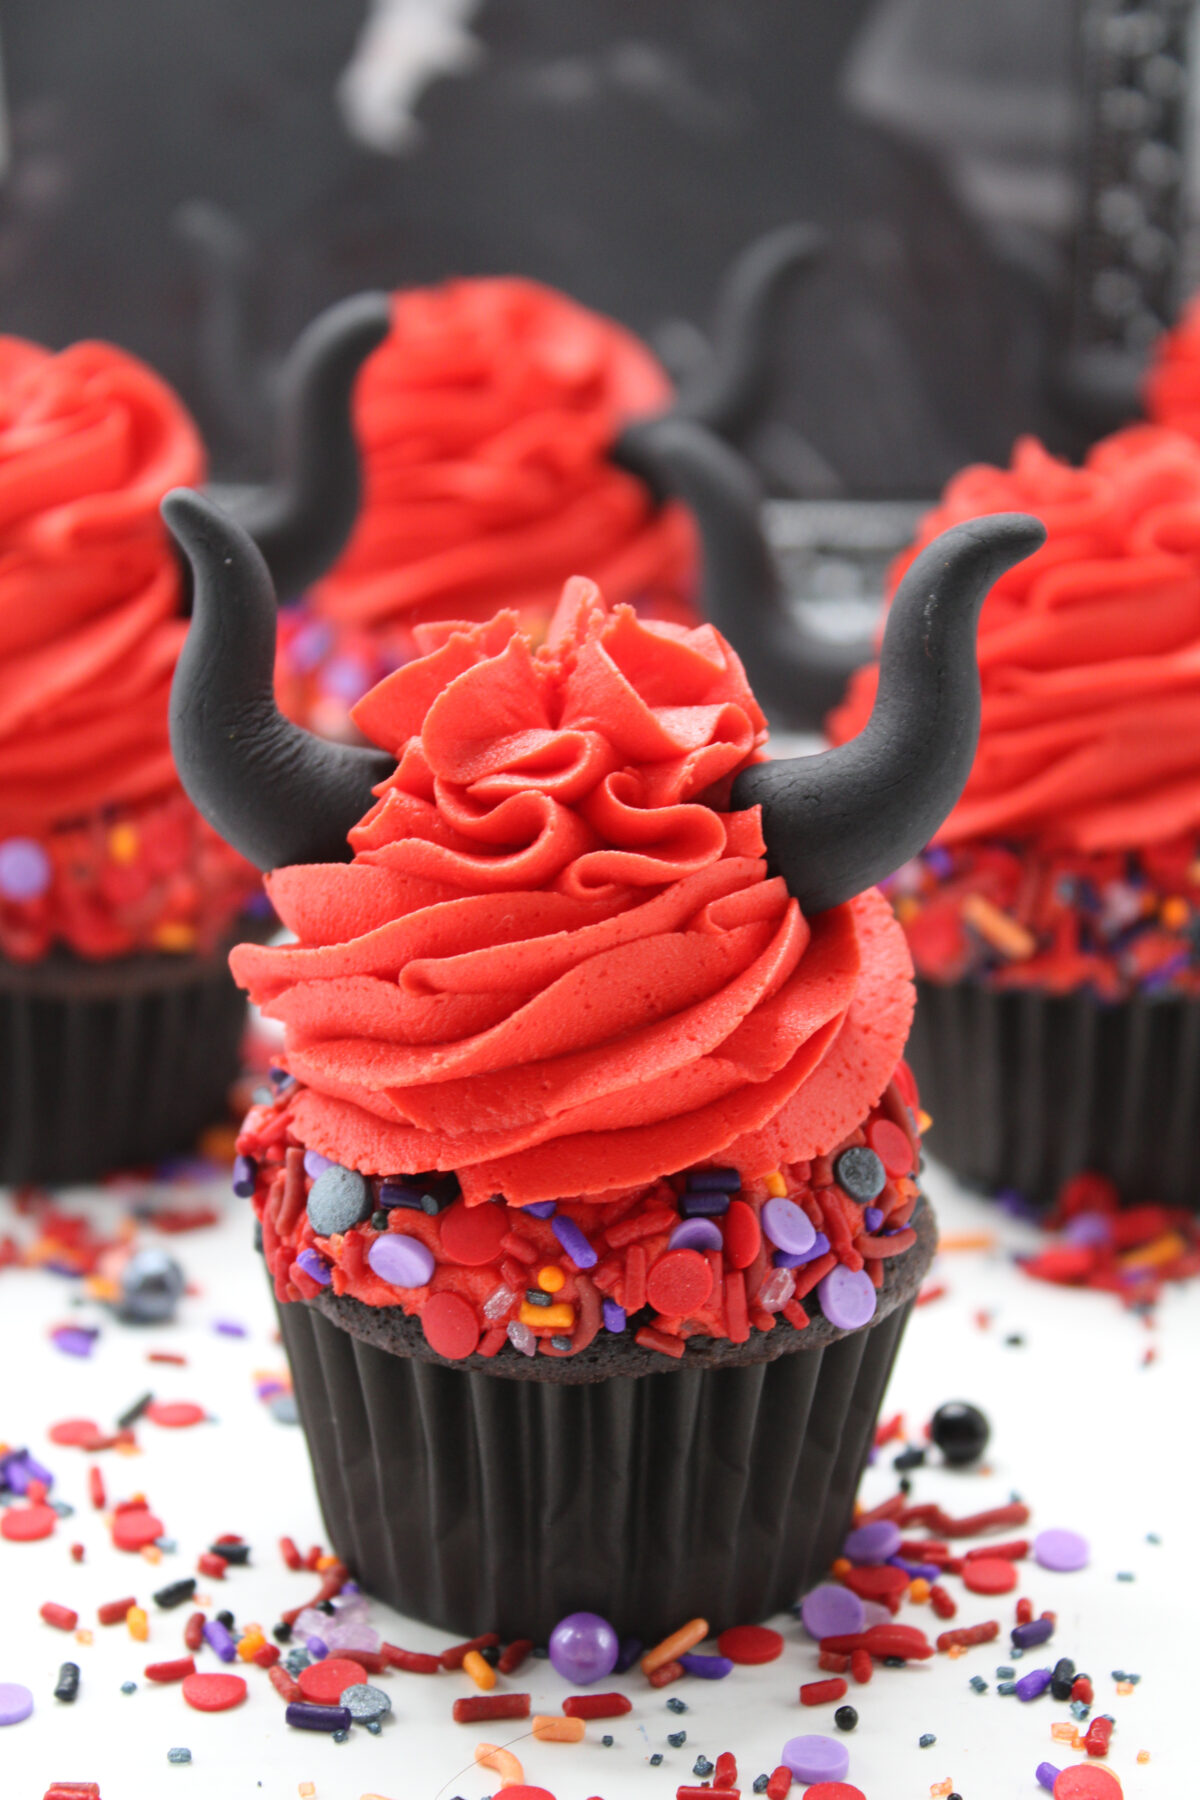
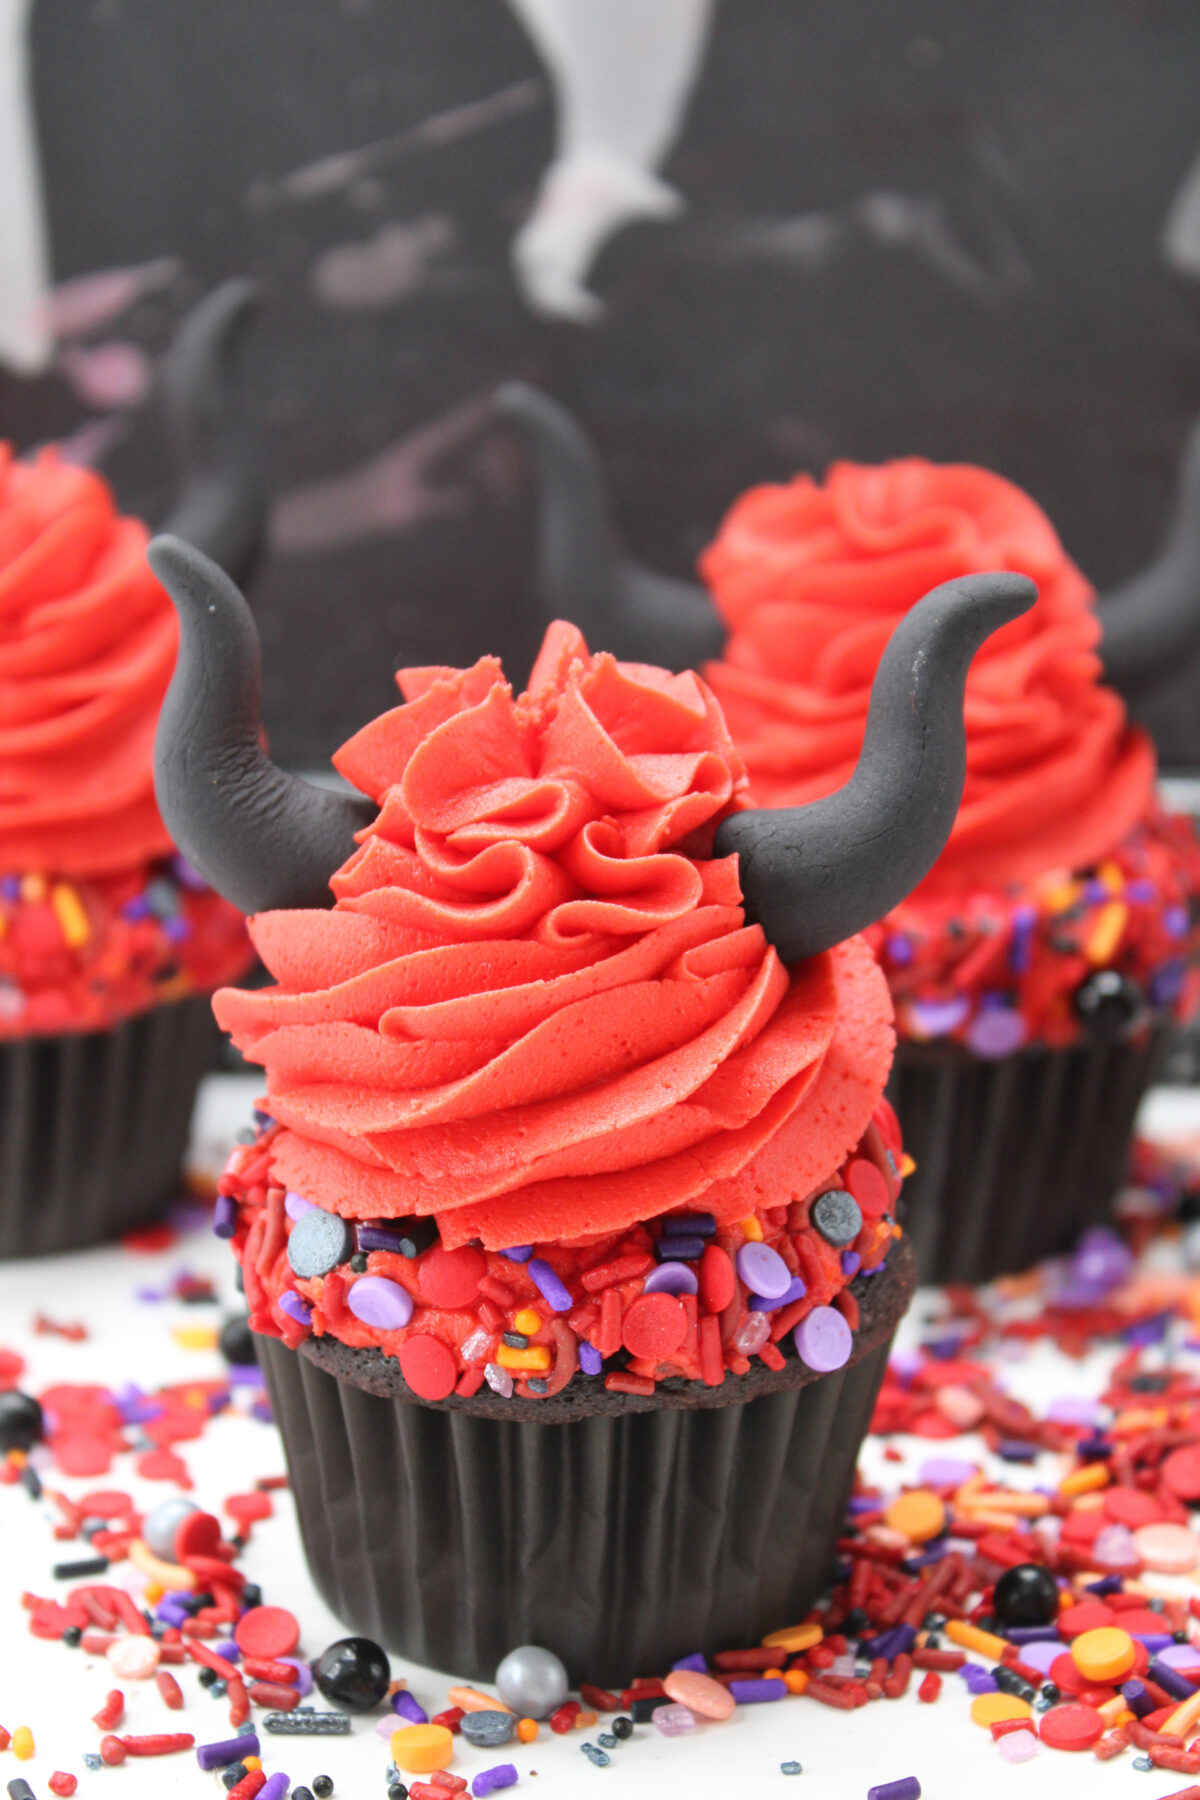
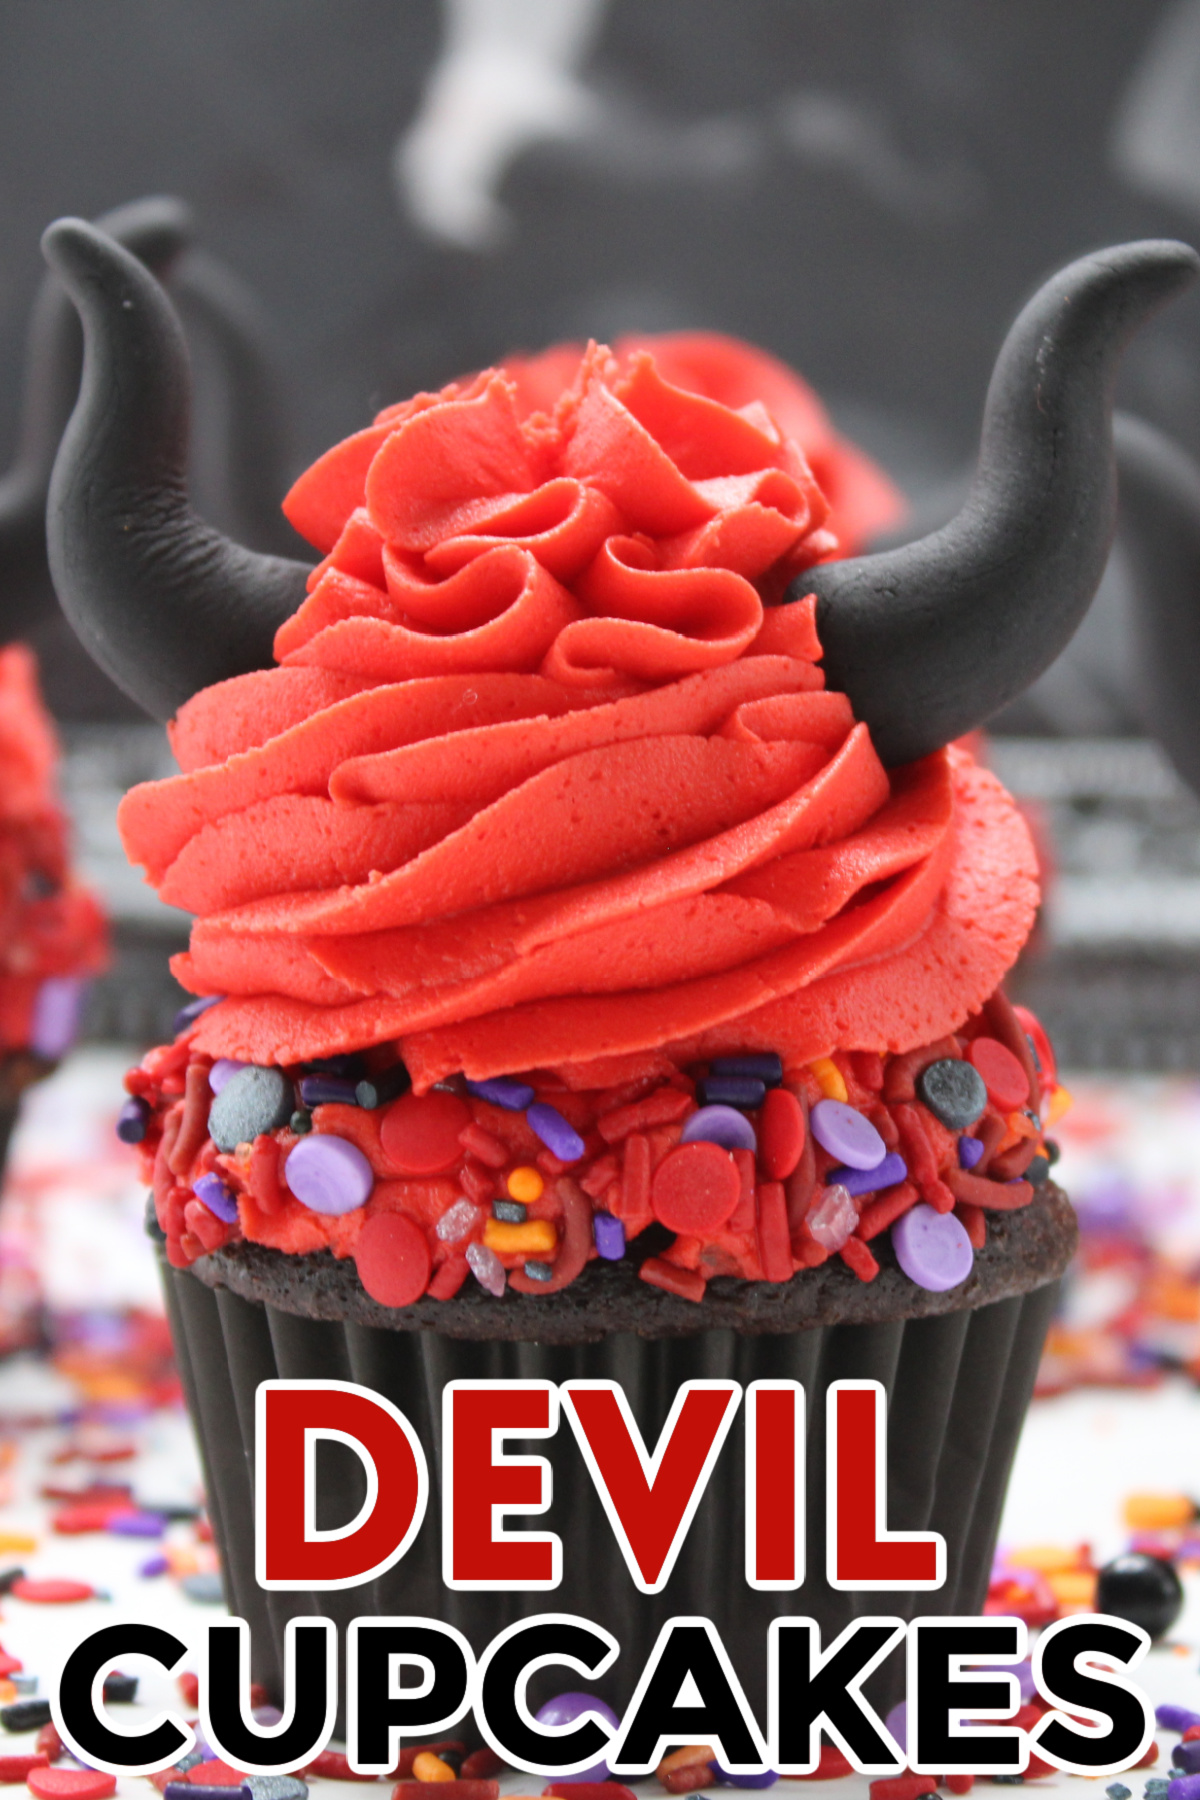
This Halloween cupcake decorating tutorial will show you how to make devil horns for your own devil cupcakes. It’s easy, fun and delicious!
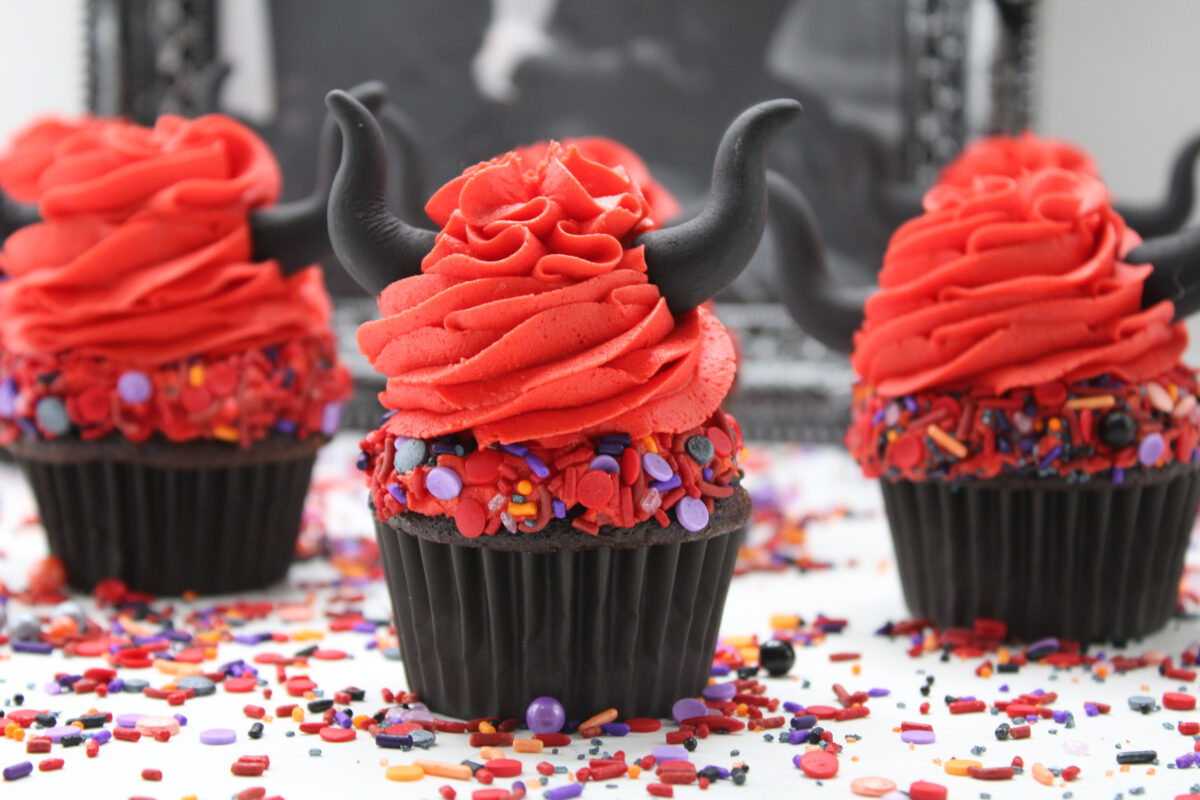
If you’re looking for a devilish treat to celebrate Halloween, look no further than these cupcakes!
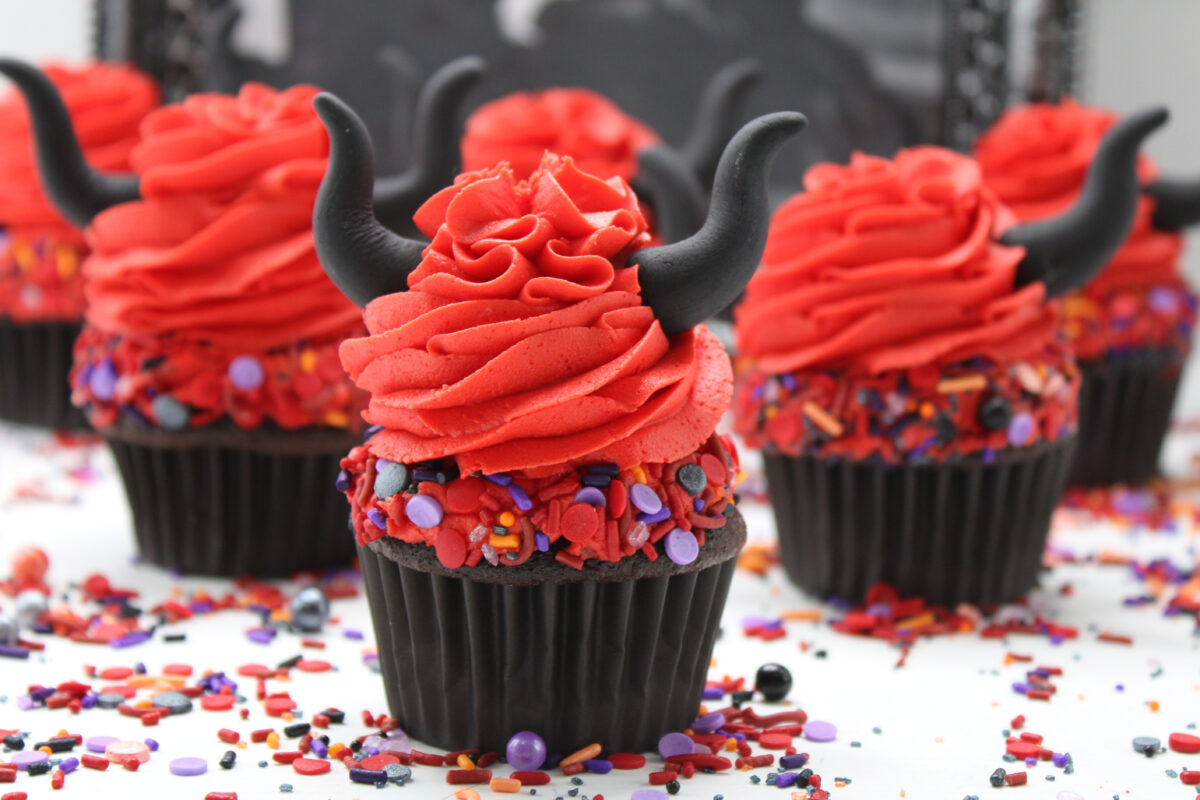
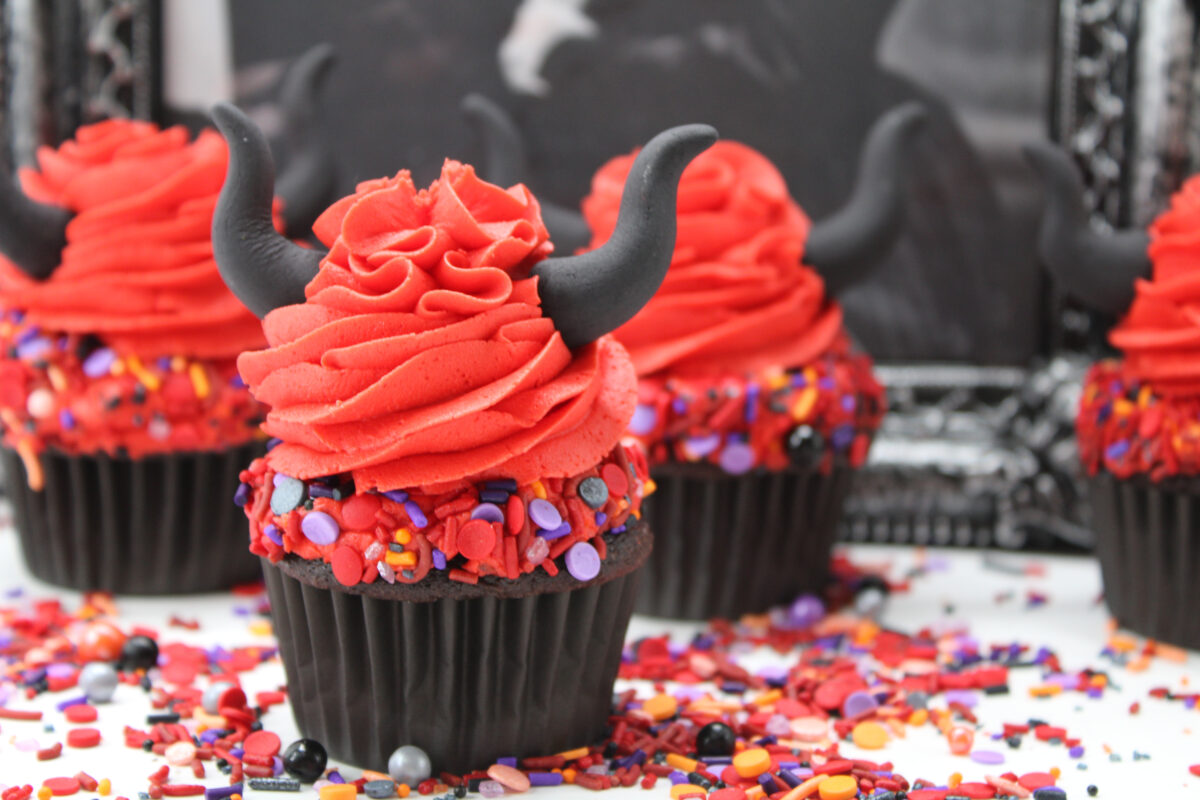
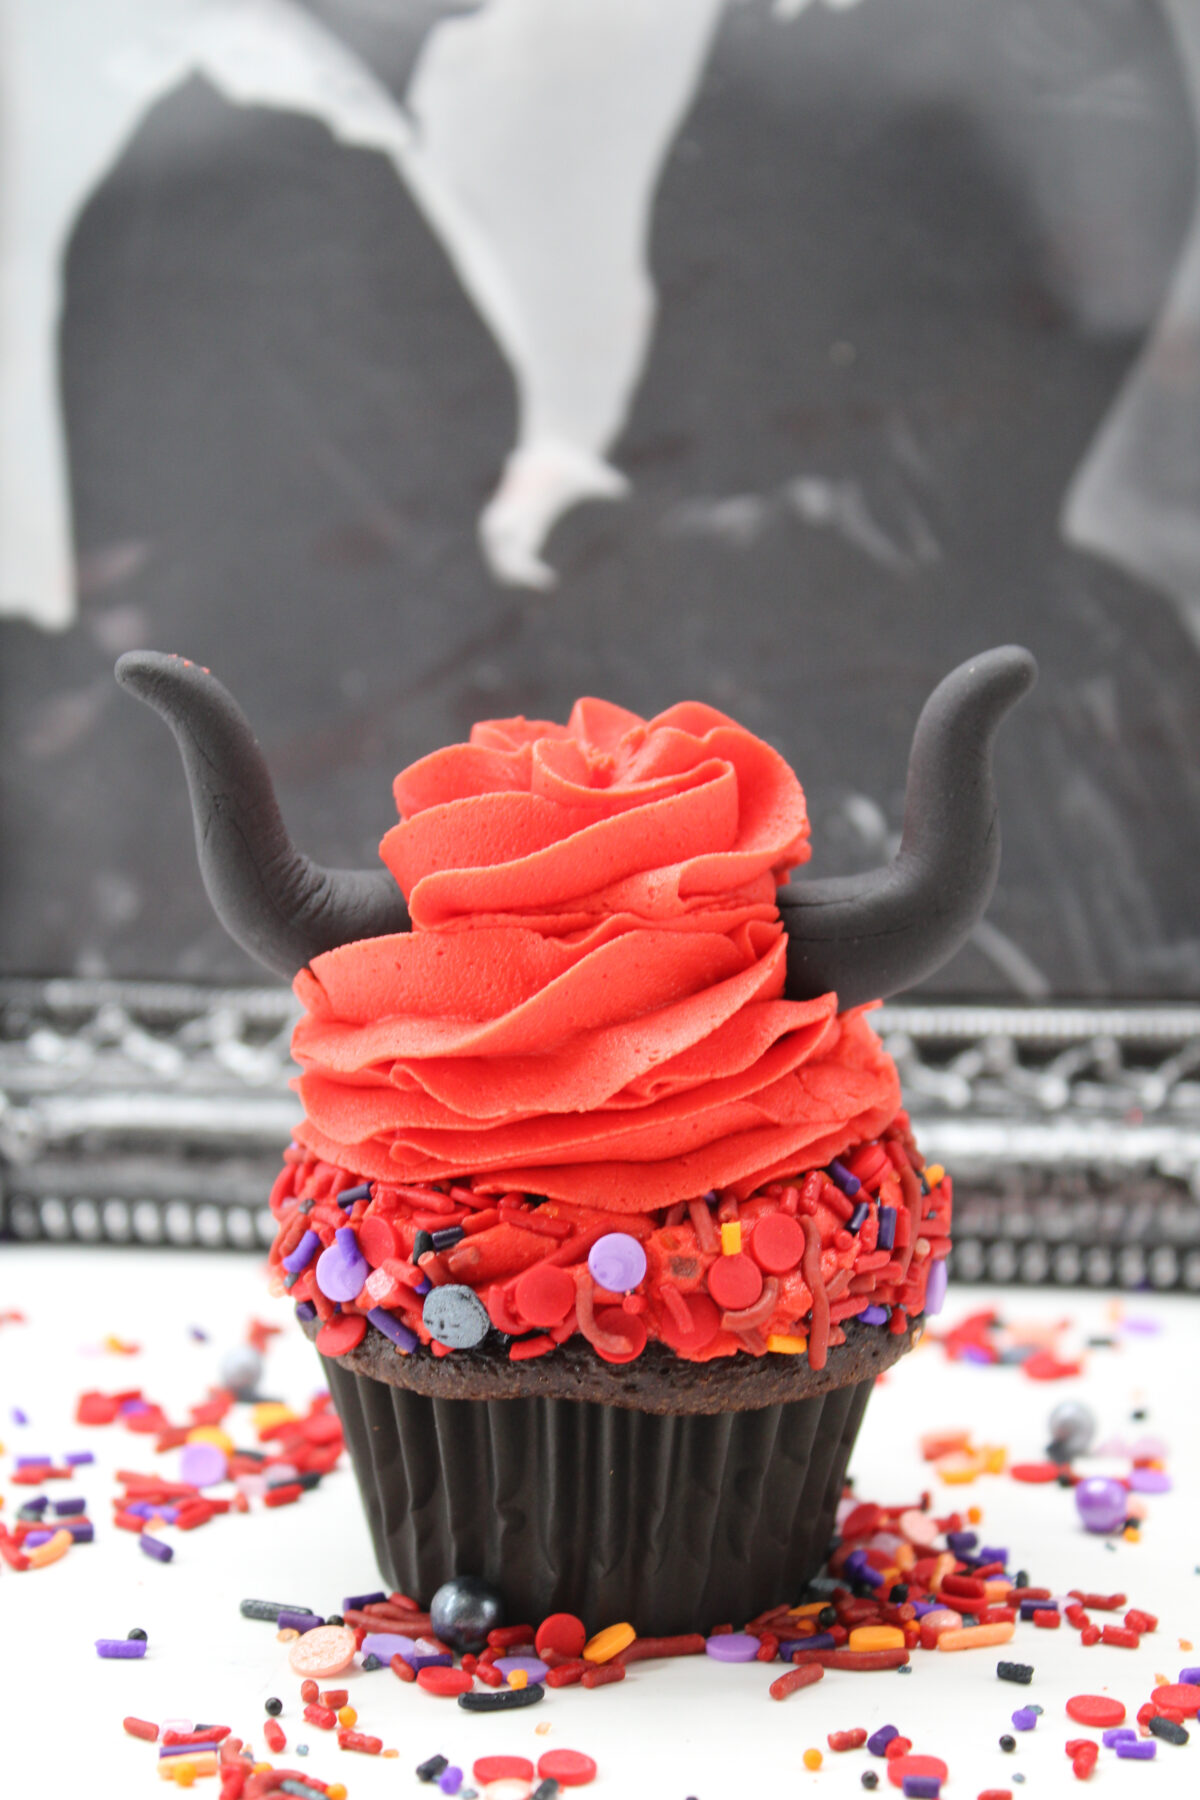
Decorated with black fondant horns, red frosting, and seasonal sprinkles, they’ll be sure to spook and delight your guests.
Best of all, they’re easy to make and require minimal ingredients. So what are you waiting for? Whip up a batch of devil cupcakes today!
Tips for the Best Box Mix Cupcakes
Box mixes are easy to use, but you should be aware of some cupcake baking basics to make the most out of them!
- Make sure NOT to over-mix the batter if you want light, fluffy cupcakes.
- Use ingredients that are at room temperature.
- Do NOT open the oven door while baking.
- Always fill your cupcake liners about 2/3 full.
- Allow your cupcakes to completely cool before frosting.
How to Store Devil Cupcakes
These cupcakes should last up to 4 days at room temperature stored in an airtight container. Avoid storing in the fridge unless it is warm enough inside that the buttercream might melt. They can last in the fridge for up to 5 days, but they will start to dry out quickly.
You can also freeze your cupcakes (frosted or unfrosted) for up to 3 months before defrosting at room temperature and eating.

About the Equipment Needed for Devil Cupcakes
- Cupcake liners – I used black paper liners but I really like these black foil liners.
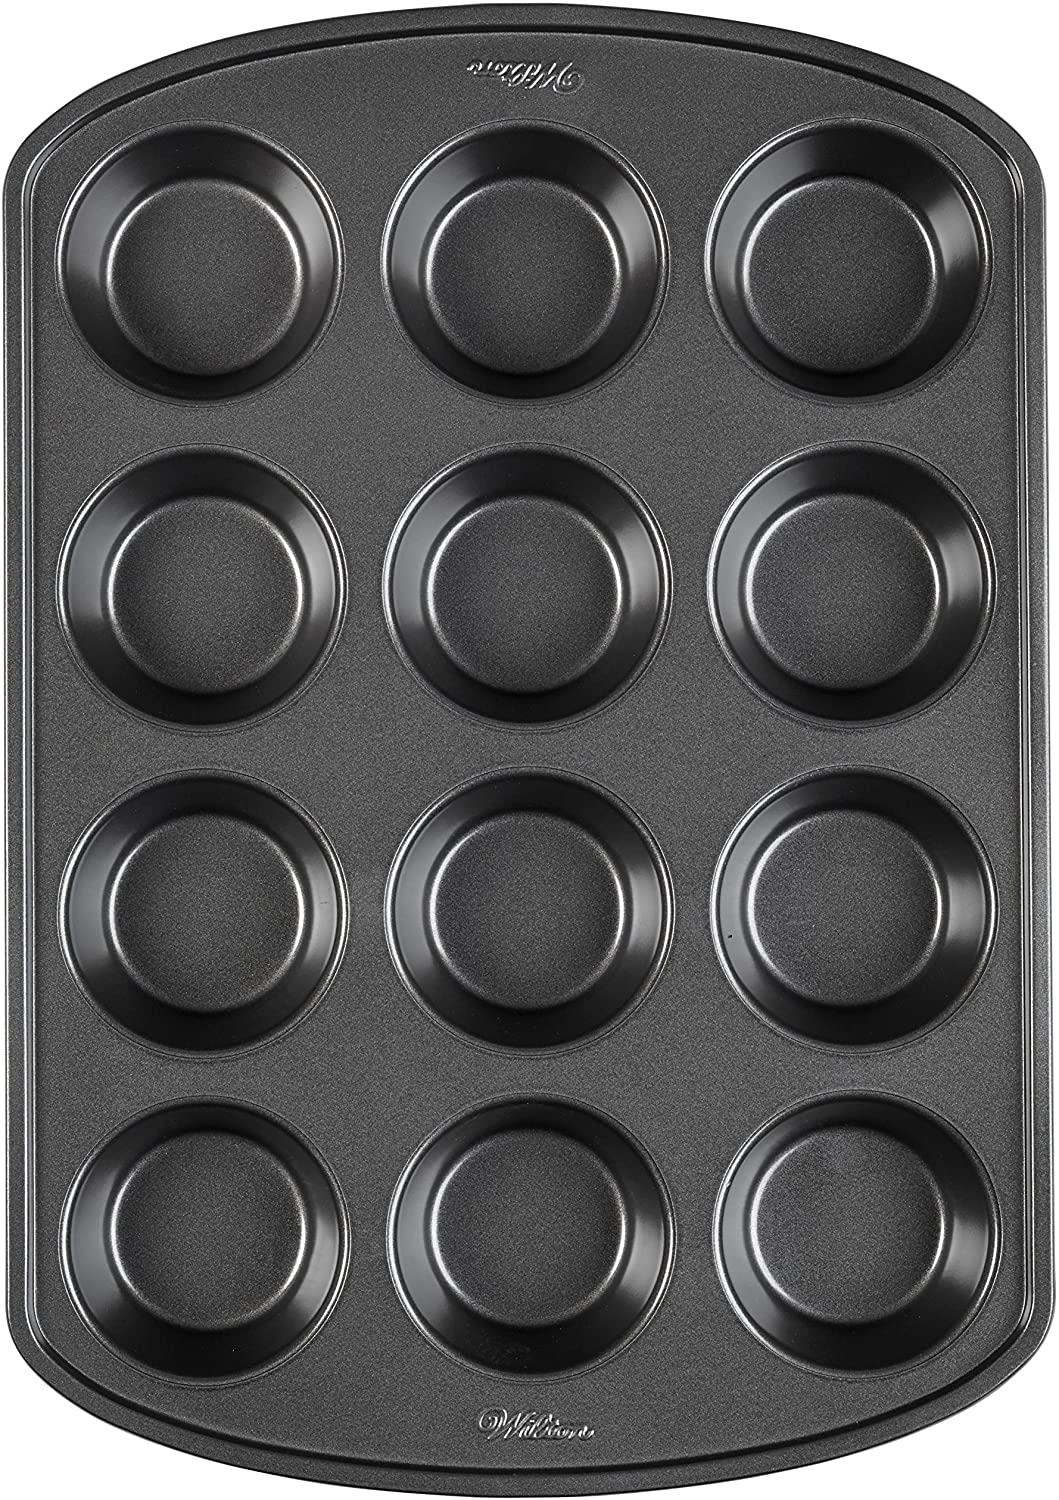
- Cupcake/muffin pan – Any standard cupcake pan will do.
- Medium cookie scoop – I find a cookie scoop is the easiest way to fill up a muffin pan.
- Toothpicks
- Piping bag – You can use disposable bags or if you have a reusable pastry bag, that works too.
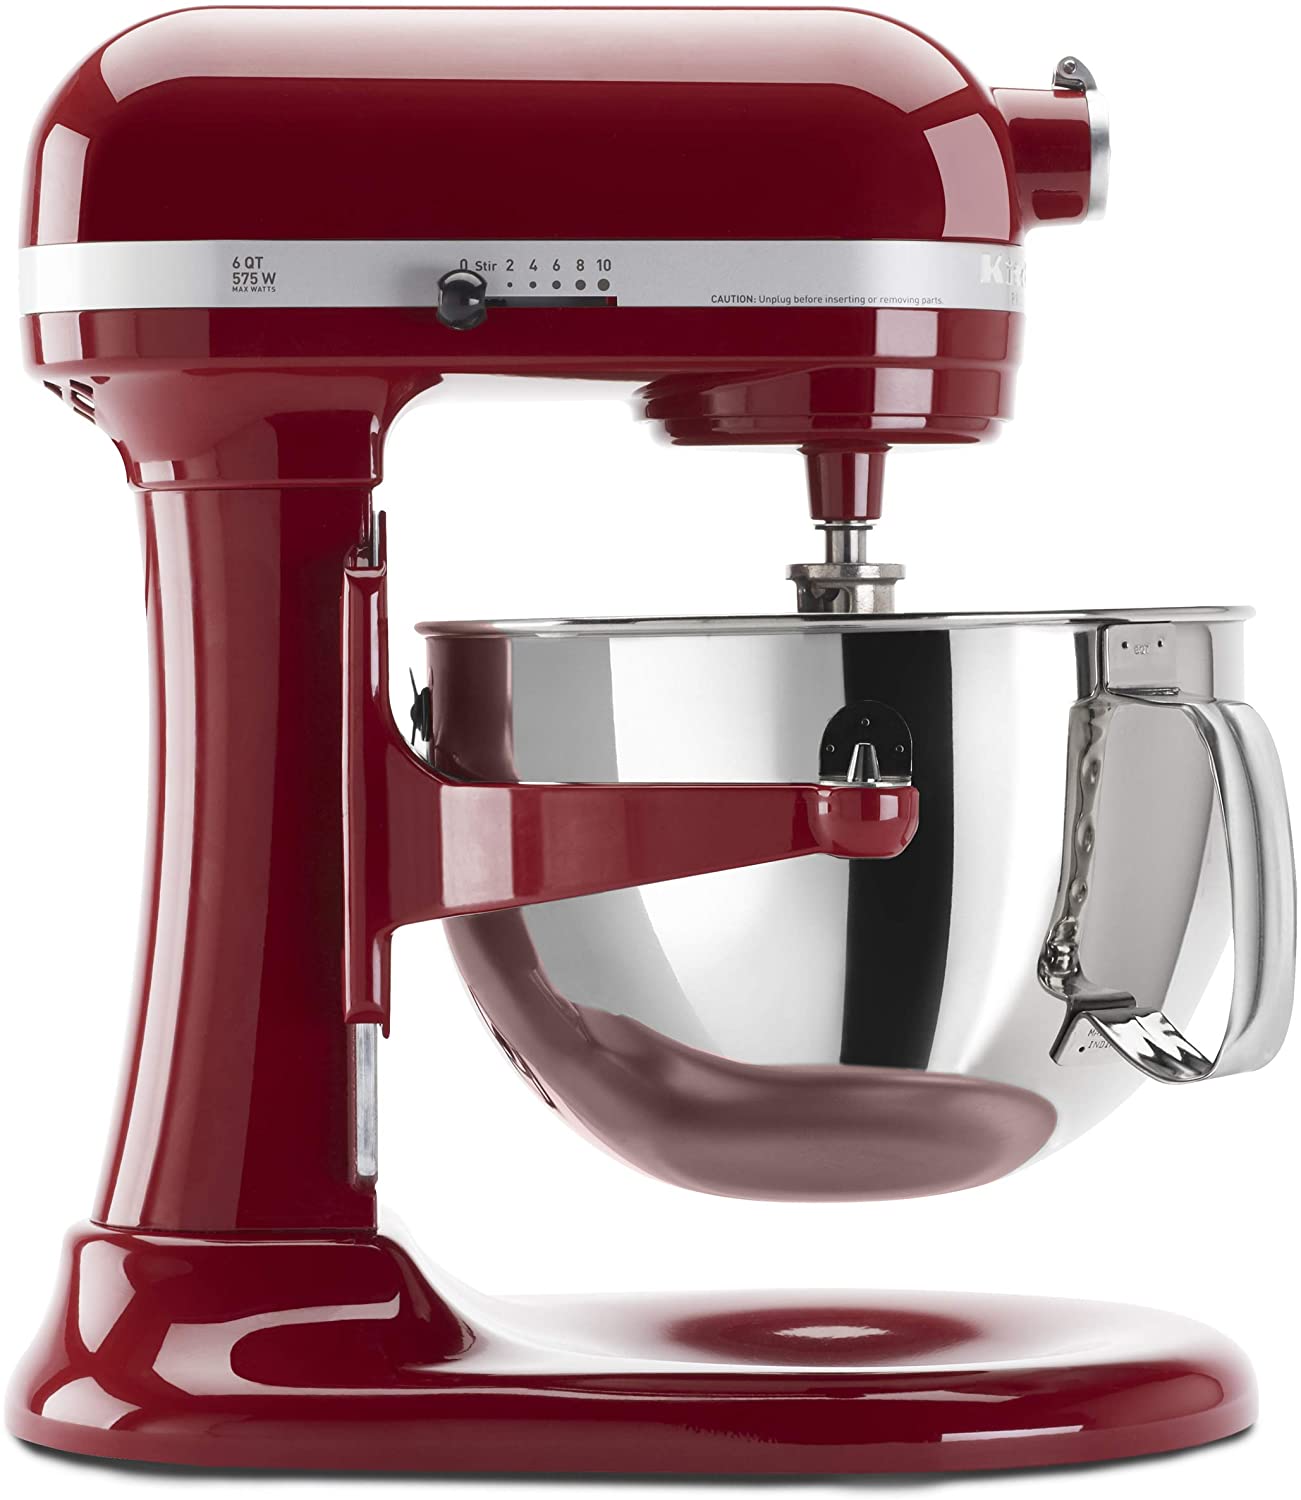
- Stand Mixer – An electric mixer makes it a lot easier to make fluffy, smooth frosting.
- Star tip – Use a 1M piping tip.
- Mini pipettes – Use disposable pipettes or mini flavour injectors.
About the Ingredients for Devil Cupcakes
Cake mix – Use any chocolate cake mix that you like. Devil’s food cake would be very apropos. You could also just make your favourite chocolate cake recipe. Use room temperature eggs and whole milk for a batter that comes together perfectly. Oil helps to keep the crumb moist and tender. You can skip the food colouring if you prefer.
Fondant – Black fondant can be found at Michaels, Walmart, or Hobby Lobby.
Butter – For the frosting make sure you use room temperature butter so that it creams nicely.
Sugar – You will need powdered sugar to make the buttercream frosting and also to help shape the fondant.
Vanilla extract – Use real vanilla extract for the best results, or you can use artificial vanilla extract instead.
Cream – Using cream is the best way to make perfect frosting, but you can use milk instead if you like and still get very good results.
Food colouring – Use only gel food colouring for the best results, consistency, and flavour.
Sprinkles – I used a combination of purple sprinkles, red sprinkles, orange sprinkles, and black sprinkles. You will need about 8 oz of sprinkles total. This 8 oz pack of red and black sprinkles would look fantastic, it also includes cute black bats.
Looking for More Chocolate Dessert Recipes?
Check out more of my favourite chocolate recipes!
This is the best chocolate mousse recipe that you will ever find! Rich, creamy, and absolutely delicious, this dessert is sure to be a hit!
This decadent chocolate whiskey cake is perfect for any celebration! With a rich ganache made from whiskey, this cake is sure to impress.
These classic Chocolate Walnut Brownies are perfectly rich & dense. They are quick and easy to make and taste so much better than boxed mix!
How to Make Devil Cupcakes
Yields: 14 cupcakes | Prep time: 45 minutes | Cook time: 21 Minutes
Ingredients:
For the Decorations:
4.4 oz Black Fondant
1 Cup Powdered sugar
For the Cupcakes:
1 box of Triple Chocolate cake mix
1 ¼ Cup whole milk, room temperature
½ Cup oil
3 large eggs, room temperature
Black gel food colouring
For the Vanilla frosting:
2 Cups butter, softened
5 Cups powdered sugar
2 teaspoons pure vanilla extract
6 Tablespoons heavy whipping cream
Red gel food colouring
Purple sprinkle mix
Red sprinkle mix
Orange sprinkle mix
Black sprinkle mix
Directions:
A day ahead of preparing the cupcakes, make the fondant horns.
Pinch off about 2 teaspoon of black fondant and roll into a ball.
Dust your hands with powdered sugar and mold the black fondant ball into a cylinder.
Make one end pointed and curve it into an upwards position.
Carefully push a toothpick about 2 inches into the thicker side of the horn.
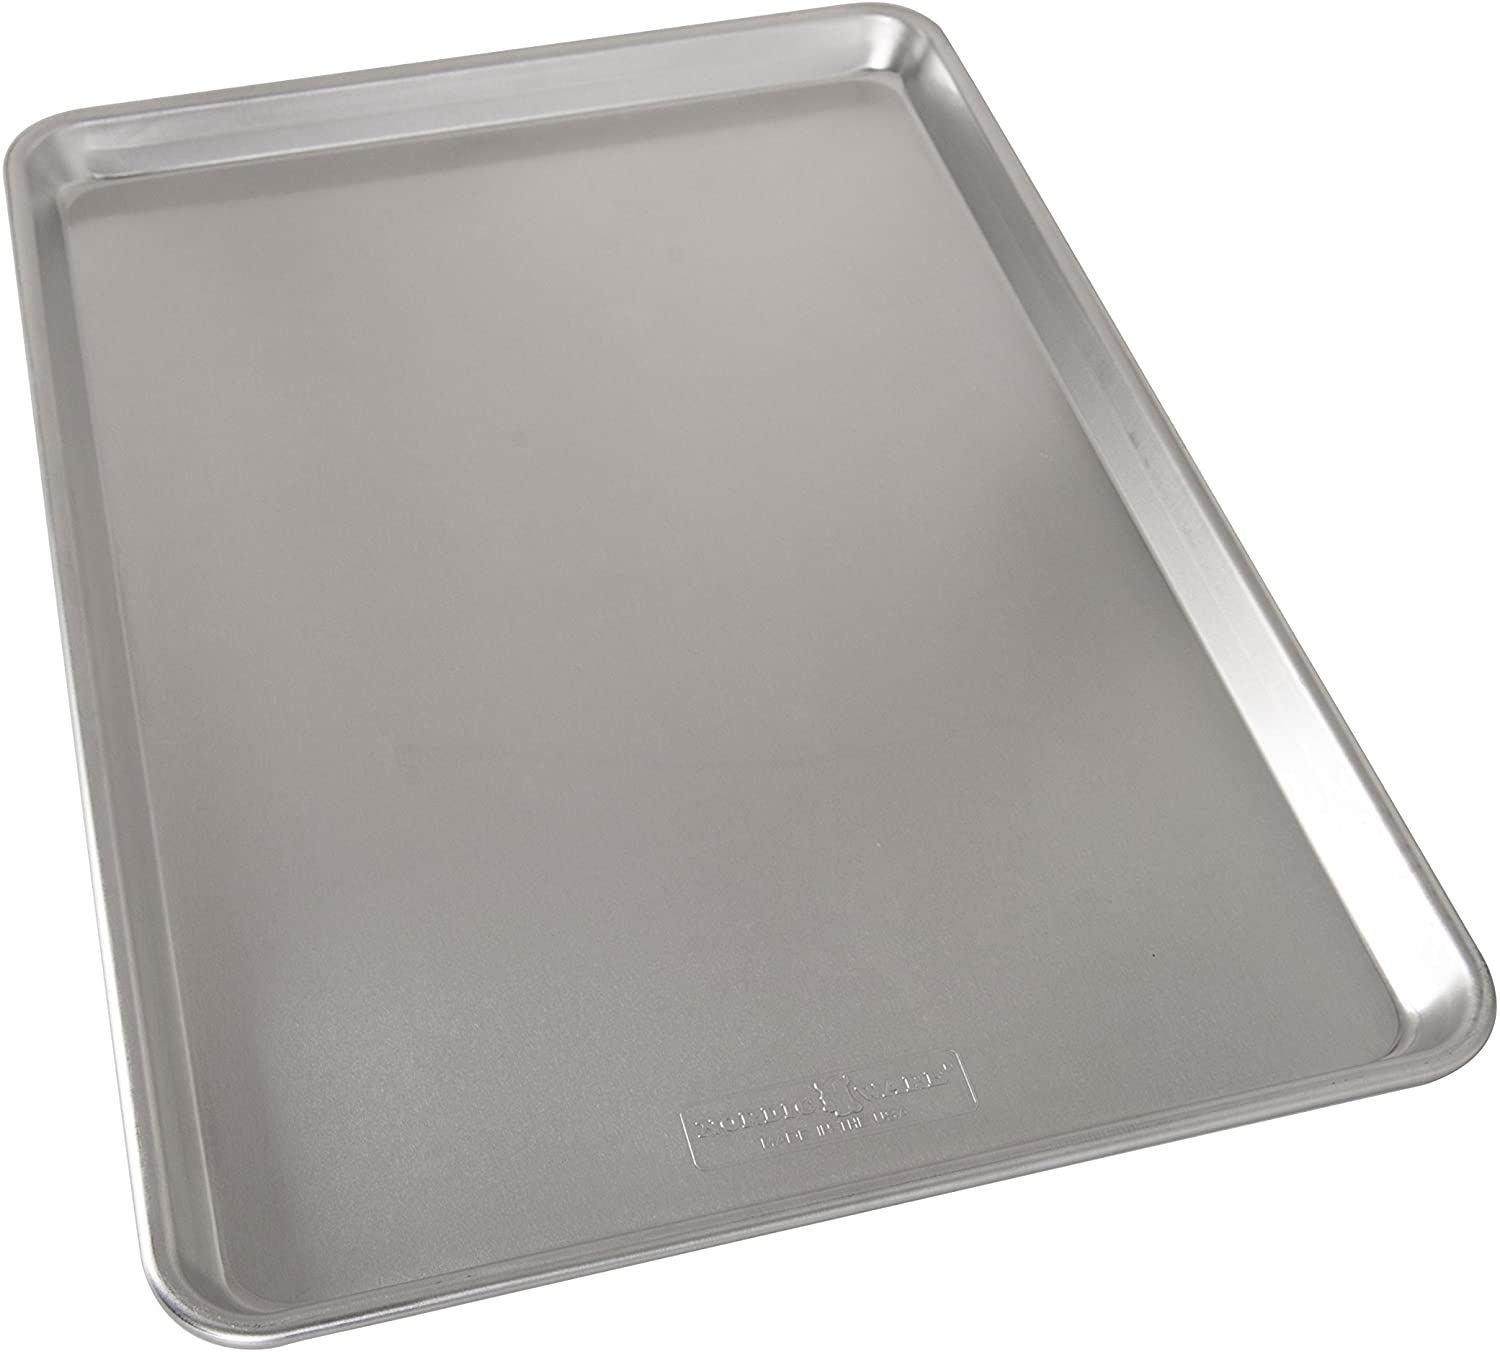
Set aside onto a cookie sheet, fitted with a silicone mat, and leave out on the counter overnight.
When ready to prepare the cupcakes, reheat the oven to 350 degrees Fahrenheit and line a cupcake pan with liners. Set aside.
Using a large bowl, beat together the cake mix, milk, butter and eggs until combined and smooth.
Beat in a good amount of black gel food colouring to create a black coloured cupcake.
Fill the cupcake liners ¾ way full and bake in the oven for 21 minutes, or until a tester inserted into the middle of a cupcake comes out clean.
Allow to cool completely.
Using a standing mixer, beat together the butter, powdered sugar, vanilla, and heavy whipping cream until combined, smooth and holds a peak.
Beat in about 5-7 drops of red gel food coloring. Continue to mix until fully combined.
Mix in a few more drops of red food coloring until you achieve a blood red frosting.
Scoop about 2 cups of the red frosting into the piping bag.
Combine the sprinkles into a large bowl.
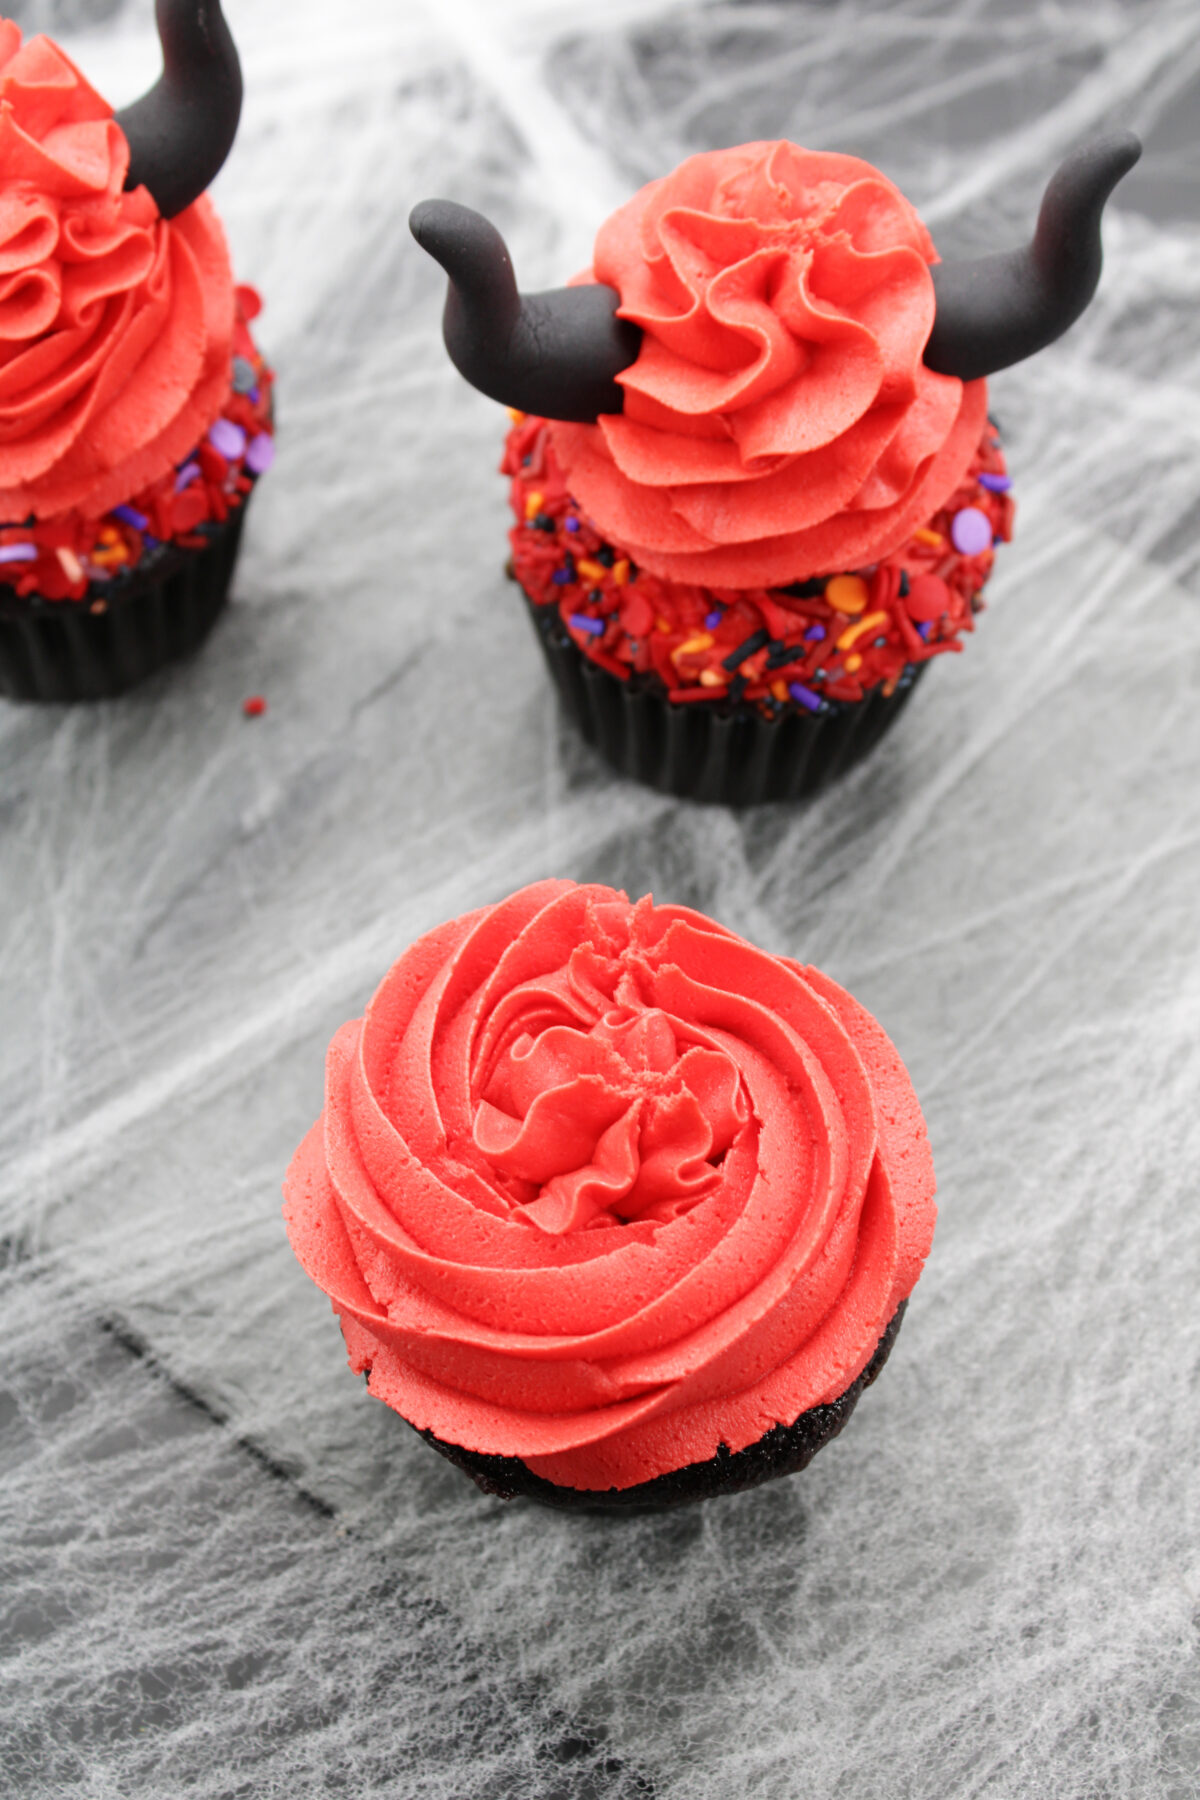
Using the remaining red frosting in the main mixing bowl, smooth some frosting onto the top of the cupcakes.
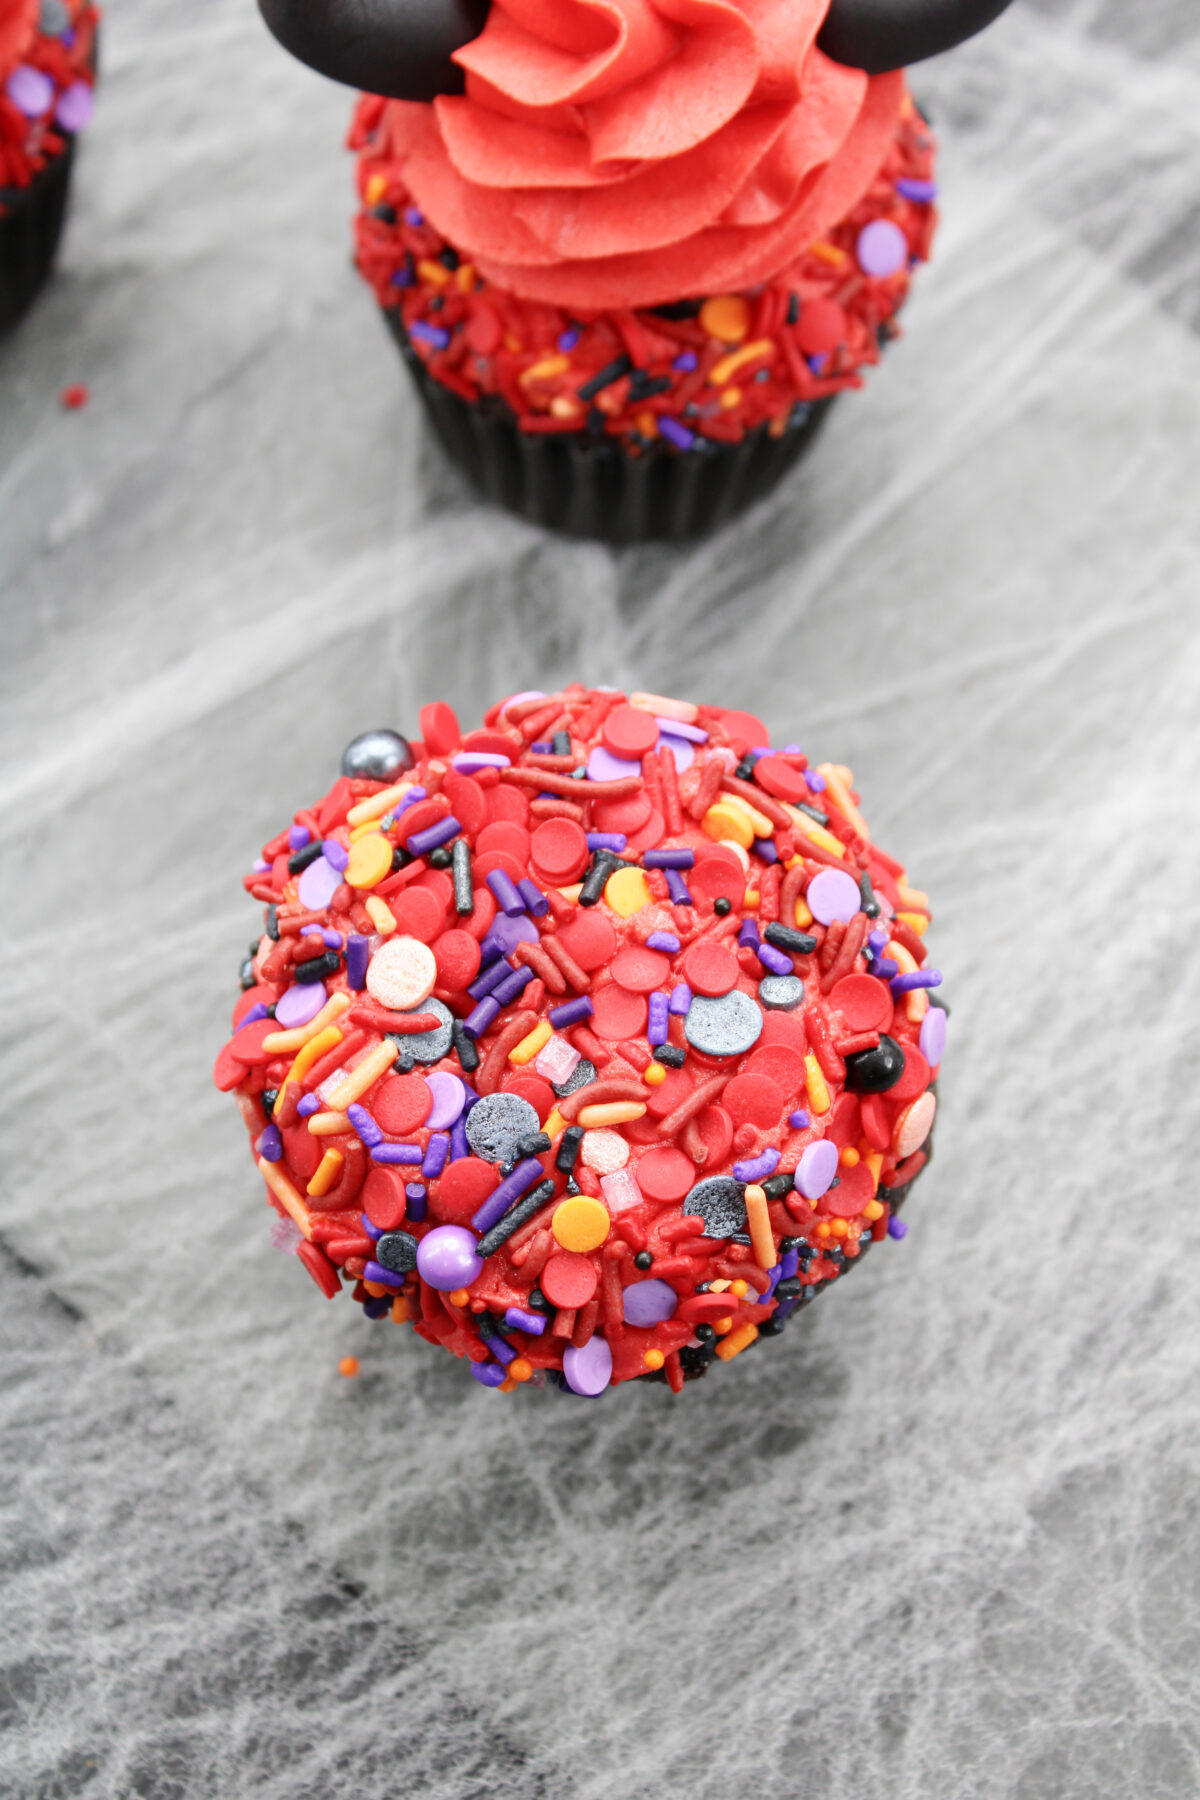
Carefully dip the frosting into the sprinkles and coat entire frosting layer.
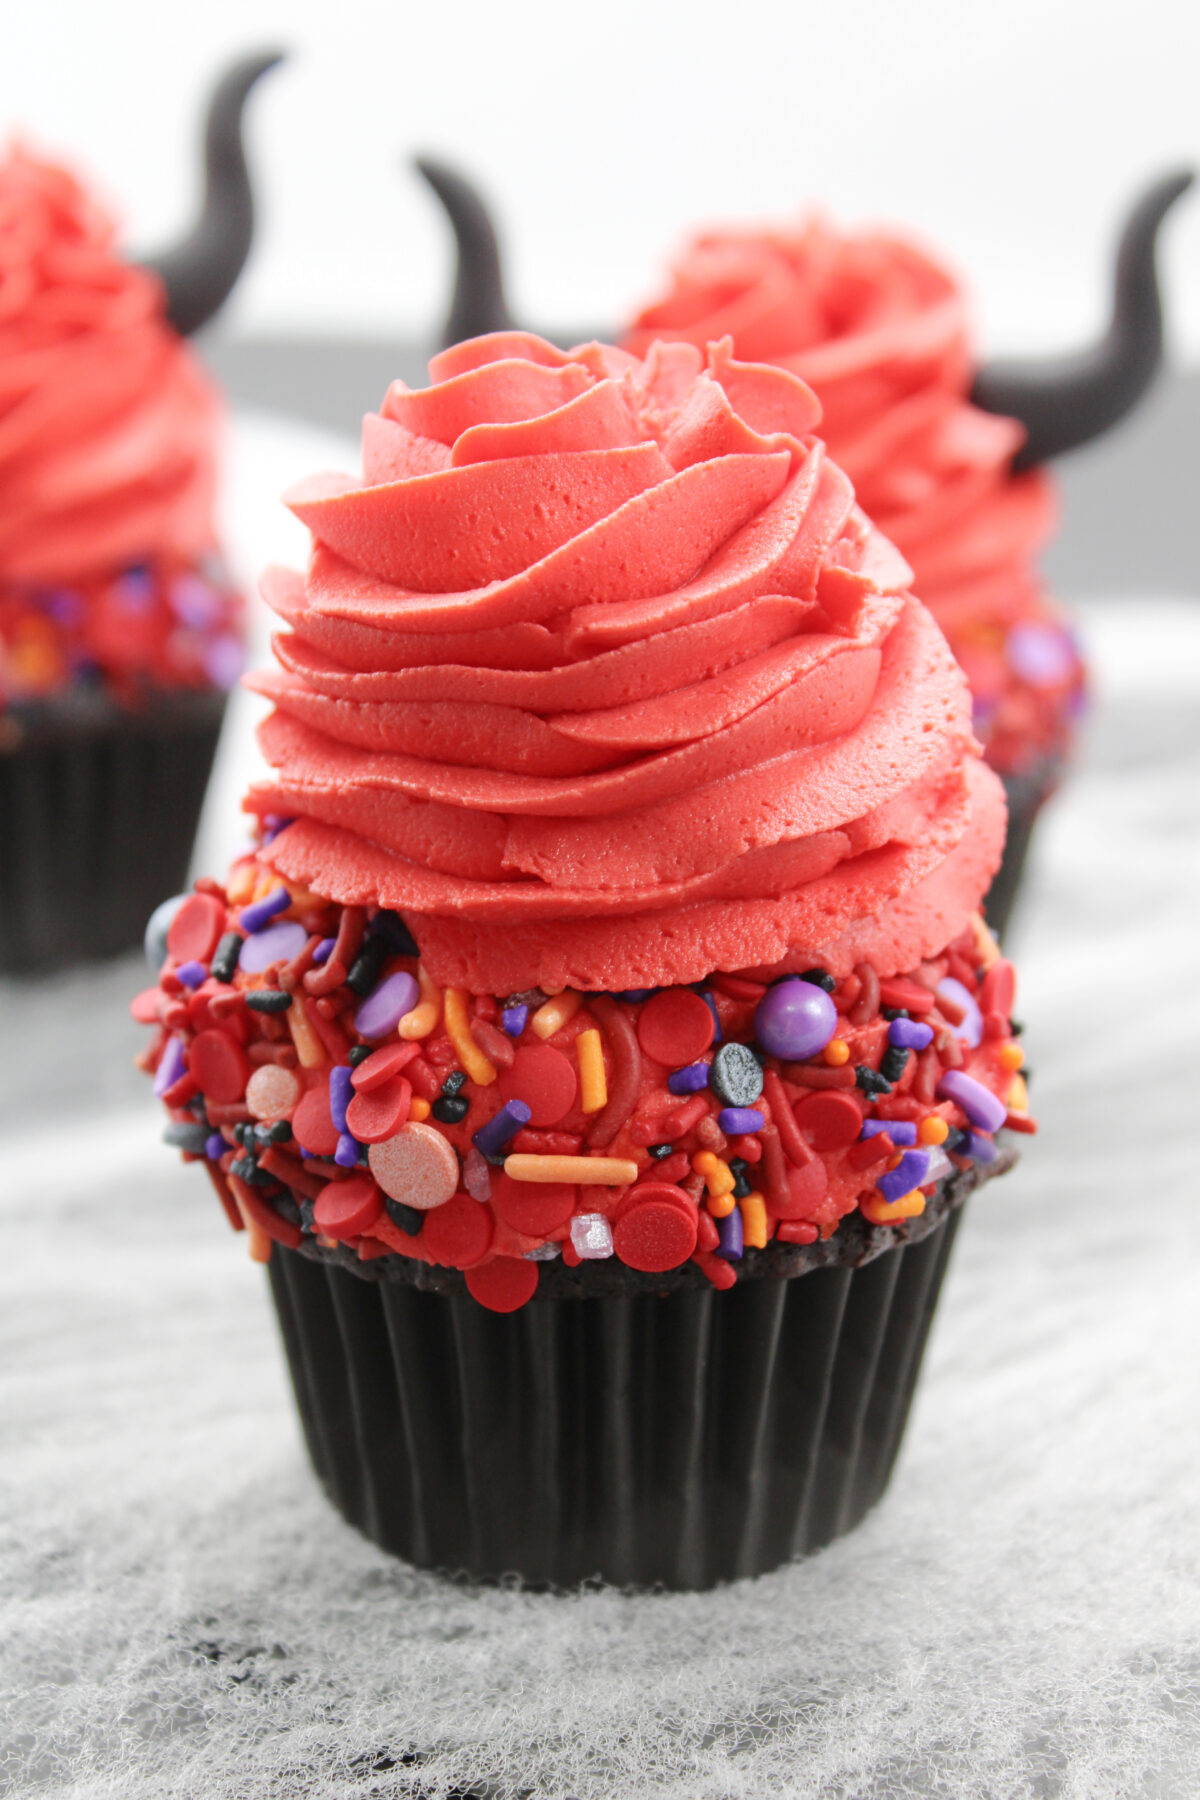
Using the piping bag, pipe a decent size dollop in the center of the frosting.
Carefully place the devil horns on the sides of the cupcakes.
Enjoy!
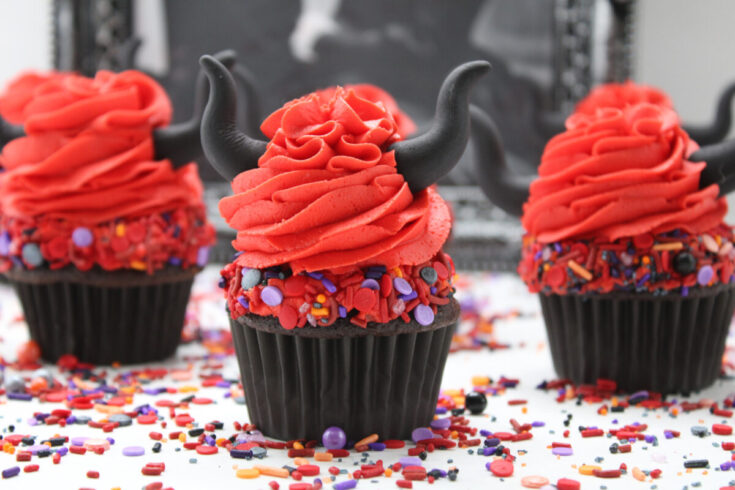
Devil Cupcakes
This Halloween cupcake decorating tutorial will show you how to make devil horns for your own devil cupcakes. It’s easy, fun and delicious!
Ingredients
For the Decorations:
- 4.4 oz Black Fondant
- 1 Cup Powdered sugar
For the Cupcakes:
- 1 box of Triple Chocolate cake mix
- 1 ¼ Cup whole milk, room temperature
- ½ Cup oil
- 3 large eggs, room temperature
- Black gel food colouring
For the Vanilla frosting:
- 2 Cups butter, softened
- 5 Cups powdered sugar
- 2 teaspoons pure vanilla extract
- 6 Tablespoons heavy whipping cream
- Red gel food colouring
- Purple sprinkle mix
- Red sprinkle mix
- Orange sprinkle mix
- Black sprinkle mix
Instructions
- A day ahead of preparing the cupcakes, make the fondant horns.
- Pinch off about 2 teaspoon of black fondant and roll into a ball.
- Dust your hands with powdered sugar and mold the black fondant ball into a cylinder.
- Make one end pointed and curve it into an upwards position.
- Carefully push a toothpick about 2 inches into the thicker side of the horn.
- Set aside onto a cookie sheet, fitted with a silicone mat, and leave out on the counter overnight.
- When ready to prepare the cupcakes, reheat the oven to 350 degrees Fahrenheit and line a cupcake pan with liners. Set aside.
- Using a large bowl, beat together the cake mix, milk, butter and eggs until combined and smooth.
- Beat in a good amount of black gel food colouring to create a black coloured cupcake.
- Fill the cupcake liners ¾ way full and bake in the oven for 21 minutes, or until a tester inserted into the middle of a cupcake comes out clean.
- Allow to cool completely.
- Using a standing mixer, beat together the butter, powdered sugar, vanilla, and heavy whipping cream until combined, smooth and holds a peak.
- Beat in about 5-7 drops of red gel food coloring. Continue to mix until fully combined.
- Mix in a few more drops of red food coloring until you achieve a blood red frosting.
- Scoop about 2 cups of the red frosting into the piping bag.
- Combine the sprinkles into a large bowl.
- Using the remaining red frosting in the main mixing bowl, smooth some frosting onto the top of the cupcakes.
- Carefully dip the frosting into the sprinkles and coat entire frosting layer.
- Using the piping bag, pipe a decent size dollop in the center of the frosting.
- Carefully place the devil horns on the sides of the cupcakes.
- Enjoy!
Recommended Products
As an Amazon Associate and member of other affiliate programs, I earn from qualifying purchases.

Liz Lampman is a coffee-fuelled Mom of 2 girls and lives in Hamilton, Ontario. She enjoys cooking and baking, food photography, and reading.

