
Rainbow Oreo Brownies
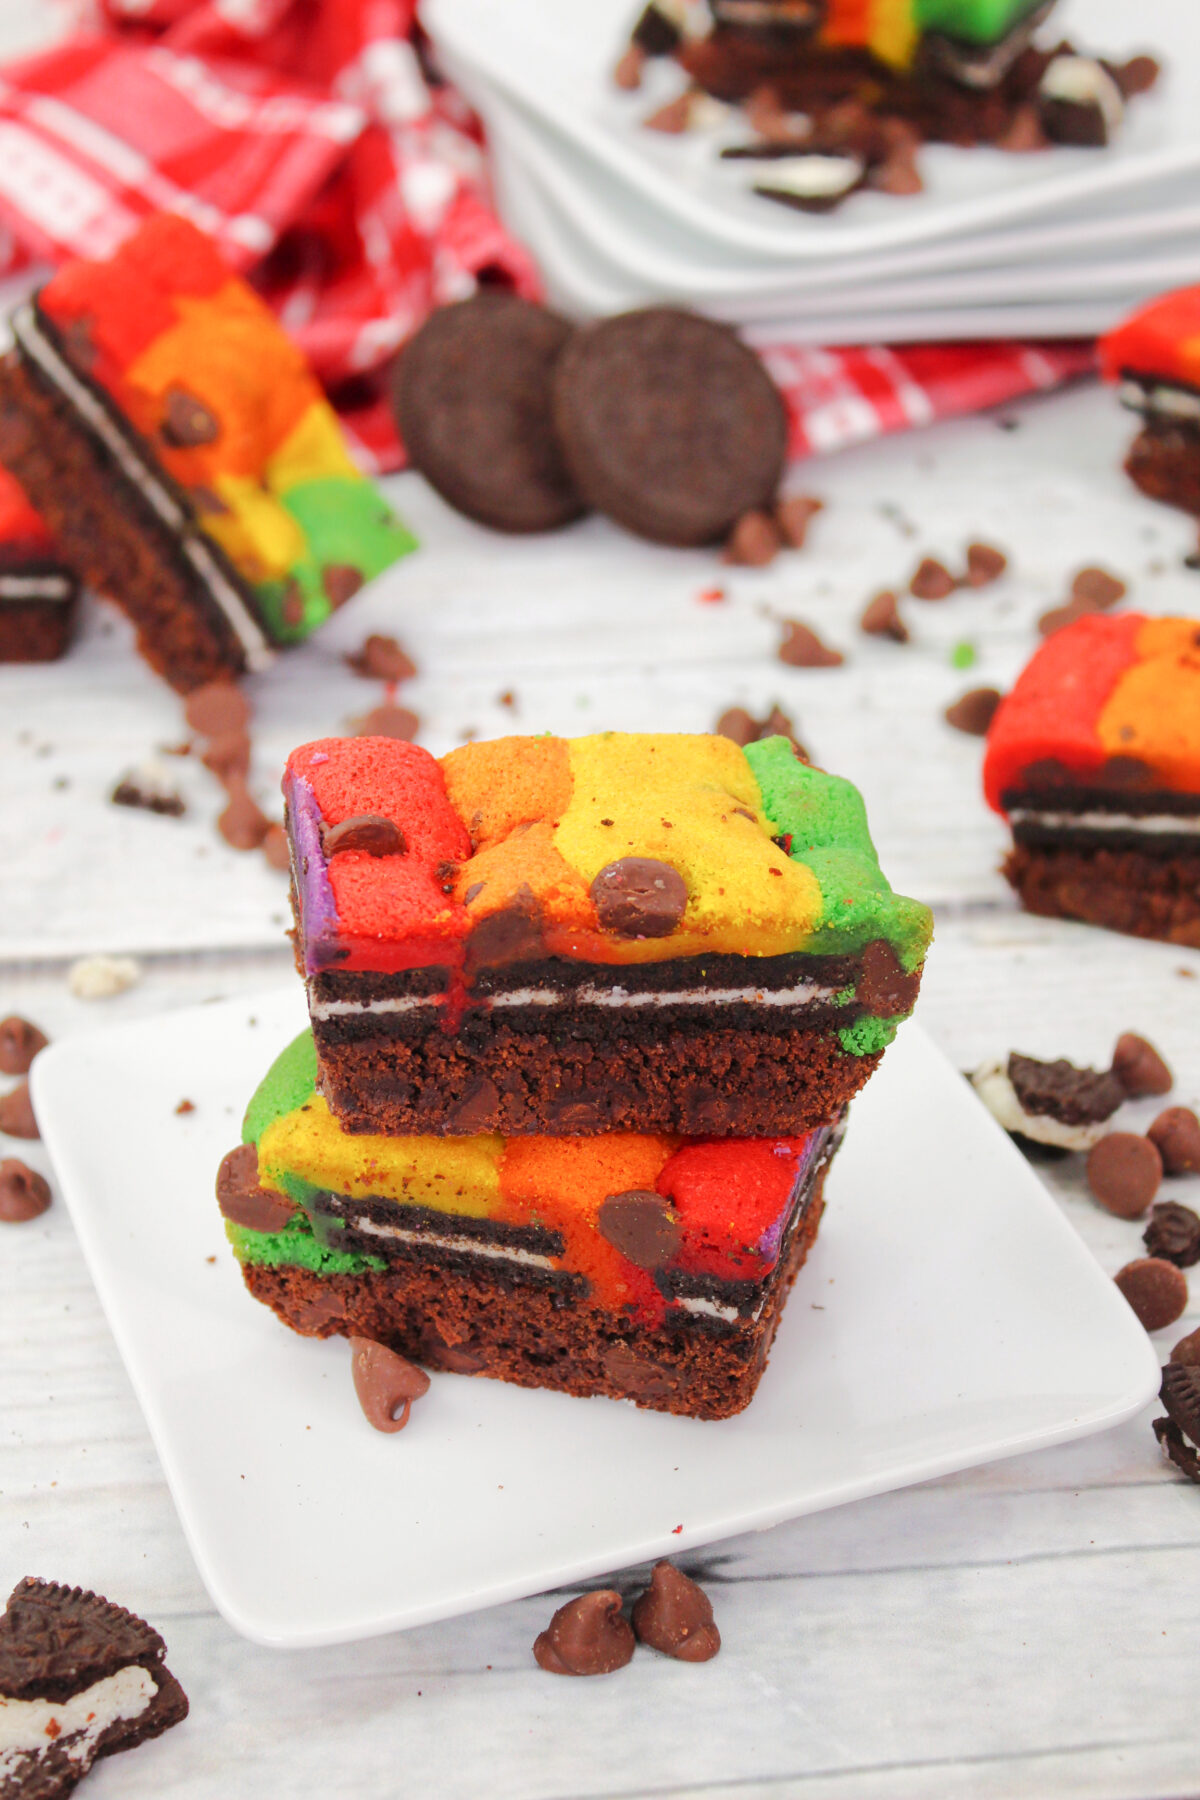
Rainbow Oreo Cookie Brownies layered with rich chocolate brownie, Oreo cookies, and colourful chocolate chip cookie dough.
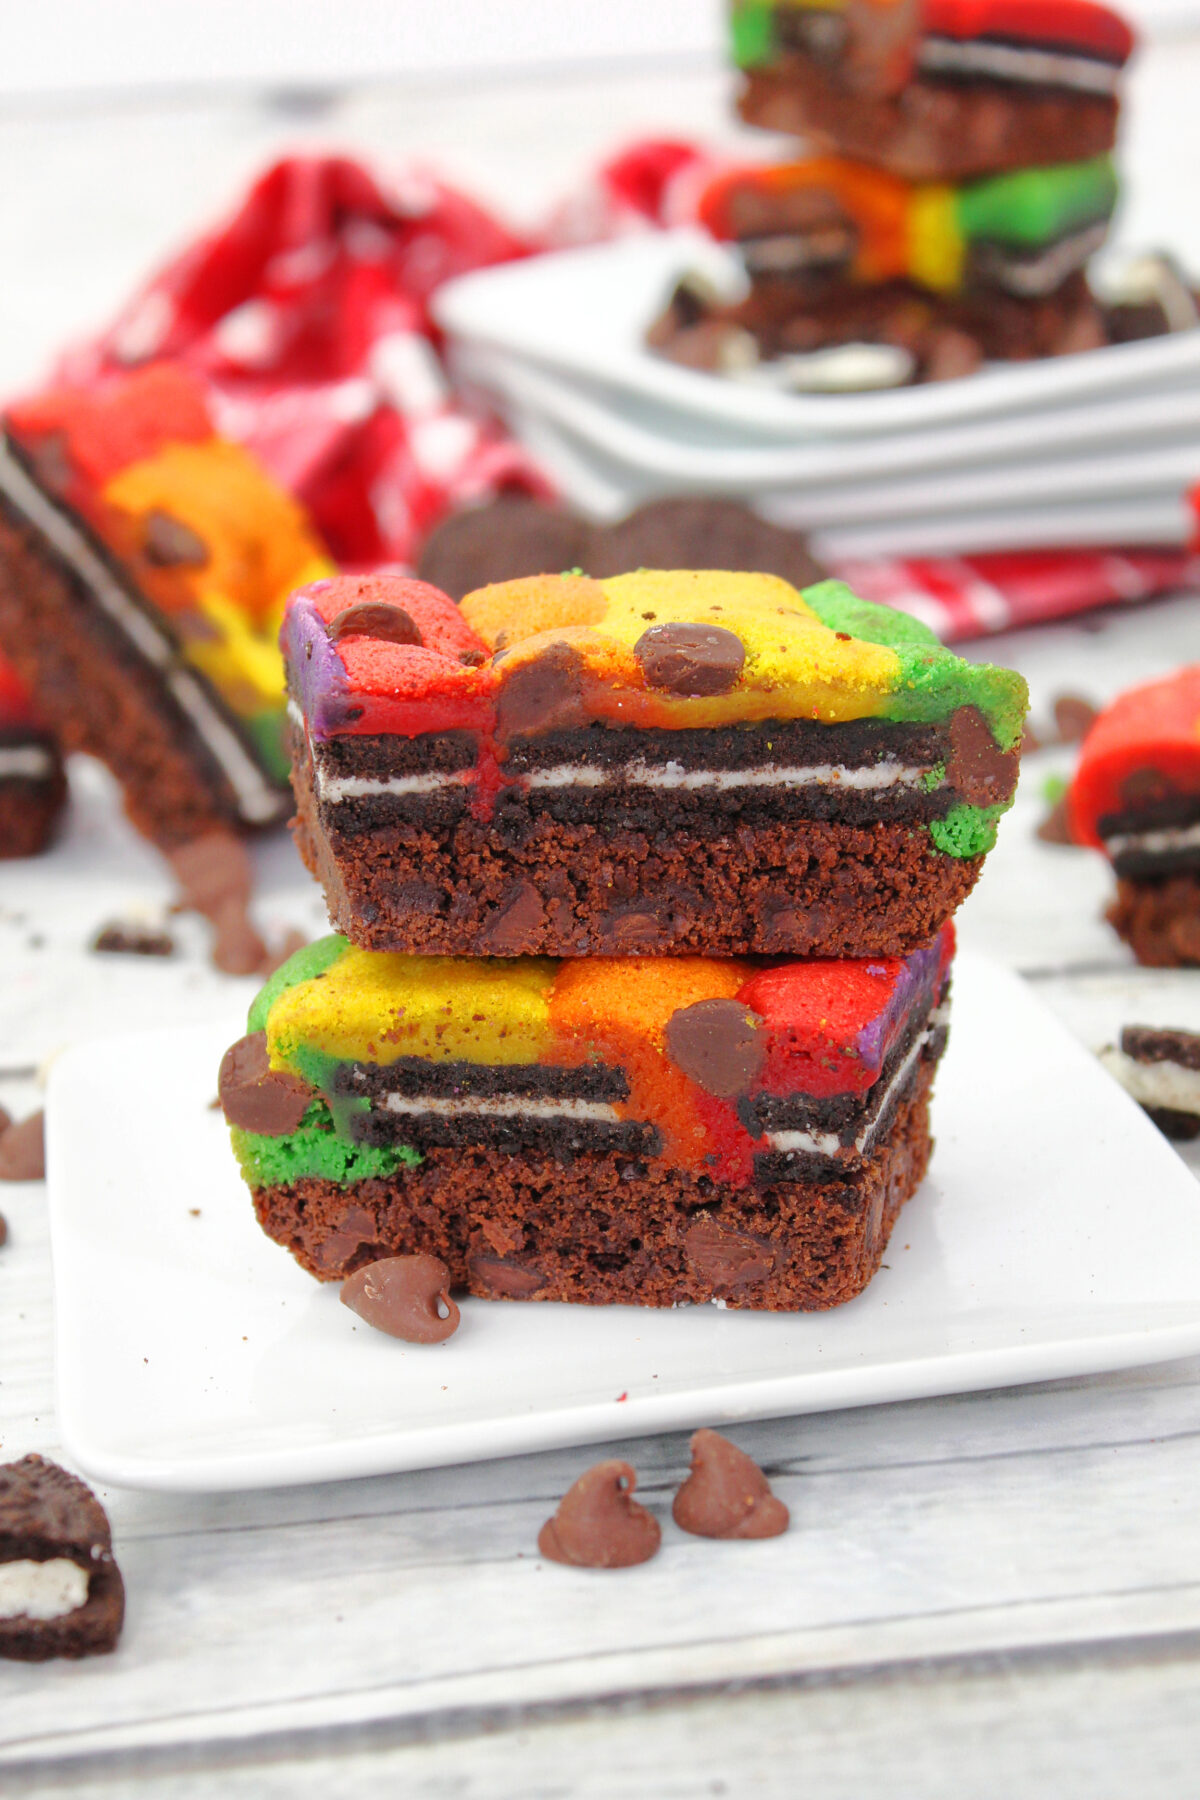
These Rainbow Oreo Cookie Brownies are a fun layered dessert that combines three favourites in one pan. A rich, fudgy chocolate brownie base is topped with a full layer of Oreo cookies and finished with colourful chocolate chip cookie dough baked into bright rainbow stripes.
They are soft, chewy, and packed with chocolate in every bite. The brownie layer stays dense and fudgy, the Oreos add a creamy crunch through the centre, and the cookie topping bakes up golden around the edges while staying soft in the middle. Perfect for parties, bake sales, or when you want something eye-catching and indulgent.
Recipe Highlights
- Three layers in one dessert – Fudgy chocolate brownie, a full Oreo cookie layer, and colourful chocolate chip cookie dough baked together.
- Soft and chewy texture – Dense brownie base topped with layers of cookies.
- Bright rainbow finish – Gel food colouring creates bold, defined vibrant stripes.
- Perfect for celebrations – Great for birthdays, school events, bake sales, and holiday trays.
- Easy to slice and serve – Bakes in a 9×13-inch pan for neat, generous bars.
- Make-ahead friendly – Stays soft and chewy for days when stored properly.
Tips for Best Results
- Do not overheat the chocolate – Melt the butter and chocolate chips slowly in short intervals, stirring well between each. Overheating can cause the chocolate to seize or turn grainy.
- Let the chocolate cool slightly before adding eggs – If the mixture is too hot, it can start to cook the eggs. Five minutes of cooling makes a big difference.
- Use gel food colouring – Gel colours give bold, vibrant stripes without thinning the cookie dough. Liquid colouring can make the dough too soft.
- Divide the cookie dough evenly – For clean rainbow stripes, try to keep each colour layer about the same thickness. Press gently so the colours stay distinct.
- Do not overbake – Bake just until a toothpick comes out with a few moist crumbs. Overbaking will dry out the brownie layer.
- Cool completely before slicing – This helps the layers set properly and gives you cleaner, neater bars.
Ingredients & Substitutions
- Unsalted sweet cream butter – Adds richness and helps both layers bake perfectly. Margarine or salted butter can also be used.
- Semisweet chocolate chips – Provides chocolate flavour and melty pockets in both layers. Dark or milk chocolate chips, or chopped chocolate, work too.
- Granulated sugar – Sweetens both layers. Coconut sugar or caster sugar can be used.
- Light brown sugar – Adds moisture and chewiness to the cookie layer. Dark brown sugar or granulated sugar with a little molasses works well.
- Large eggs – Gives structure and richness. Applesauce can be used for a slightly softer texture.
- Pure vanilla extract – Enhances flavour. Vanilla bean paste or imitation vanilla also works.
- All-purpose flour – Gives structure to both layers. Gluten-free flour can be used if needed.
- Hershey’s baking cocoa – Adds deep chocolate flavour to the brownie layer. Any unsweetened cocoa works.
- Kosher salt – Balances sweetness in both layers. Table salt can be used in a slightly smaller amount.
- Baking soda – Helps the cookie layer rise slightly. Baking powder can be used, a little more will be needed.
- Oreo cookies – Creates a creamy layer in the centre. Any sandwich cookie with cream filling works.
- Gel food colouring (red, orange, yellow, neon green) – Makes bold rainbow stripes. Liquid or powdered colouring works too, though colours may be less bright.
Looking for More Fun Dessert Recipes?
Check out more of my favourite fun to eat desserts!
Easily create colourful treats with our magical Rainbow Dipped Oreos recipe. Perfect for parties or sweet moments at home.
Indulge in your summer camp memories with these delicious s’mores chocolate donuts! They’re perfect for a sweet snack or dessert.
These mini HoHo cheesecakes are the perfect dessert for any occasion! Quick, easy, and delicious – better than chocolate swiss rolls!
How to Make Rainbow Oreo Brownies
Yields: 18 Servings | Prep time: 20 Minutes | Cook time: 35 Minutes
Ingredients
Oreo Brownie Layer
- 1 cup unsalted sweet cream butter, softened
- 4 cups semisweet chocolate chips, divided
- 1 cup granulated sugar
- 4 large eggs
- 3 teaspoons pure vanilla extract
- 1½ cups all-purpose flour
- ¼ cup Hershey’s baking cocoa
- ½ teaspoon kosher salt
- 24 Oreo cookies
Chocolate Chip Rainbow Cookie Layer
- 1 cup unsalted sweet cream butter, softened
- 1 cup granulated sugar
- ½ cup light brown sugar, packed
- 2 teaspoons pure vanilla extract
- 2 large eggs
- 1 teaspoon kosher salt
- 1 teaspoon baking soda
- 3 cups all-purpose flour
- 2 cups semisweet chocolate chips
- Red gel food colouring
- Orange gel food colouring
- Yellow gel food colouring
- Neon green gel food colouring
Directions
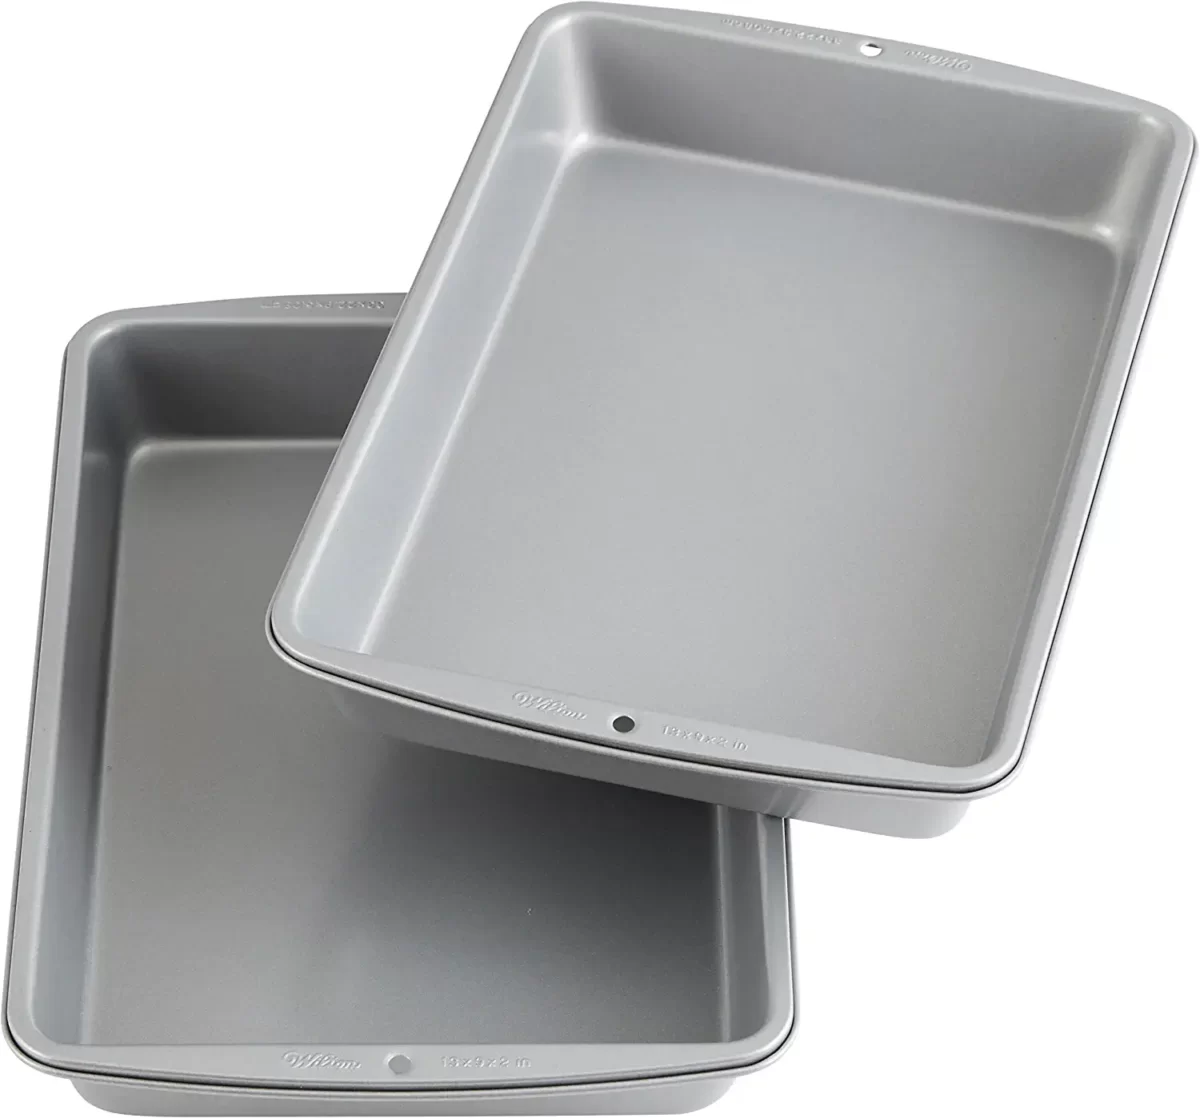
- Preheat oven to 350°F (175°C). Spray a 9 × 13-inch baking dish with non-stick baking spray.
- Make the brownie layer:
In a medium bowl, whisk together the flour, cocoa powder, and salt. - In a microwave-safe bowl, melt the butter with 3 cups of the chocolate chips in 45-second intervals, stirring between each, until smooth. Cool for 5 minutes.
- Whisk in the sugar until combined. Add eggs one at a time, mixing well after each addition. Stir in the vanilla extract.
- Gradually mix the dry ingredients into the wet ingredients until smooth. Fold in the remaining 1 cup of chocolate chips.
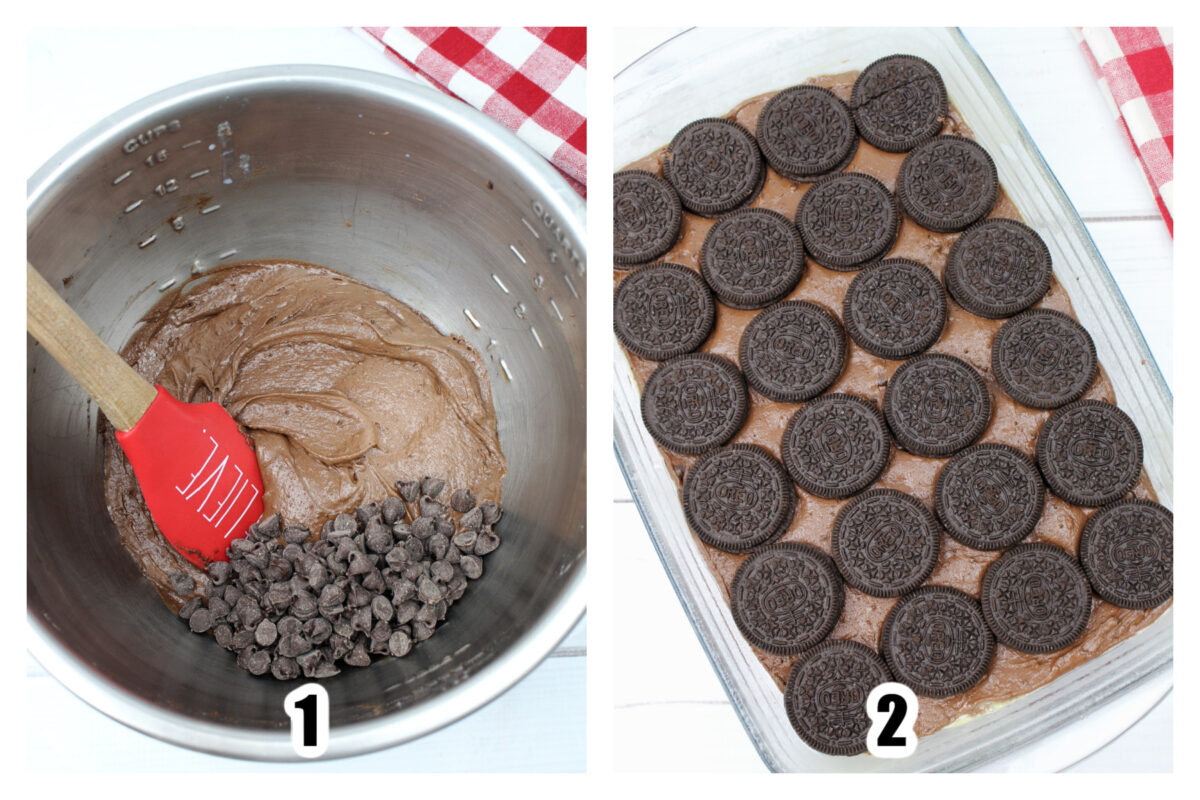
- Spread the brownie batter evenly into the prepared pan. Arrange the 24 Oreo cookies in even rows on top of the batter.
- Make the rainbow cookie layer:
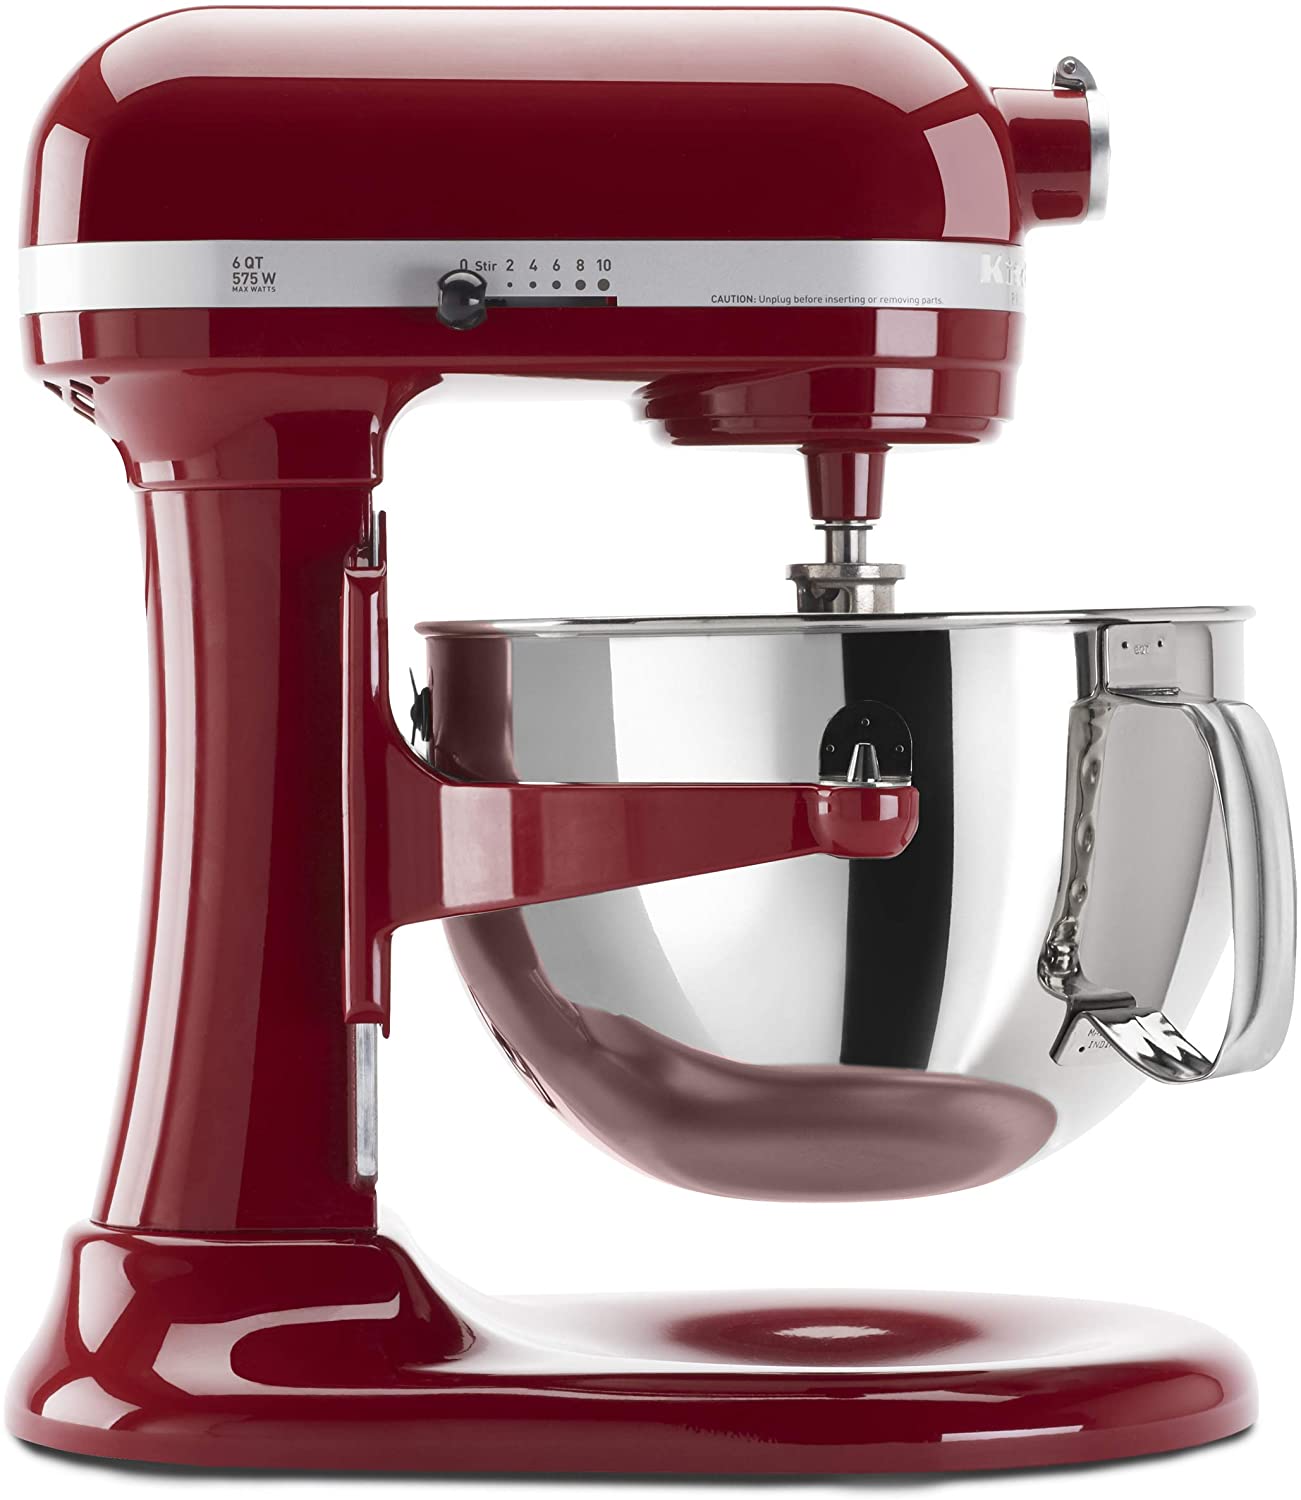
In a stand mixer fitted with a paddle attachment, beat the butter, granulated sugar, and brown sugar until light and fluffy. - Beat in the eggs, vanilla extract, salt, and baking soda until combined. Gradually mix in the flour until a soft dough forms. Fold in the chocolate chips.
- Divide the dough evenly into four bowls. Tint one bowl red, one orange, one yellow, and one neon green using gel food colouring. Mix until evenly coloured.
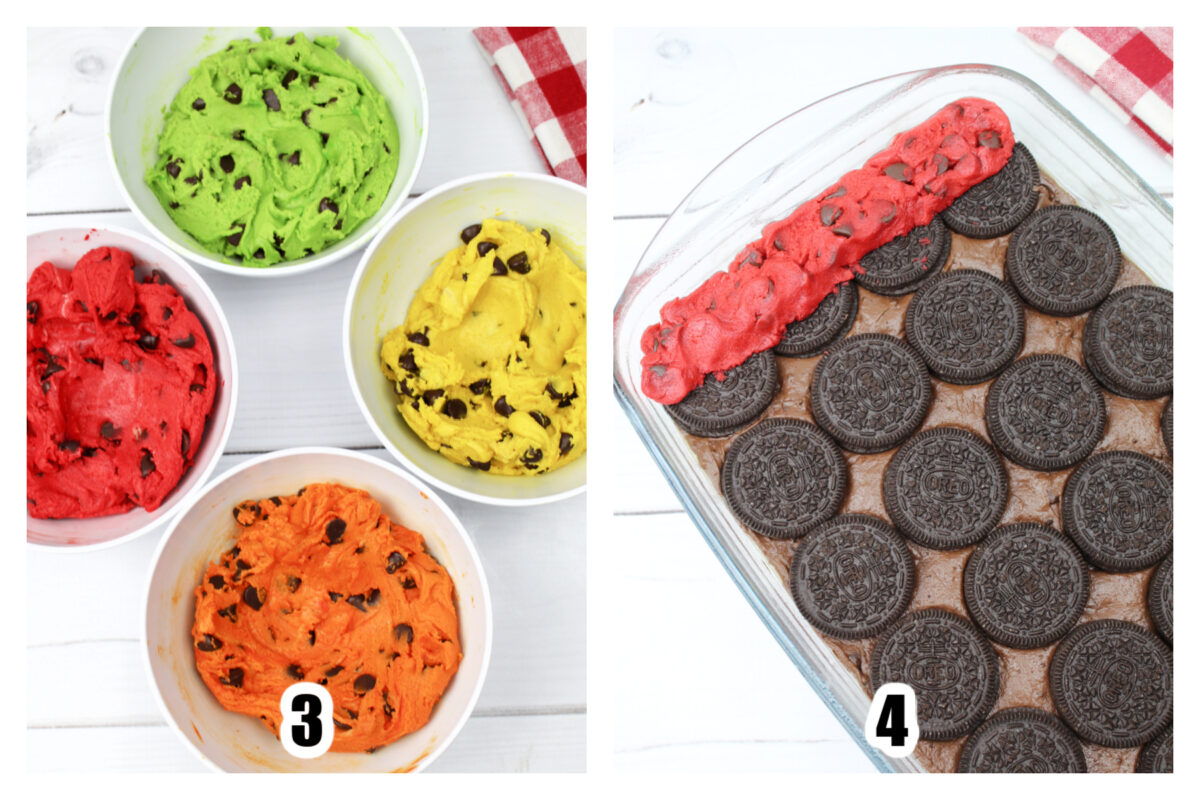
- Scoop about 3 tablespoons of red dough at a time and press gently over the Oreo layer in a straight strip. Repeat with the orange, yellow, and green doughs, forming straight rainbow rows across the pan.
- Bake for 30 to 35 minutes, or until a toothpick inserted into the centre comes out clean or with a few moist crumbs.
- Cool completely in the pan before cutting into bars.
Rainbow Oreo Brownies
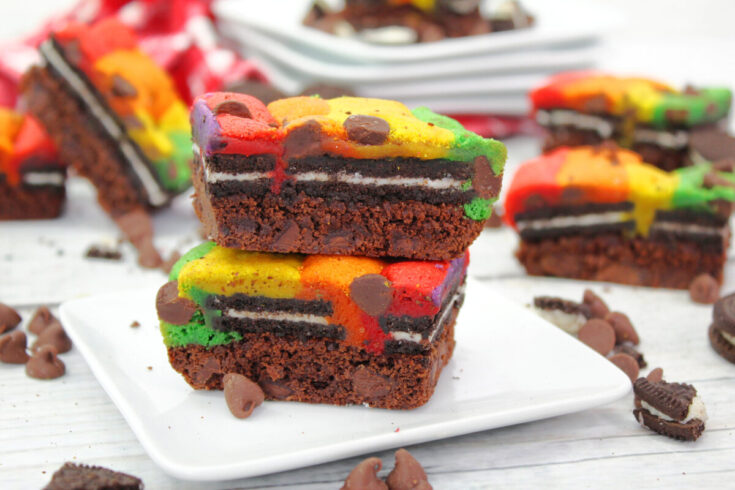
Indulge in these vibrant Rainbow Chocolate Oreo Brownies and create a colourful twist on a classic treat that’s perfect for any occasion.
Ingredients
For the Oreo Brownie layer:
- 1 ½ Cups flour
- ¼ Cup unsweetened cocoa powder
- ½ teaspoon kosher salt
- 1 Cup unsalted butter, softened
- 1 Cup sugar
- 4 large eggs
- 3 teaspoons pure vanilla extract
- 4 Cups semisweet chocolate chips
- 24 Oreo cookies
For the Chocolate Chip Rainbow Cookie Layer:
- 1 Cup unsalted butter, softened
- 1 Cup sugar
- ½ Cup light brown sugar, packed
- 2 teaspoons pure vanilla extract
- 2 large eggs
- 1 teaspoon kosher salt
- 1 teaspoon baking soda
- 3 Cups all-purpose flour
- 2 Cups semi sweet chocolate chips
- Red, Orange, Yellow and Neon Green gel food colouring
Instructions
- Preheat oven to 350 degrees Fahrenheit, and lightly grease a 9×13 baking dish.
- Using a medium bowl, whisk the flour, cocoa powder and salt until combined. Set aside.
- Using a microwave safe bowl, melt the butter and 3 Cups semi sweet chocolate chips in 45 secondincrements, just until melted, then stir until smooth.
- Allow the chocolate mixture to cool for about 5 minutes, then whisk in the sugar until combined.
- Whisk in the eggs, one at a time, until combined, then whisk in the vanilla extract.
- Gradually mix in the dry ingredients until combined and smooth.
- Fold in the last cup of chocolate chips, and spread the brownie batter into the prepared baking dish in an even layer.
- Place 24 oreo cookies into an even row on top of the brownie batter. Set aside while you make the rainbow layer.
- Using a stand mixer with a paddle attachment, beat the butter, sugar and light brown sugar until light and fluffy.
- Beat in the eggs, vanilla, salt and baking soda until combined.
- Gradually beat in the flour until a soft dough forms.
- Gently fold in the chocolate chips.Divide the chocolate chip batter evenly between four small bowls.
- Mix in a few drops of 1 colour each into each bowl of dough.
- Start with the red cookie dough first, scoop out about 3 tablespoons of dough.
- Press the red dough gently on top of the oreos into an even, thin line.
- Repeat the steps with the Orange, Yellow and green cookie doughs. You want these four colorsto be in even straight rows of colour.
- Once you have your coloured dough in straight rows, place the baking dish into the preheated ovenand bake for 30-35 minutes or until a toothpick comes out clean.
- Allow to cool before cutting into squares.
- Enjoy!
Recommended Products
As an Amazon Associate and member of other affiliate programs, I earn from qualifying purchases.

Nutrition Information:
Yield:
18Serving Size:
1 squareAmount Per Serving: Calories: 789Total Fat: 43gSaturated Fat: 25gTrans Fat: 0gUnsaturated Fat: 16gCholesterol: 116mgSodium: 272mgCarbohydrates: 101gFiber: 5gSugar: 66gProtein: 9g
This information is provided as a courtesy and for entertainment purposes only. This information comes from online calculators. Although rosemaryandmaple.com attempts to provide accurate nutritional information, these figures are only estimates.

Liz Lampman is a coffee-fuelled Mom of 2 girls and lives in Hamilton, Ontario. She enjoys cooking and baking, food photography, and reading.


